- Recover the refrigerant. Refer to Refrigerant Recovery and Recharging .
NOTE:
Warmer engine or ambient temperatures decreases refrigerant recovery time during the A/C flush procedure.
- Remove the thermal expansion valve (TXV). Refer to Air Conditioning Evaporator Thermal Expansion Valve Replacement (1.4L LUV, 1.8L LUW and LWE) and Air Conditioning Evaporator Thermal Expansion Valve Replacement (2.0L Diesel LUZ) .
- Install the TXV stud onto GE 45268-115
adapter.
- Install new sealing washers onto evaporator core. Refer to Air Conditioning O-Ring Seal Replacement .
- Install GE-45268-115
adapter in place of the TXV, using an oversized seal washer.
- Install the TXV mounting bolts and tighten to 15 N.m (11 lb in).
- Install new washers onto liquid line and suction hose. Refer to Air Conditioning O-Ring Seal Replacement .
- Connect liquid line and suction hose to GE-45268-115
adapter using an oversized seal washer.
- Install the TXV block fitting nut and tighten to 19 N.m (14 lb in).
- Remove the A/C compressor. Refer to Air Conditioning Compressor Replacement (2.0L Diesel LUZ) , Air Conditioning Compressor Replacement (1.4L LUV) and Air Conditioning Compressor Replacement (1.8L LUW and LWE) .
- Remove the A/C refrigerant filter (1). Refer to Air Conditioning Refrigerant Desiccant Replacement .
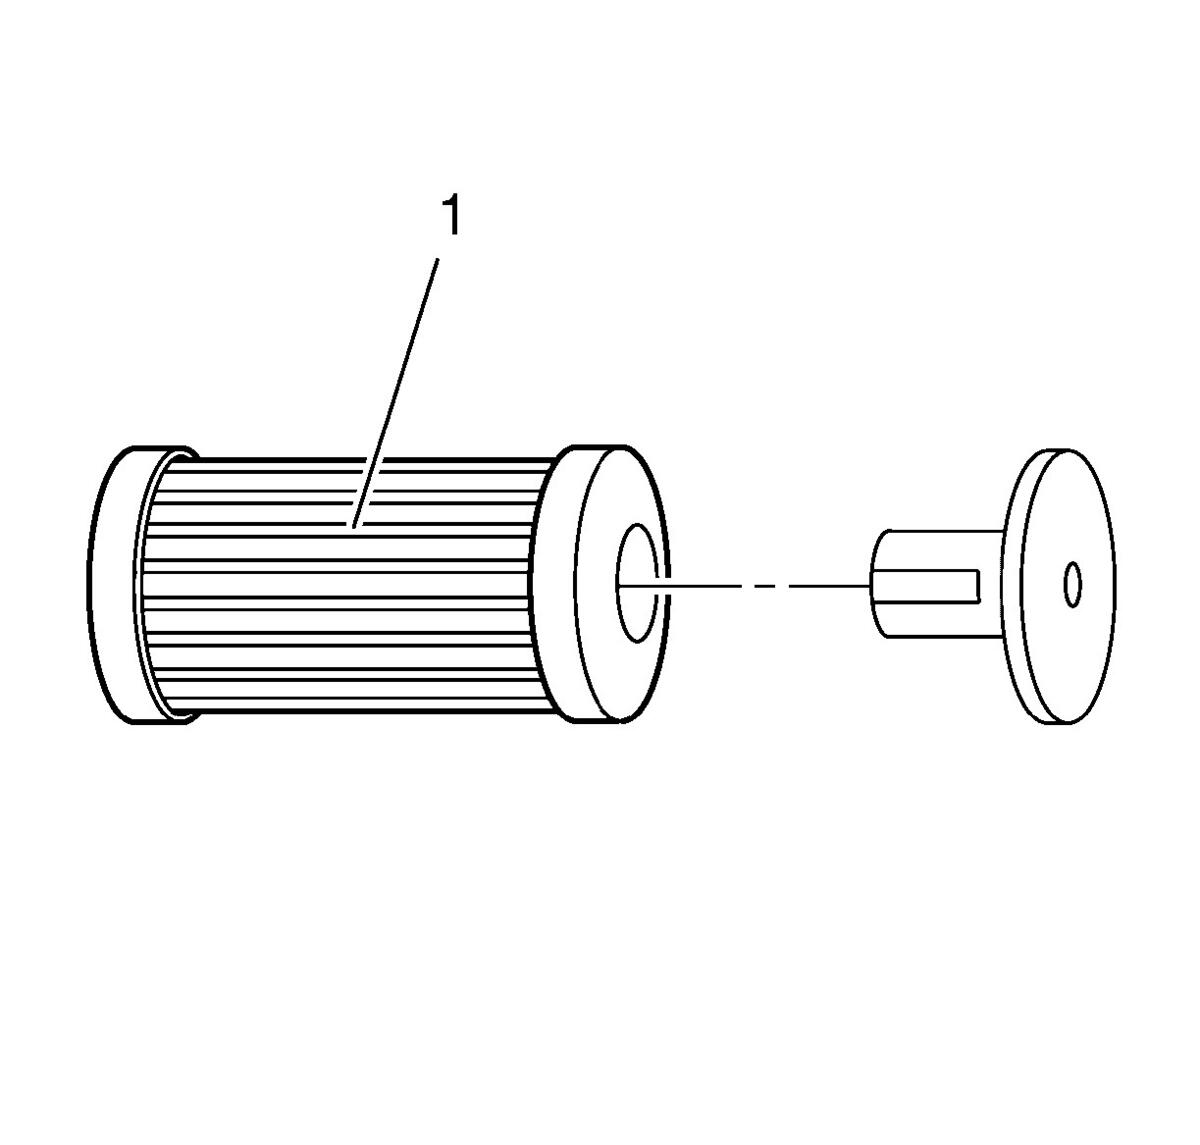 Courtesy of GENERAL MOTORS COMPANY
- Service the filter before each flush.
NOTE:
The filter inside GE-45628-1
adapter is serviceable. Remove and discard check valve from the filter.
- Install new sealing washers onto A/C compressor and condenser hose. Refer to Air Conditioning O-Ring Seal Replacement . Assure that suction and discharge ports on GE 45268-10
adapter correspond to suction and discharge ports on A/C compressor to condenser hose.
NOTE:
Assure that suction and discharge ports on J-45268-10 correspond to suction and discharge ports on compressor hose assembly.
- Install GE-45268-10
filter adapter to the A/C compressor to condenser hose.
- Connect GE-45268-1
filter to J-45268-7
adapter.
- Connect blue hose from A/C filling device to GE-45268
adapter.
- Connect red hose from A/C filling device to GE-45268
adapter.
- Disconnect blue hose from A/C filling device to GE-45268-1
adapter.
- Disconnect GE-45268-1
adapter from GE-45268-10
adapter.
- Remove GE-45268-10
adapter from the A/C compressor to condenser hose.
- If you will reinstall the removed A/C compressor, perform the following procedure:
NOTE:
Flushing will remove all PAG oil from the A/C system. The A/C system must be replenished with the correct amount of PAG oil.
- Install the A/C compressor. Refer to Air Conditioning Compressor Replacement (2.0L Diesel LUZ) , Air Conditioning Compressor Replacement (1.4L LUV) and Air Conditioning Compressor Replacement (1.8L LUW and LWE) .
NOTE:
Flushing will remove fluorescent leak detection dye from A/C system.
- Install new A/C refrigerant filter. Refer to Air Conditioning Refrigerant Desiccant Replacement .
- Remove the TXV block fitting nut.
- Disconnect liquid line and suction line from GE-45268-115
adapter.
- Remove the TXV bolts retaining GE-45268-115
adapter.
- Remove GE-45268-115
adapter.
- Inspect the TXV for debris. Clean or replace as needed.
- Install the TXV. Refer to Air Conditioning Evaporator Thermal Expansion Valve Replacement (1.4L LUV, 1.8L LUW and LWE) and Air Conditioning Evaporator Thermal Expansion Valve Replacement (2.0L Diesel LUZ) .
- Evacuate and recharge the A/C system. Refer to Refrigerant Recovery and Recharging .
- Leak test fittings using BO-42220
lamp.