Removal Procedure
 Courtesy of GENERAL MOTORS CORP.
- Remove the sunshade.
- Remove the windshield side pillar garnish molding. Refer to Windshield Side Garnish Molding Replacement
.
- Disconnect the body harness roof lamp wire connectors.
- Remove the overhead console. Refer to Roof Console Replacement
.
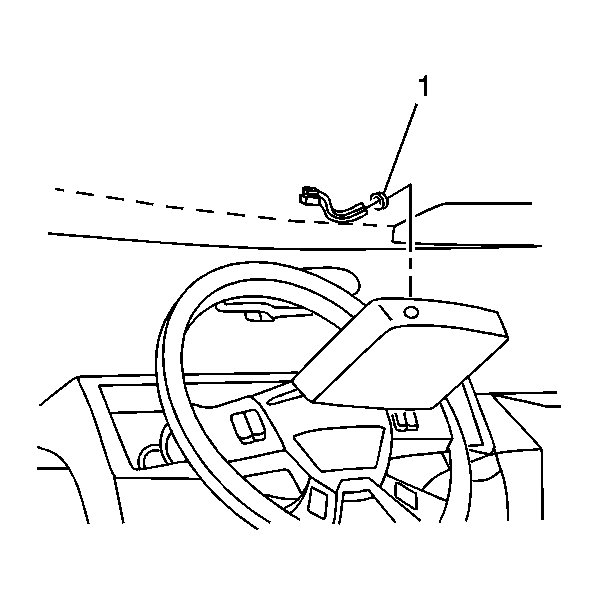
- Remove the power switch nut (1).
- Remove the power switch.
 Courtesy of GENERAL MOTORS CORP.
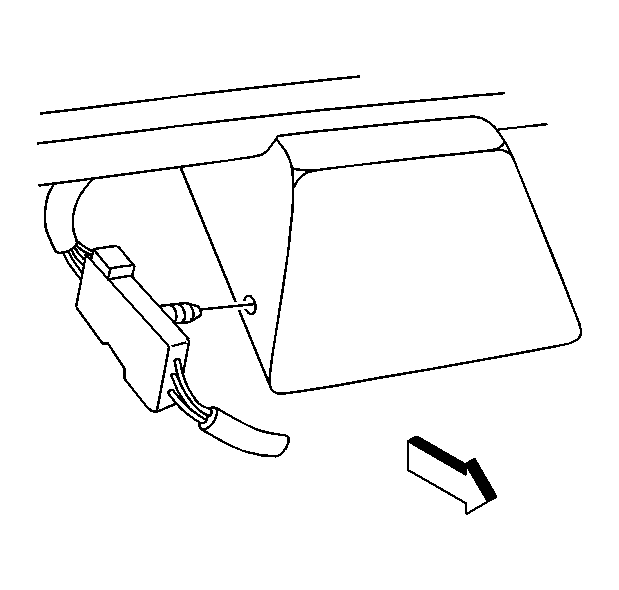
- Remove the connector retention clip from the hole in the driver's side lamp bar assembly stanchion.
- Remove the clearance lamp bulb and the clearance lamp. Refer to Clearance Lamp Replacement (SUT Front) or Clearance Lamp Replacement (SUT Rear) or Clearance Lamp Replacement (SUV) .
 Courtesy of GENERAL MOTORS CORP.
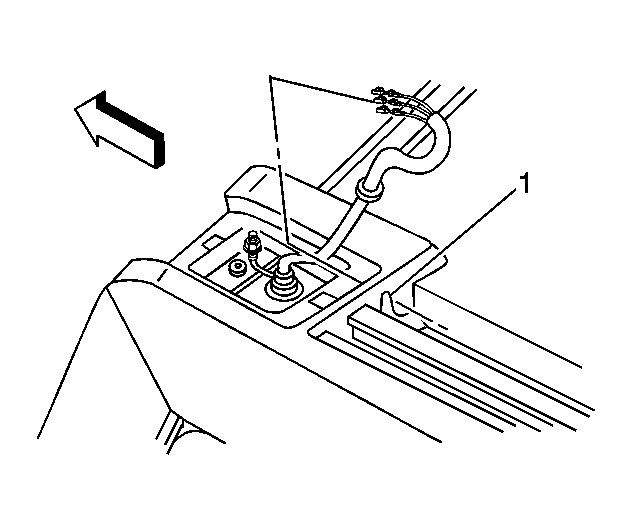
- Remove the wires through the opening (1) in the marker lamp pocket in the roof rail.
 Courtesy of GENERAL MOTORS CORP.
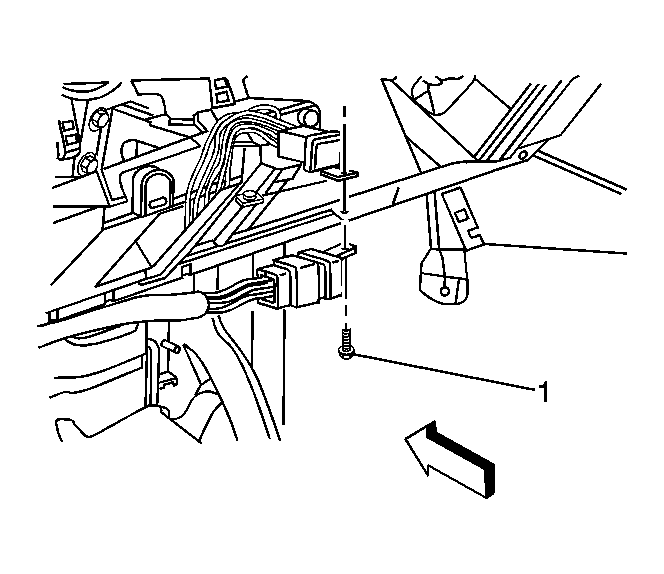
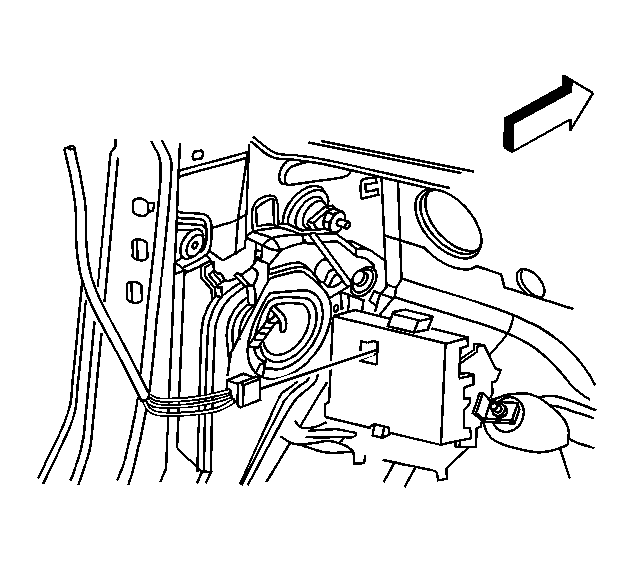
- Remove the bolt (1) in the opening in the dash rail from the J-nut on the upper relay flange, and remove the relays.
 Courtesy of GENERAL MOTORS CORP.
- Disconnect the section of harness connected to the Z82 location of the MidBec, trailer wiring connector, and remove.
 Courtesy of GENERAL MOTORS CORP.
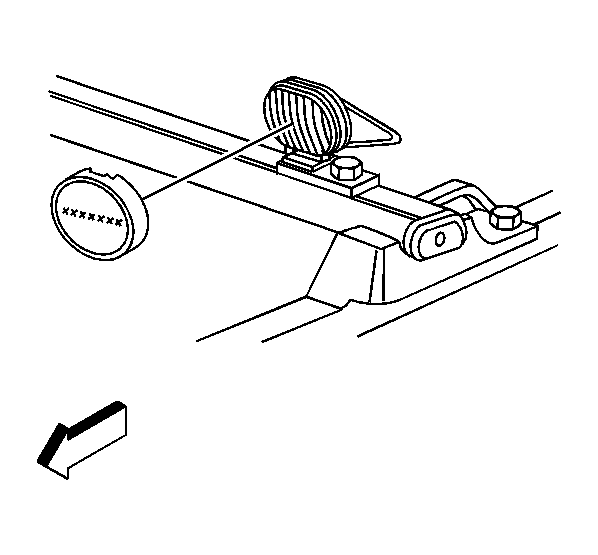
- Remove the body harness containing the 3 wires through the overhead console opening through the headliner down the windshield pillar.
 Courtesy of GENERAL MOTORS CORP.
- If equipped, remove the luggage carrier roof rails. Refer to Luggage Carrier Replacement (SUT)
or Luggage Carrier Replacement (SUV)
.
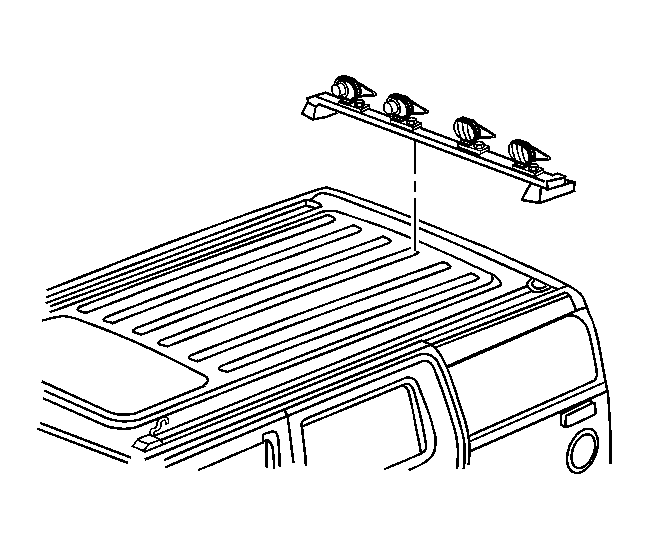
- Remove the lamp bar assembly with the lamps installed, out of the roof from the openings in the roof rails.
 Courtesy of GENERAL MOTORS CORP.
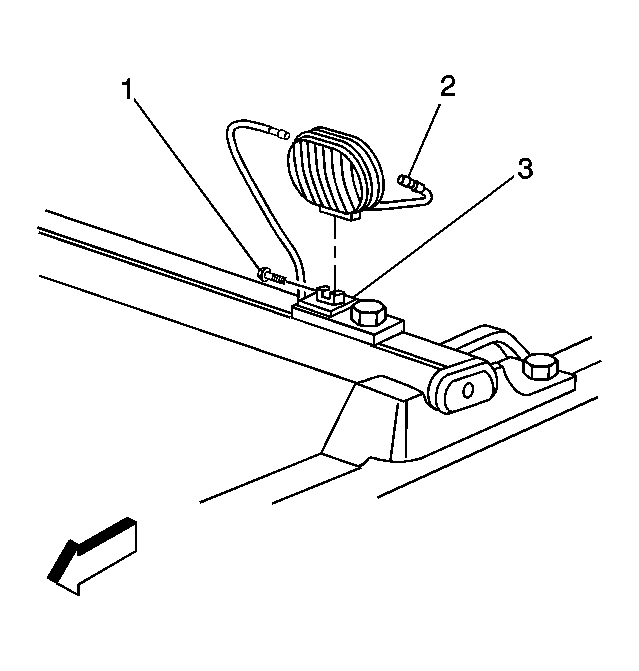
- Disconnect the lamp electrical connectors from the retainers on the back of the lamp stanchions.
- Remove the lamps from the U-brackets of the lamp bar assembly.