Rear Side Door Auxiliary Weatherstrip Replacement
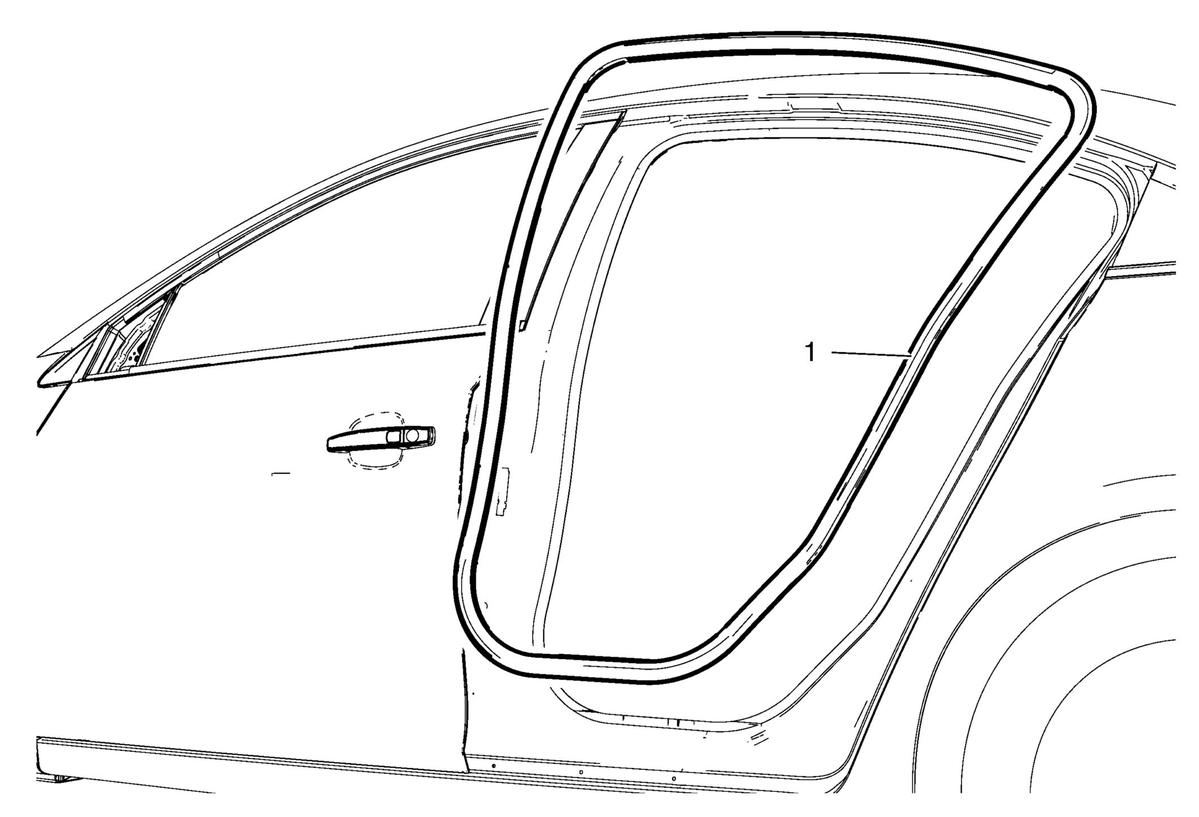 Courtesy of GENERAL MOTORS COMPANY
 Rear Side Door Auxiliary Weatherstrip Replacement
| Callout |
Component Name |
|
Preliminary Procedures
- Remove the center pillar lower trim panel. Refer to Center Pillar Lower Trim Panel Replacement
.
- Remove the quarter trim panel. Refer to Quarter Trim Panel Replacement
.
|
| 1 |
Rear Side Door Auxiliary Weatherstrip Procedure
- Start at the front upper corner of the door opening and pull the weatherstrip away from the door opening flange.
- Position the weatherstrip in the upper corner of the center pillar.
- Working downward along the front edge, install the weatherstrip on the door opening flange ensuring that the carrier is fully seated in the corners.
- Using a rubber mallet, ensure that the weatherstrip is seated on the entire door opening flange.
|