Reassembly (Avalon & Camry V6)
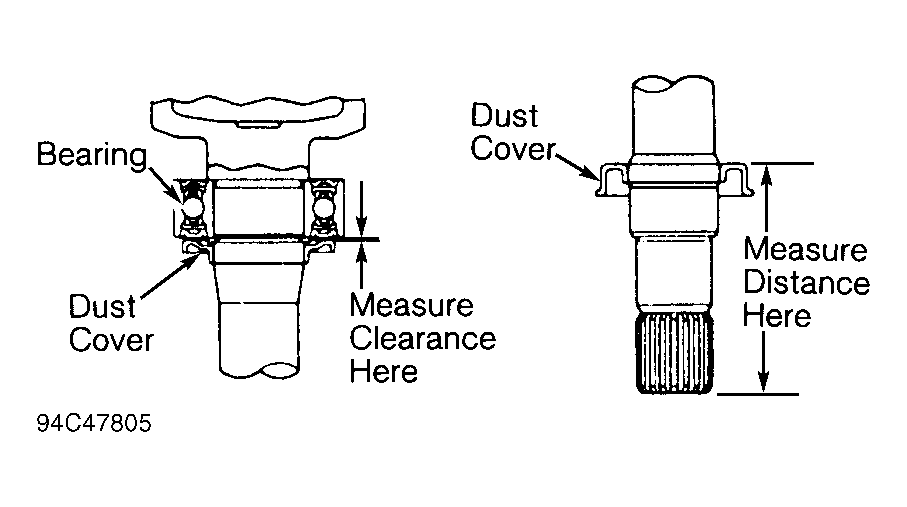
- Install right axle dust cover. Install NEW snap ring onto right axle shaft. Press NEW bearing on right axle shaft and install NEW snap ring (if removed). Press NEW dust cover on both axle shafts. On Camry, ensure clearance is .039" (1 mm). On all models, ensure right axle outer dust cover is installed until distance from end of shaft to dust cover is 3.957" (100.5 mm) on Avalon, or 3.39-3.43" (86-87 mm) on Camry V6. See Fig 1.
- On all axles, wrap splines on axle shaft with tape to prevent damaging boots during installation. Loosely install NEW boots and NEW boot clamps on axle shaft.
- Install NEW snap ring. On Avalon, apply 3.7-4.4 ounces of grease supplied with overhaul kit to outboard joint and boot. On Camry V6, apply 3.6-4.2 ounces of Black grease supplied with overhaul kit to outboard joint and boot. On all models, install boot and boot clamps on outboard joint.
- Install inboard joint subassembly on axle shaft with reference mark aligned. Install NEW snap ring on end of axle shaft. On Avalon, pack 4.2-4.6 ounces of grease supplied with overhaul kit into inboard joint housing. Pack 1.9-2.0 ounces of grease in boot. On Camry V6, apply 4.4-5.5 ounces of Yellow grease supplied with overhaul kit to inboard joint and boot.
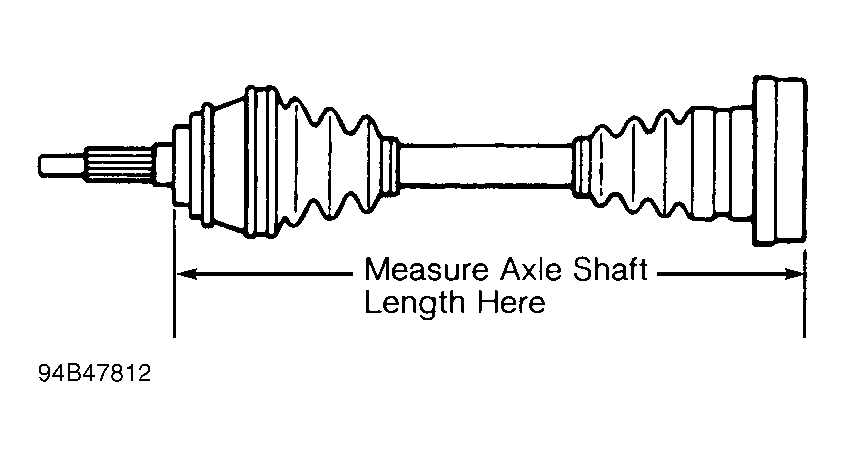
- On all models, install boot on inboard joint cover. Ensure boots are seated in grooves on axle shaft. Adjust axle shaft to standard axle shaft length. See AXLE SHAFT LENGTH SPECIFICATIONS table. See Fig 2. Install and tighten boot clamps.
 Courtesy of © TOYOTA, LICENSE AGREEMENT TMS1002
 Courtesy of © TOYOTA, LICENSE AGREEMENT TMS1002