- Disconnect the ground cable from battery.
- Remove the front door trim. Refer to
FRONT DOOR
.
- Remove the outer mirror assembly. Refer to
REMOVAL
.
- Remove the front door speaker assembly.
- Remove the screws.
- Disconnect the harness connector and remove the front speaker assembly.
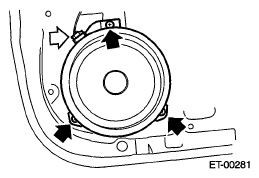 Courtesy of SUBARU OF AMERICA, INC.
- Remove the front sealing cover.
CAUTION:
- Carefully remove the butyl tape. Excessive force will easily break the cover.
- If the sealing cover gets broken, replace it with a new part.
- Remove the screw to remove the door trim bracket.
- Carefully remove the butyl tape to remove the sealing cover.
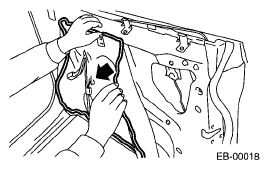 Courtesy of SUBARU OF AMERICA, INC.
- Remove the door sash and front door glass. Refer to
REMOVAL
.
- Remove the front door regulator and motor. Refer to
REMOVAL
.
- Remove the front door latch assembly. Refer to
REMOVAL
.
- Remove the front outer handle. Refer to
REMOVAL
.
- Remove the front door weather strip.
CAUTION:
If the weather strip clip is removed with excessive force, the weather strip may be damaged. Be sure to use clip remover to remove.
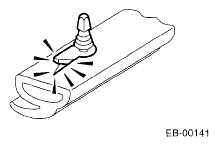 Courtesy of SUBARU OF AMERICA, INC.
- Remove the bolts and nuts to remove the door checker.
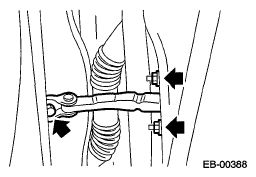 Courtesy of SUBARU OF AMERICA, INC.
- Release the claws, and then remove the side sill cover-front INN.
CAUTION:
Do not pull with excessive force. Doing so may damage the claws of the side sill cover INN.
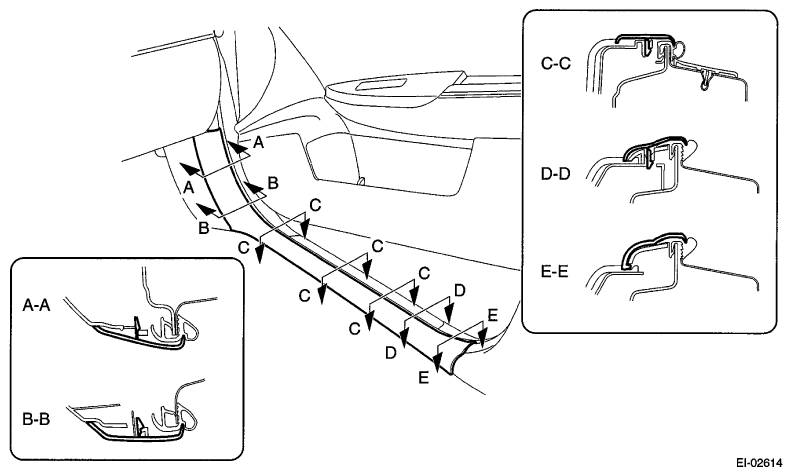 Courtesy of SUBARU OF AMERICA, INC.
NOTE:
To release the claws of the side sill cover INN, the following steps are recommended.
- Take out the weather strip from under the side sill cover INN.
- Turn over the floor mat and release the claw (C-C) by accessing from behind the side sill cover INN.
- Remove the clip, and remove the side sill cover front.
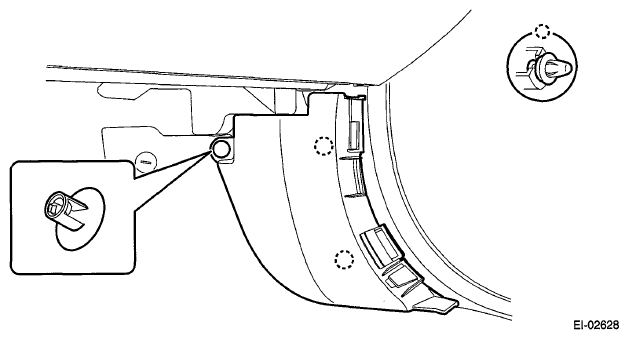 Courtesy of SUBARU OF AMERICA, INC.
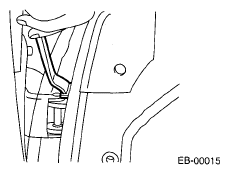
- Disconnect the connector of door harness from body harness.
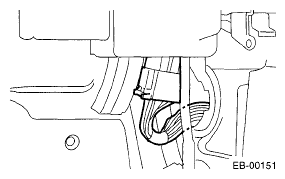 Courtesy of SUBARU OF AMERICA, INC.
- Before removing the door panel, make the following preparations.
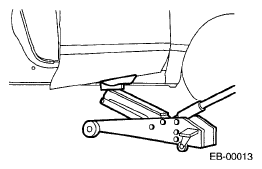 Courtesy of SUBARU OF AMERICA, INC.
- Put a wooden block on a floor jack and place the jack under the front door.
- Support the door with a jack to protect it from damage.
CAUTION:
Do not lift the door panel with a floor jack excessively. The door hinges may be damaged.
- Remove the door-side bolts for upper and lower hinges to remove front door panel.
CAUTION:
Door panels are heavy. When removing and installing them, always work in a team of two or more persons.
 Courtesy of SUBARU OF AMERICA, INC.
- Remove the door hinge from vehicle.