Installation (2005/07-2005/12)
- INSTALL LOWER INSTRUMENT PANEL ASSEMBLY
- Connect the connectors.
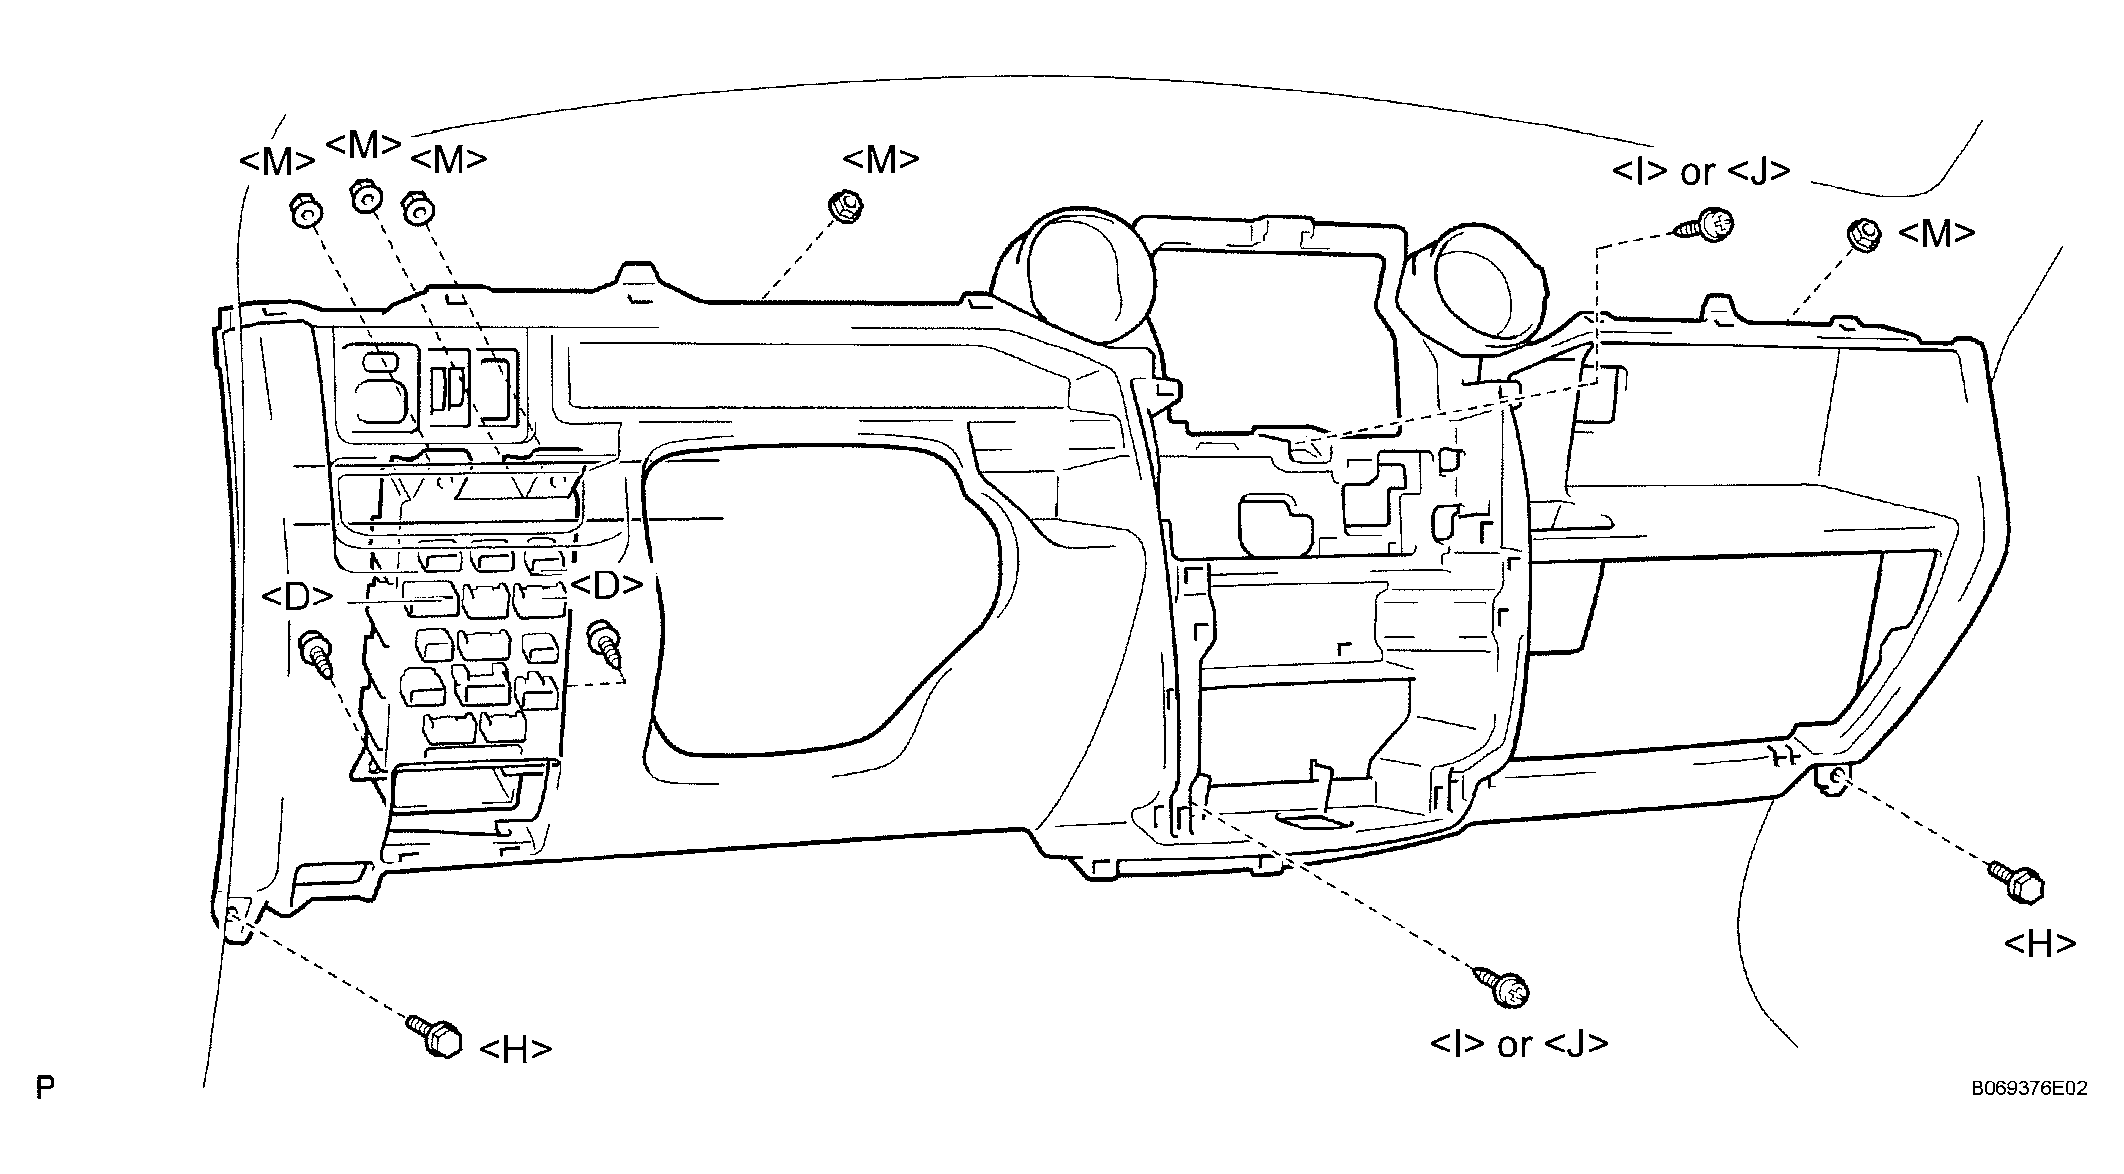
- Install the instrument panel.
- Install the instrument panel junction block assembly with the 2 screws and 3 nuts.
- Install the 2 bolts, 2 nuts and 2 screws.
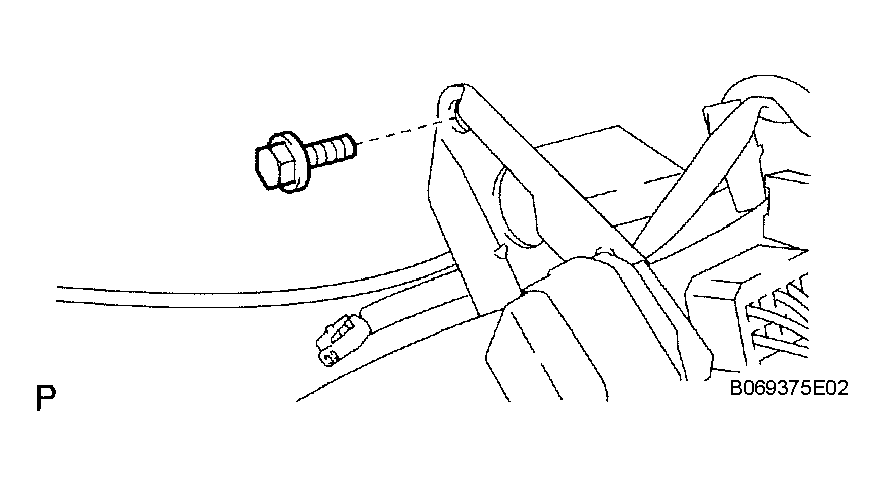
- Connect the hood lock control cable.
 Courtesy of © TOYOTA, LICENSE AGREEMENT TMS1002
- Install the bolt.
 Courtesy of © TOYOTA, LICENSE AGREEMENT TMS1002
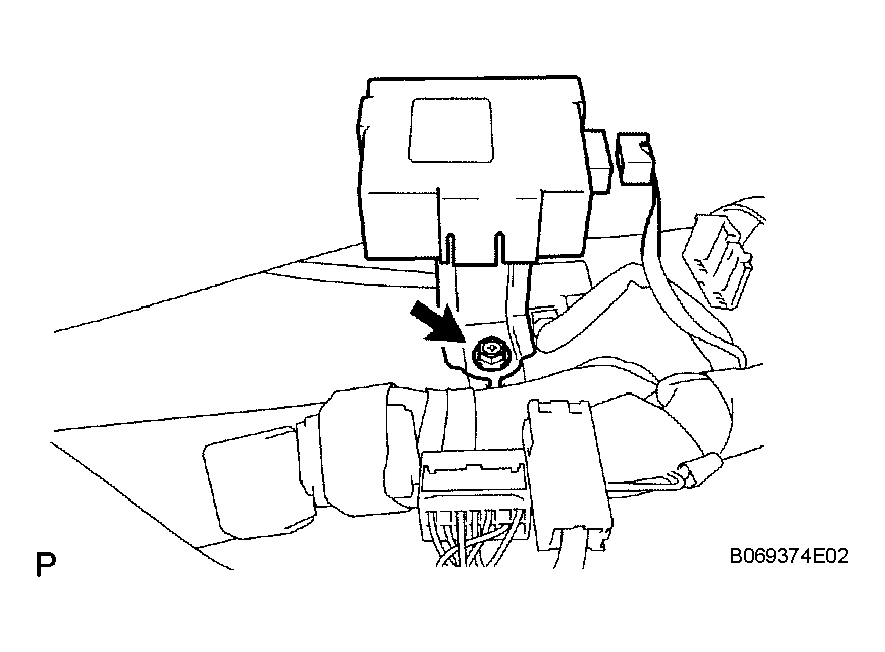
- Connect the connector.
- Install the door control receiver.
- Install the screw.
 Courtesy of © TOYOTA, LICENSE AGREEMENT TMS1002
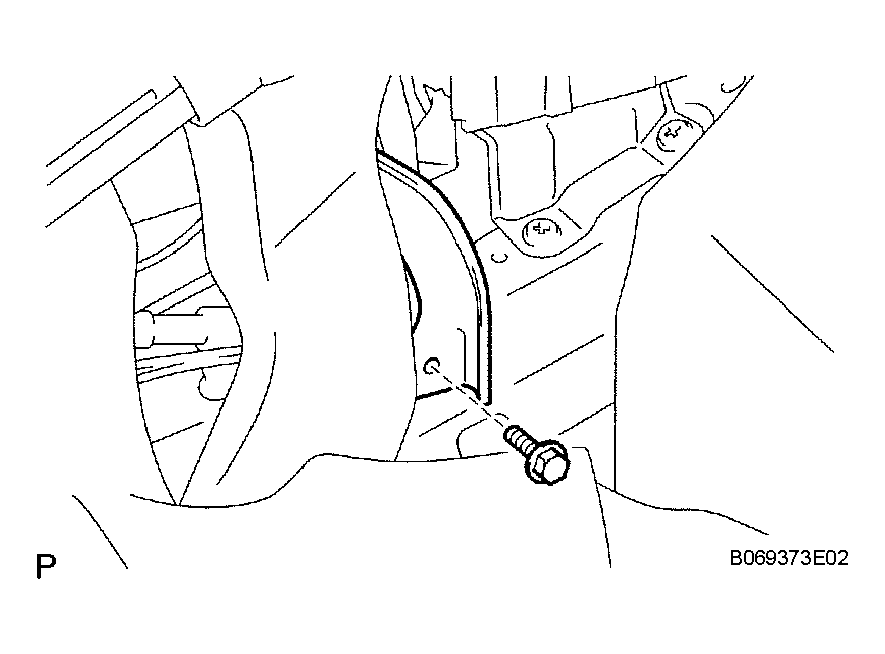
- Install the No. 1 instrument panel mounting bracket with the bolt.
 Courtesy of © TOYOTA, LICENSE AGREEMENT TMS1002
- Install the 3 bolts
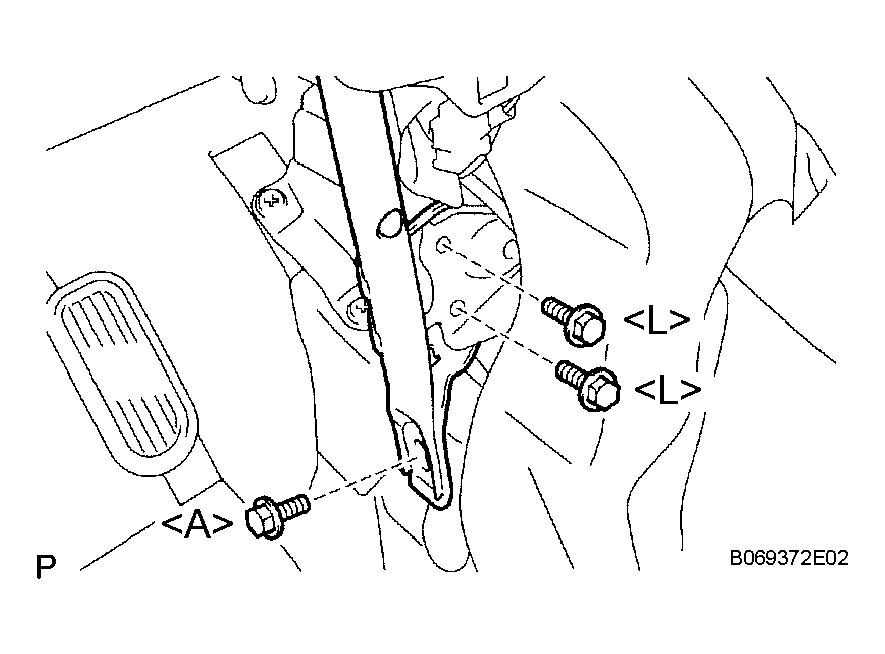 Courtesy of © TOYOTA, LICENSE AGREEMENT TMS1002
- Install the clip.
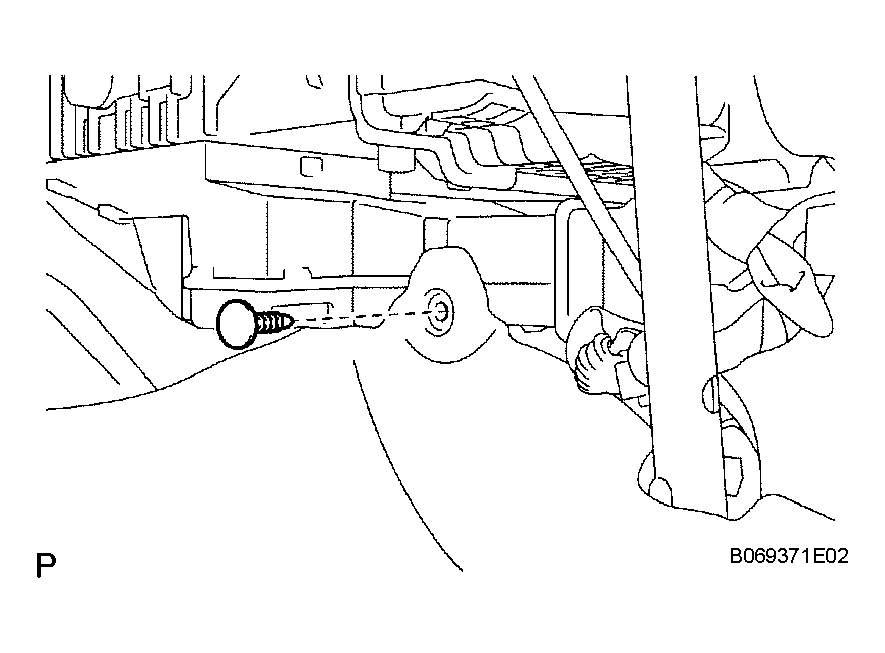 Courtesy of © TOYOTA, LICENSE AGREEMENT TMS1002
- Install the 3 bolts.
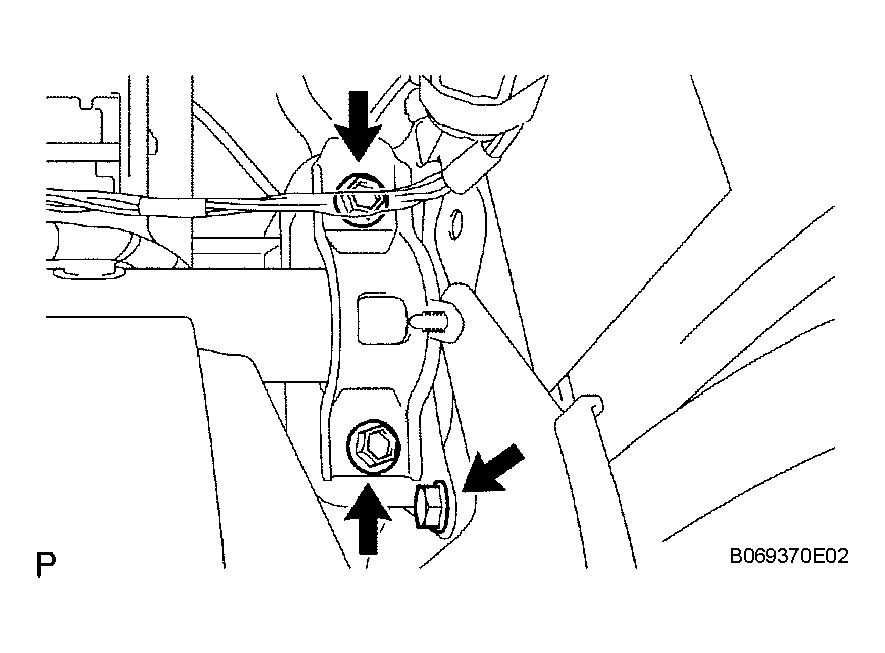 Courtesy of © TOYOTA, LICENSE AGREEMENT TMS1002
- Install the 3 bolts.
- INSTALL ANTENNA CORD SUB-ASSEMBLY
- INSTALL STEERING COLUMN ASSEMBLY (See
INSTALLATION
)
- INSTALL STEERING INTERMEDIATE SHAFT ASSEMBLY (See
INSTALLATION
)
- CONNECT STEERING INTERMEDIATE SHAFT ASSEMBLY (See
INSTALLATION
)
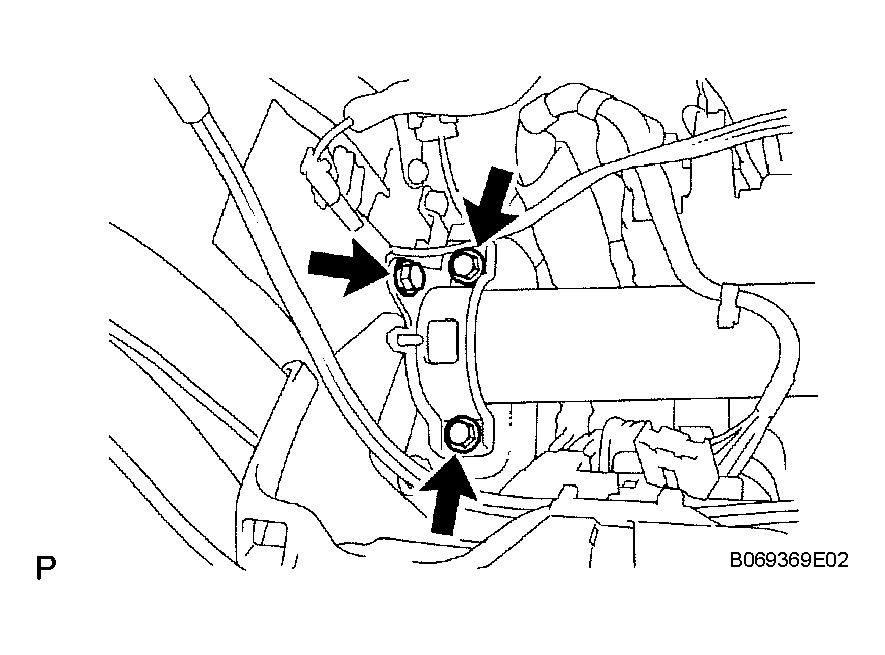 Courtesy of © TOYOTA, LICENSE AGREEMENT TMS1002
- INSTALL STEERING COLUMN HOLE COVER PLATE (See
INSTALLATION
)
- CONNECT FLOOR SHIFT PARKING LOCK CABLE ASSEMBLY (for Automatic Transaxle)
- INSTALL GLOVE COMPARTMENT DOOR ASSEMBLY
- Push in the sides of the glove compartment door, as indicated by the arrows in the illustration. Then close the door to engage it to the 2 stoppers.
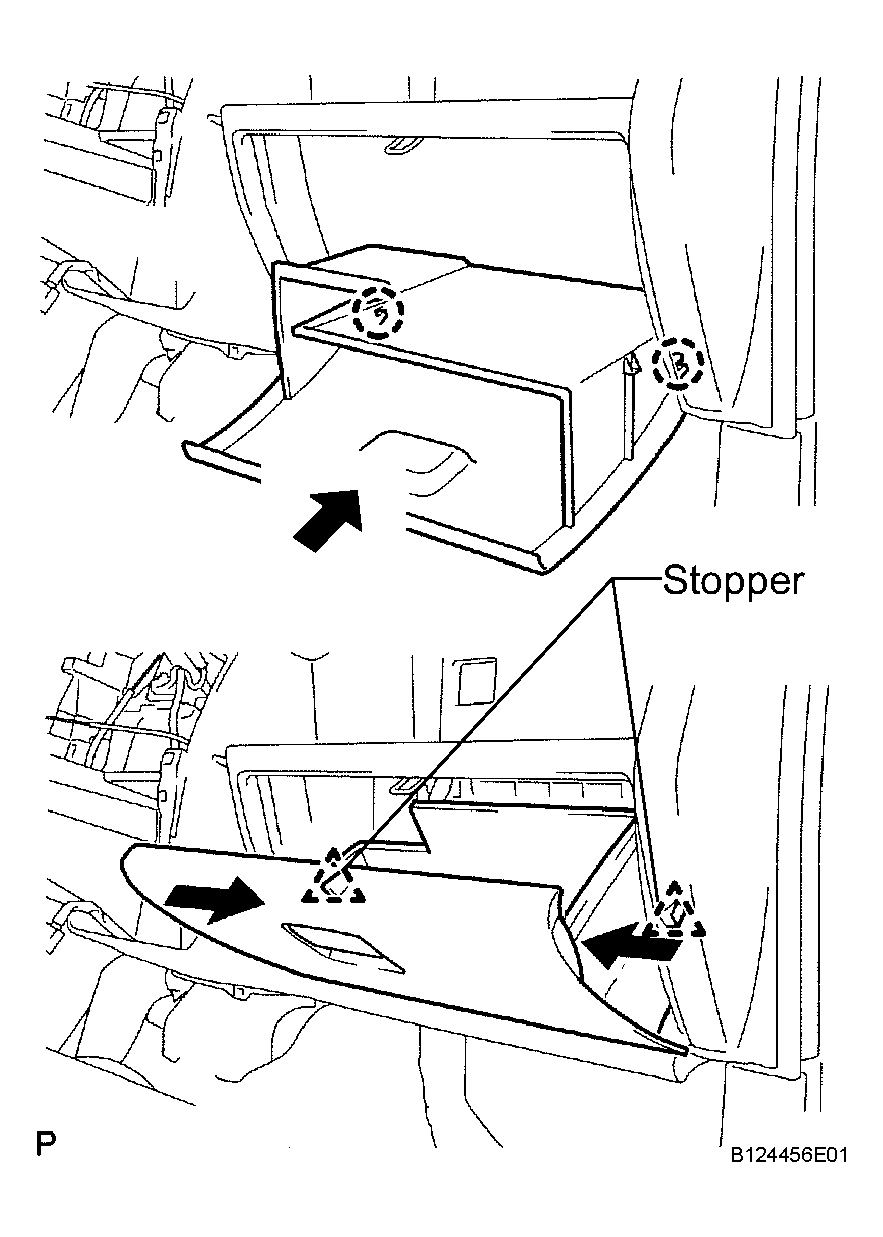 Courtesy of © TOYOTA, LICENSE AGREEMENT TMS1002
- INSTALL INSTRUMENT PANEL FINISH PANEL LOWER CENTER
- Attach the 3 claws to install the instrument panel finish panel.
- Install the clip.
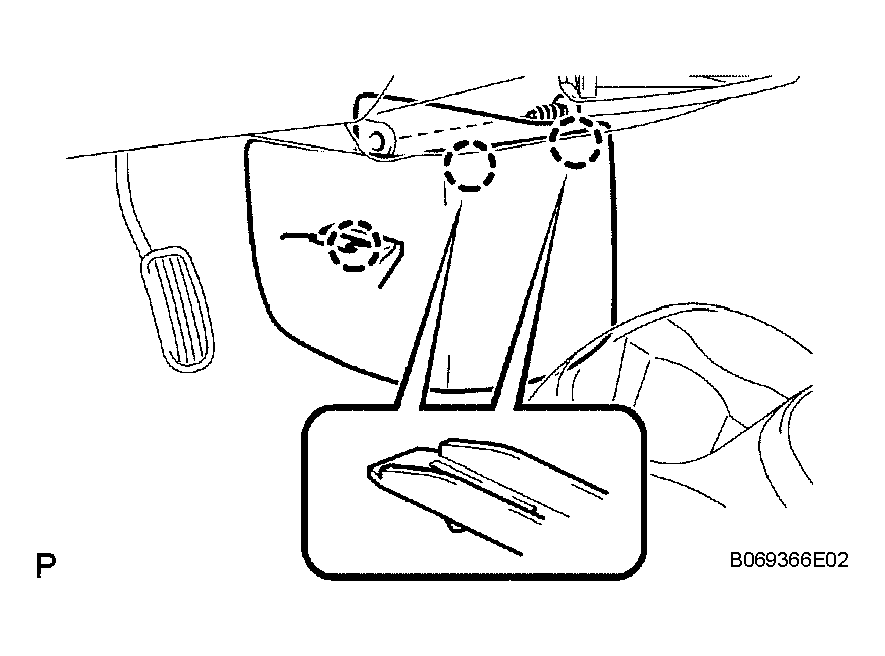 Courtesy of © TOYOTA, LICENSE AGREEMENT TMS1002
- INSTALL INSTRUMENT CLUSTER FINISH PANEL SUB-ASSEMBLY LOWER CENTER
- Connect the connectors.
- Attach the 2 claws and 2 clips to install the instrument cluster finish panel.
- INSTALL HEATER CONTROL AND ACCESSORY ASSEMBLY (See
INSTALLATION
)
- INSTALL COWL SIDE TRIM BOARD LH (See
INSTALLATION
)
- INSTALL COWL SIDE TRIM BOARD RH (See
INSTALLATION
)
- INSTALL FRONT DOOR SCUFF PLATE LH
- INSTALL FRONT DOOR SCUFF PLATE RH Stopper
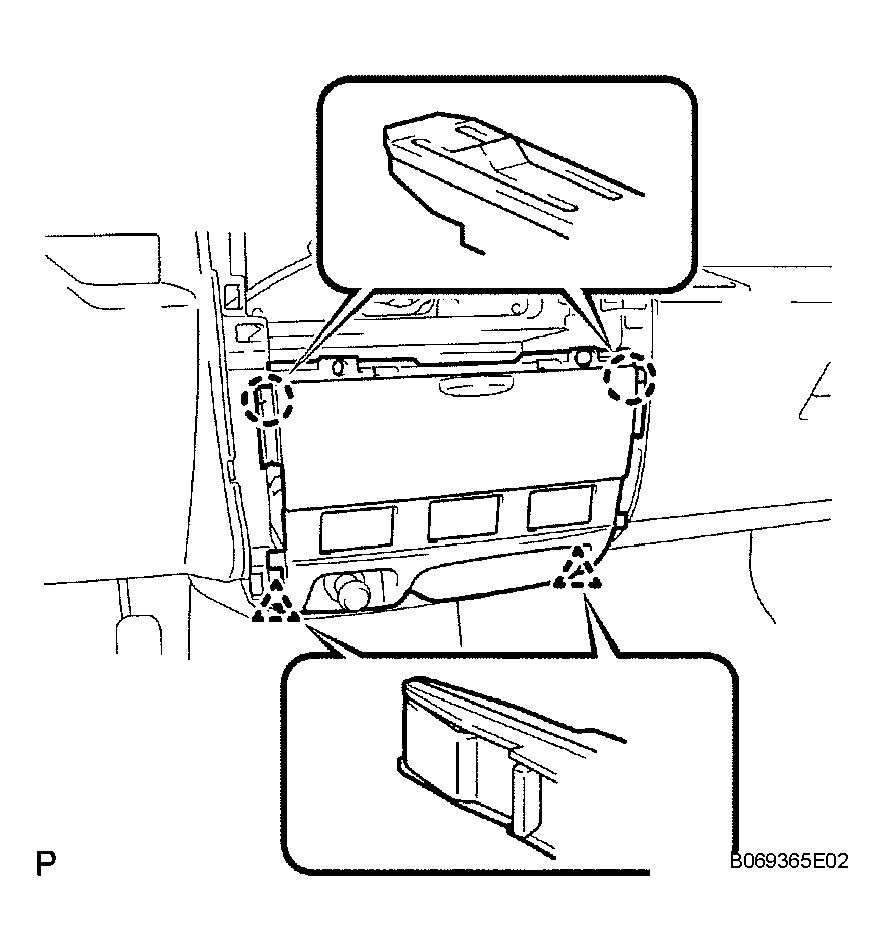 Courtesy of © TOYOTA, LICENSE AGREEMENT TMS1002
- INSTALL WINDSHIELD WIPER SWITCH ASSEMBLY (See
INSTALLATION
)
- INSTALL HEADLIGHT DIMMER SWITCH ASSEMBLY (See
INSTALLATION
)
- INSTALL STEERING COLUMN COVER (See
INSTALLATION
)
- INSTALL STEERING WHEEL ASSEMBLY (See
INSTALLATION
)
- INSTALL STEERING PAD ASSEMBLY (See
INSTALLATION
)
- INSTALL INSTRUMENT PANEL SUB-ASSEMBLY
- Install the instrument panel (see REASSEMBLY
).
- CONNECT CABLE TO NEGATIVE BATTERY TERMINAL
- CHECK SRS WARNING LIGHT
- Check the SRS warning light (see
PROBLEM SYMPTOMS TABLE
).