Input and Reaction Carrier Assemble
 Courtesy of GENERAL MOTORS CORP.
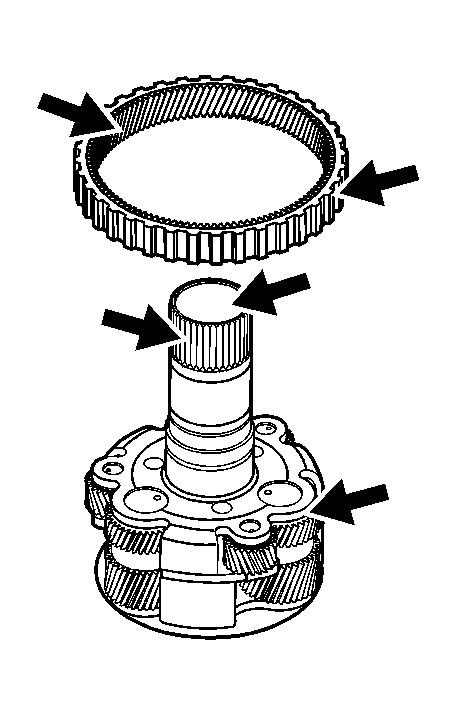
- Inspect the reaction internal gear and the 2nd clutch sprag for the following:
- Damaged or worn gear teeth
- Damaged or worn splines
- Inspect the input and reaction carrier for the following:
- Damaged or worn teeth
- Damaged or worn splines
- Damaged or worn bushings
- Damaged or worn bearings
 Courtesy of GENERAL MOTORS CORP.
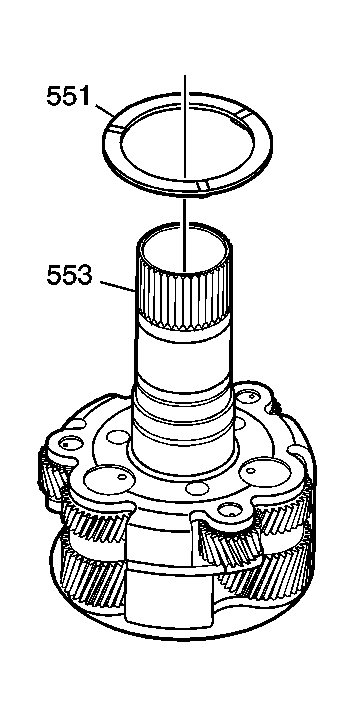
- Using lubricant install the reaction internal gear flange washer (551).
 Courtesy of GENERAL MOTORS CORP.
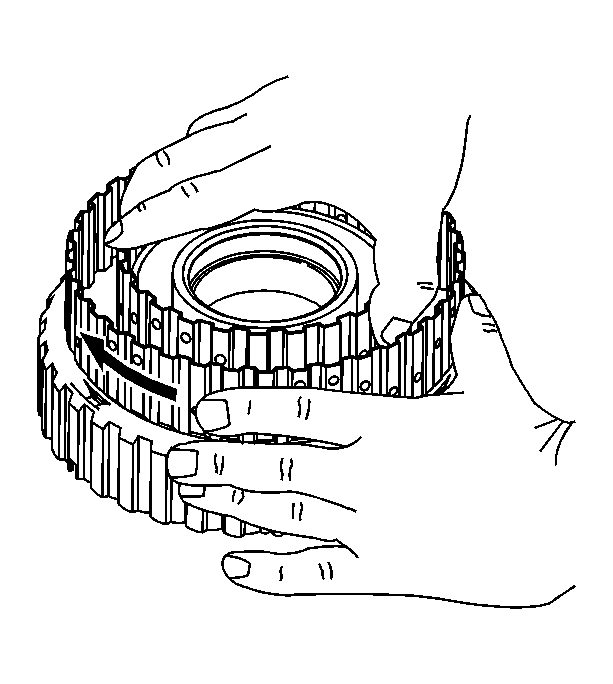
- Check that the 2nd clutch sprag rotation freewheels and locks up in the correct direction.
 Courtesy of GENERAL MOTORS CORP.
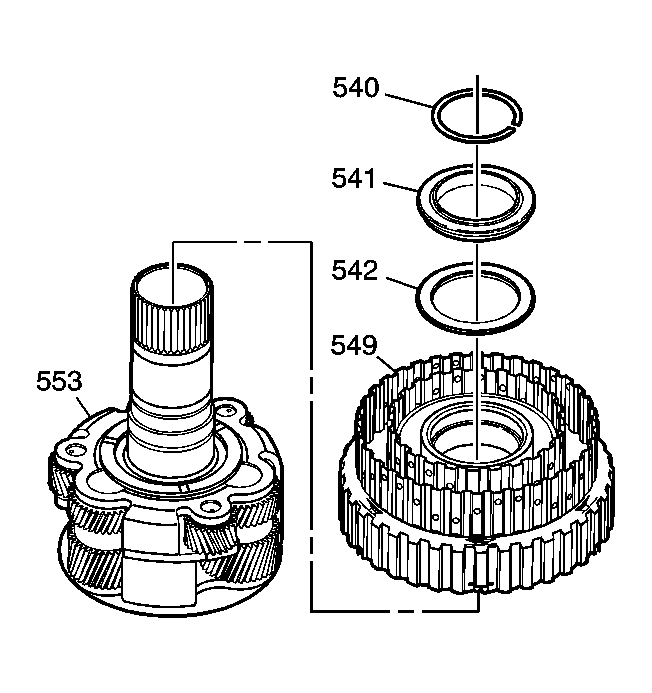
- Install the 2nd clutch sprag (549) onto the input and reaction carrier (553).
- Install the 2nd clutch roller inner race bearing (542).
- Install the input and reaction bearing (541).
- Install the input and reaction carrier snap ring (540).
 Courtesy of GENERAL MOTORS CORP.
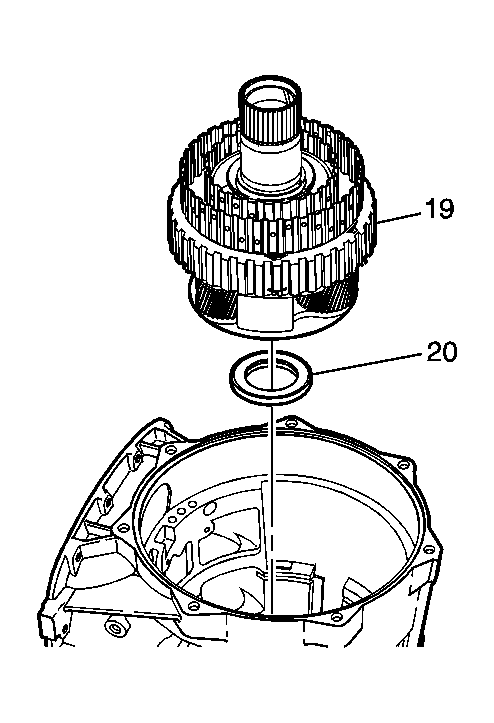
- Install the input and reaction carrier thrust bearing (20) into the case.
- Install the input and reaction carrier assembly (19) into the case.