Upper Front Longitudinal Member Installation - Ar62.20-P-1286-03RG
 |
000 588 12 84 00 Welder |
|
WS00.00-P-0318K |
Model 190
GAP DIMENSIONS
| Number |
Designation |
Model 190.3 |
Model 190.4 |
| BE60.00-P-1001-01EA |
Gap dimension, engine hood to bumper |
Dimension "A" |
mm |
3, 5 (±0, 5) |
3, 5 (±0, 5) |
| See |
|
AR60.00-P-0700-01RG |
AR60.00-P-0700-01RG |
GAP DIMENSIONS
| Number |
Designation |
Model 190.3 |
Model 190.4 |
| BE60.00-P-1002-01EA |
Gap dimension, fender to engine hood |
Dimension "B" |
mm |
3, 5 (±0, 5) |
3, 5 (±0, 5) |
| See |
|
AR60.00-P-0700-01RG |
AR60.00-P-0700-01RG |
GAP DIMENSIONS
| Number |
Designation |
Model 190.3 |
Model 190.4 |
| BE60.00-P-1003-01EA |
Gap dimension, fender to lamp unit |
Dimension "C" |
mm |
2, 5 (±1) |
3 (±0, 5) |
| See |
|
AR60.00-P-0700-01RG |
AR60.00-P-0700-01RG |
GAP DIMENSIONS
| Number |
Designation |
Model 190.3 |
Model 190.4 |
| BE60.00-P-1004-01EA |
Gap dimension, lamp unit to bumper |
Dimension "D" |
mm |
2, 5 (±1) |
2, 5 (±0, 5) |
| See |
|
AR60.00-P-0700-01RG |
AR60.00-P-0700-01RG |
GAP DIMENSIONS
| Number |
Designation |
Model 190.3 |
Model 190.4 |
| BE60.00-P-1005-01EA |
Gap dimension, fender to bumper lamp unit |
Dimension "E" |
mm |
0 (+0, 5) |
0 (+0, 5) |
| See |
|
AR60.00-P-0700-01RG |
AR60.00-P-0700-01RG |
GAP DIMENSIONS
| Number |
Designation |
Model 190.3 |
Model 190.4 |
| BE60.00-P-1007-01EA |
Gap dimension, fender to door paneling |
Dimension "G" |
mm |
4 (±0, 5) |
4 (±0, 5) |
| See |
|
AR60.00-P-0700-01RG |
AR60.00-P-0700-01RG |
 Courtesy of MERCEDES-BENZ USA
 Courtesy of MERCEDES-BENZ USA
 Courtesy of MERCEDES-BENZ USA
 Further information can be found in the superordinate service document. Comply with safety information in superordinate customer service document.
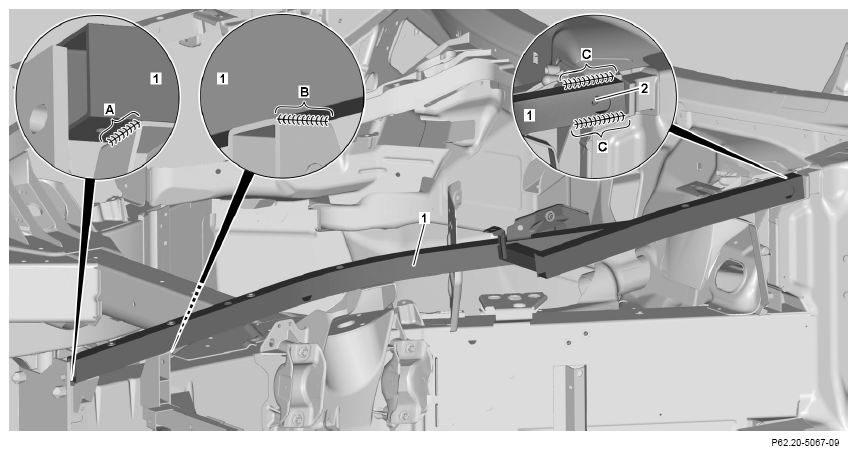
The following operation steps are shown on the left side of the vehicle. This must be similarly performed for damage to the right side of the vehicle.
 Courtesy of MERCEDES-BENZ USA Courtesy of MERCEDES-BENZ USA
|
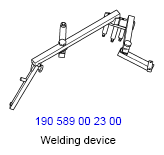
- Install upper front longitudinal member (1) with
 welding device and fit.
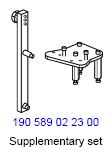
When working on right side of vehicle, use
supplementary set in addition.
- Install both fenders, engine hood, lamp units and front bumper and fit.
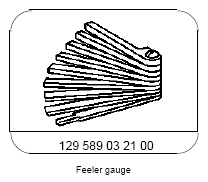
- Check gaps using
feeler gauge and adjust.
- Fix upper front longitudinal member (1) in place with bolt (2) and nut on rear mounting console.
- Remove both fenders, engine hood, lamp units and front bumper.
- Check weld seam gap.
The weld seam gap must not be larger than 1 mm; if necessary, make an add-on seam weld.
- Tack weld upper front longitudinal member (1) with welder (
 ) (areas A, B and C).
When MIG welding (
) prepare welds by grinding down to bare metal with stainless steel brush. Tack weld seams at start, end and approx. every 4 cm.
- Weld upper front longitudinal member (1) with welder (
 ) (areas A, B and C).
When MIG welding (
), prepare welds by grinding down to bare metal with stainless steel brush directly before welding. Tack weld seams at start, end and approx. every 4 cm. Weld seam gap should not be greater than 1 mm; if required, create a pre-seam.
 Courtesy of MERCEDES-BENZ USA Courtesy of MERCEDES-BENZ USA
|
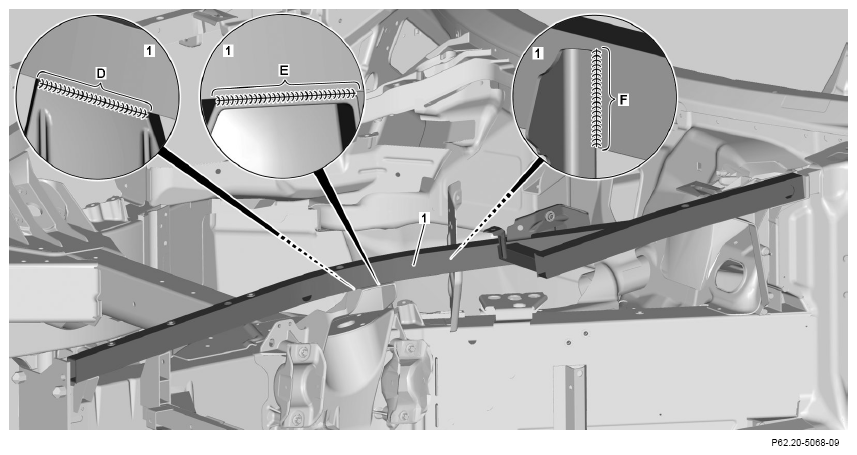
- Tack weld upper front longitudinal member (1) with welder (
) (areas D, E and F).
When MIG welding (
) prepare welds by grinding down to bare metal with stainless steel brush. Tack weld seams at start, end and approx. every 4 cm.
- Weld upper front longitudinal member (1) with welder (
) (areas D, E and F).
When MIG welding (
), prepare welds by grinding down to bare metal with stainless steel brush directly before welding. Tack weld seams at start, end and approx. every 4 cm. Weld seam gap should not be greater than 1 mm; if required, create a pre-seam.
 Courtesy of MERCEDES-BENZ USA Courtesy of MERCEDES-BENZ USA
|
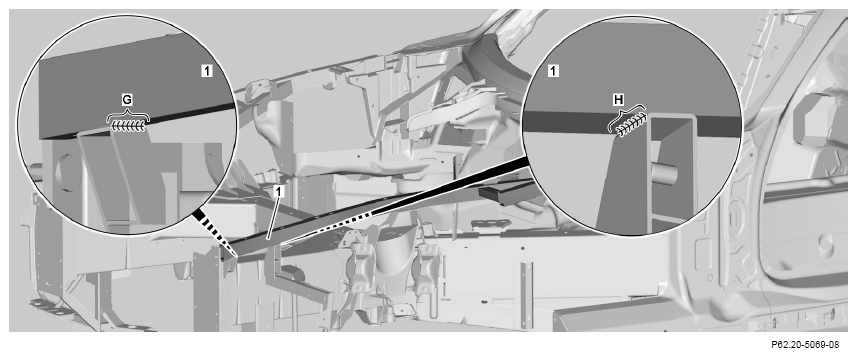
- Tack weld upper front longitudinal member (1) with welder (
) (areas G and H).
When MIG welding (
) prepare welds by grinding down to bare metal with stainless steel brush. Tack weld seams at start, end and approx. every 4 cm.
- Weld upper front longitudinal member (1) with welder (
) (areas G and H).
When MIG welding (
), prepare welds by grinding down to bare metal with stainless steel brush directly before welding. Tack weld seams at start, end and approx. every 4 cm. Weld seam gap should not be greater than 1 mm; if required, create a pre-seam.
-
Remove welding device.
When working on right side of vehicle, remove
supplementary set in addition.