Removal and Installation
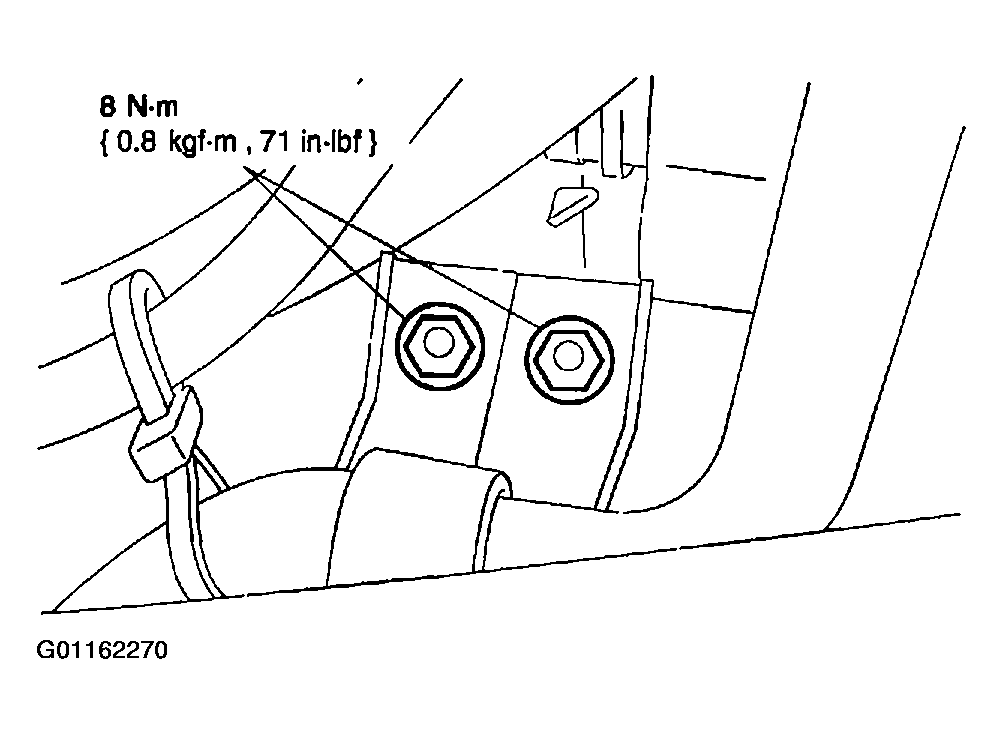 Courtesy of MAZDA MOTORS CORP.
- Remove the nuts from the A/C manifold and tube mounting bracket.
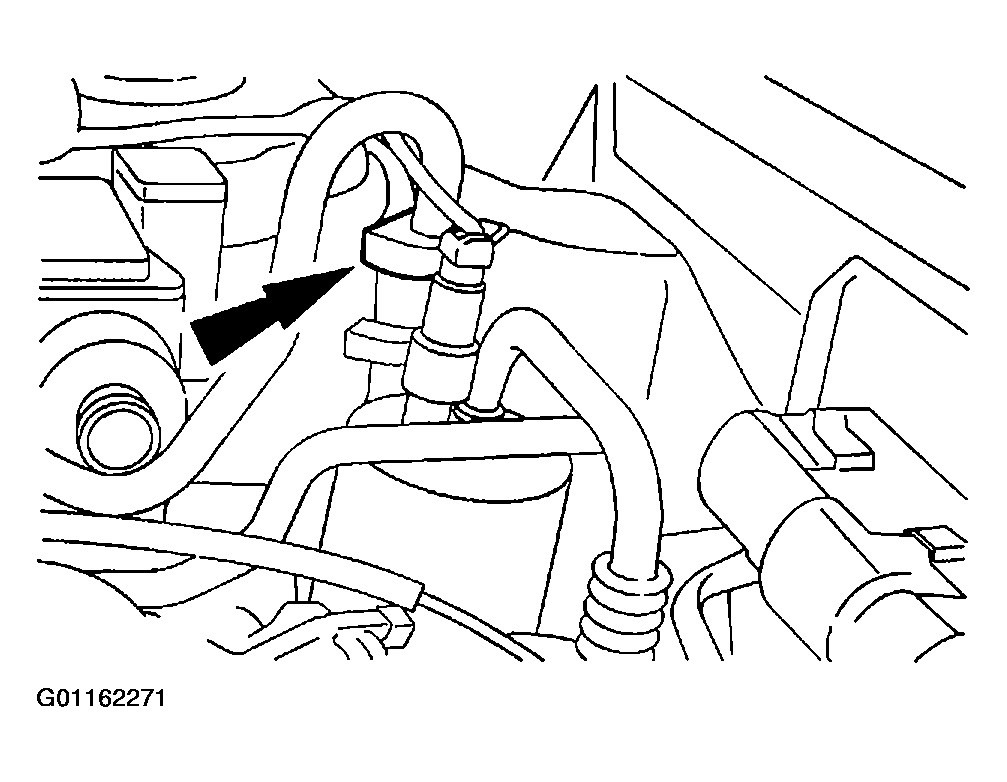 Courtesy of MAZDA MOTORS CORP.
CAUTION:
- Plug all ports to prevent contamination from dirt or moisture.
- Disconnect the A/C manifold and tube from the suction accumulator. Refer to SPRING LOCK COUPLING
.
- Remove the front bumper cover. Refer to FRONT BUMPER COVER
.
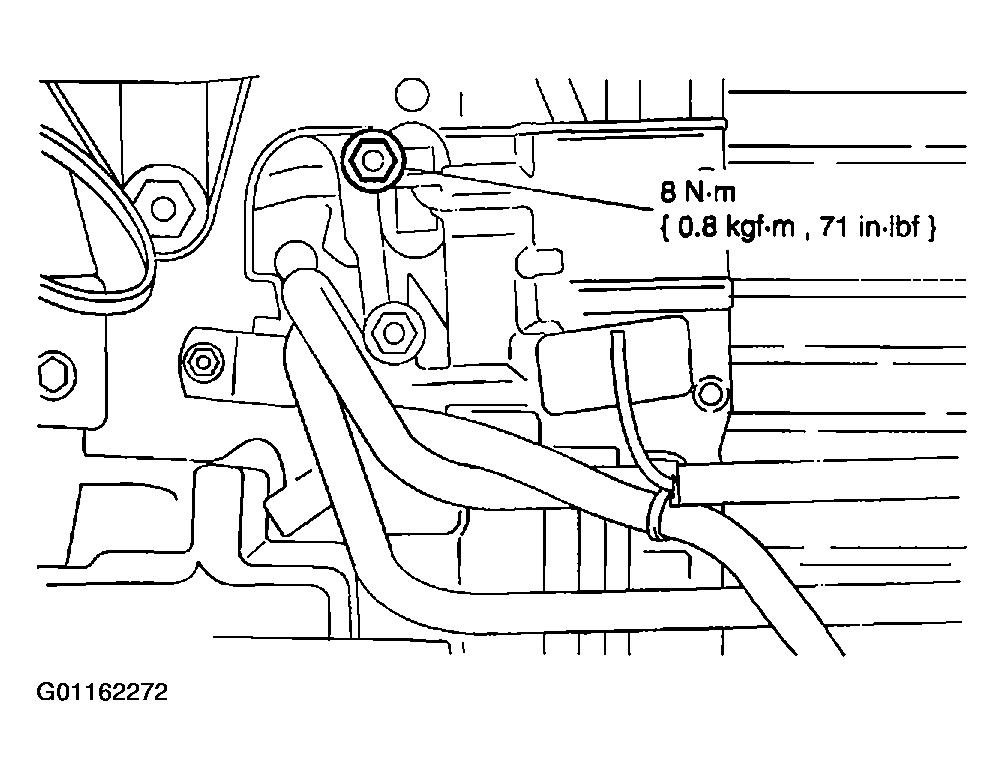 Courtesy of MAZDA MOTORS CORP.
CAUTION:
- Plug all ports to prevent contamination from dirt or moisture.
- Remove the nut and disconnect the A/C manifold and tube to A/C condenser core air conditioning line (peanut) fitting.
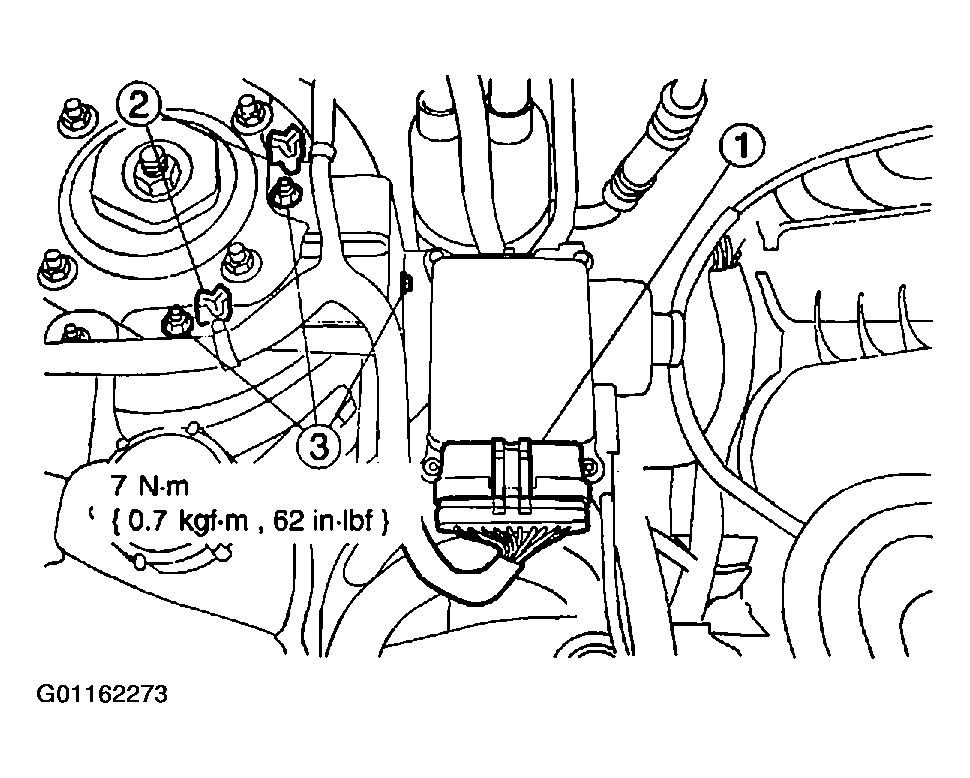 Courtesy of MAZDA MOTORS CORP.
- Position aside the speed control actuator assembly.
- Disconnect the electrical connector.
- Disconnect the electrical harness pin-type retainers.
- Remove the nuts.
- Raise and support the vehicle.
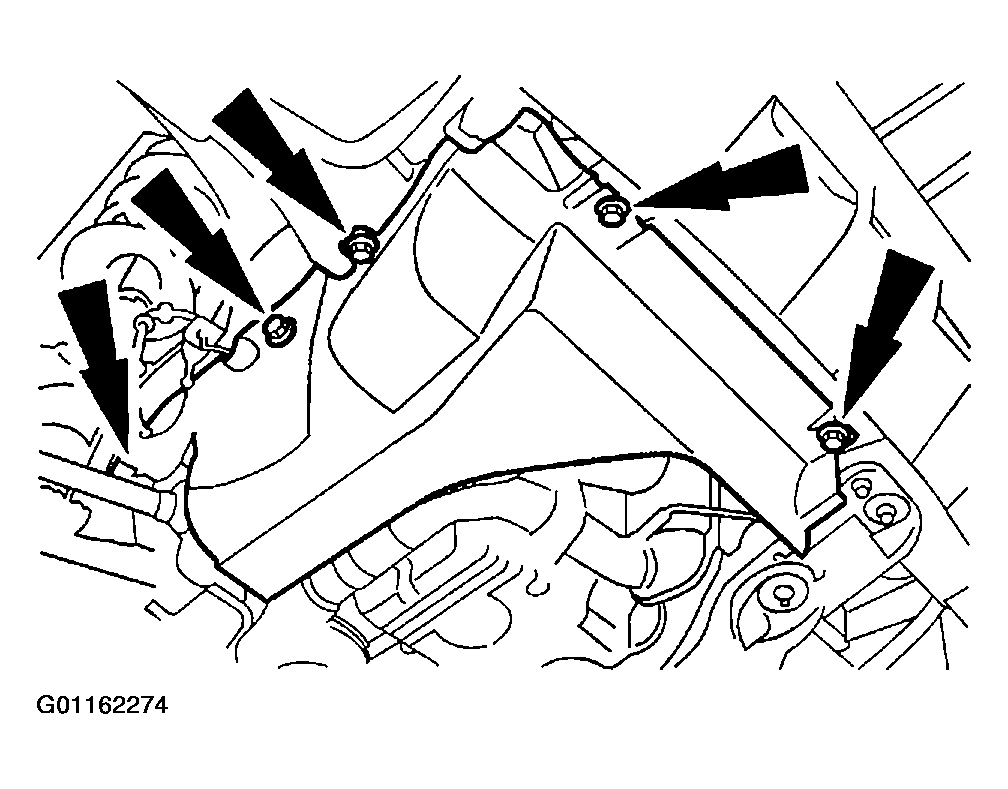 Courtesy of MAZDA MOTORS CORP.
- Remove the RH splash shield.
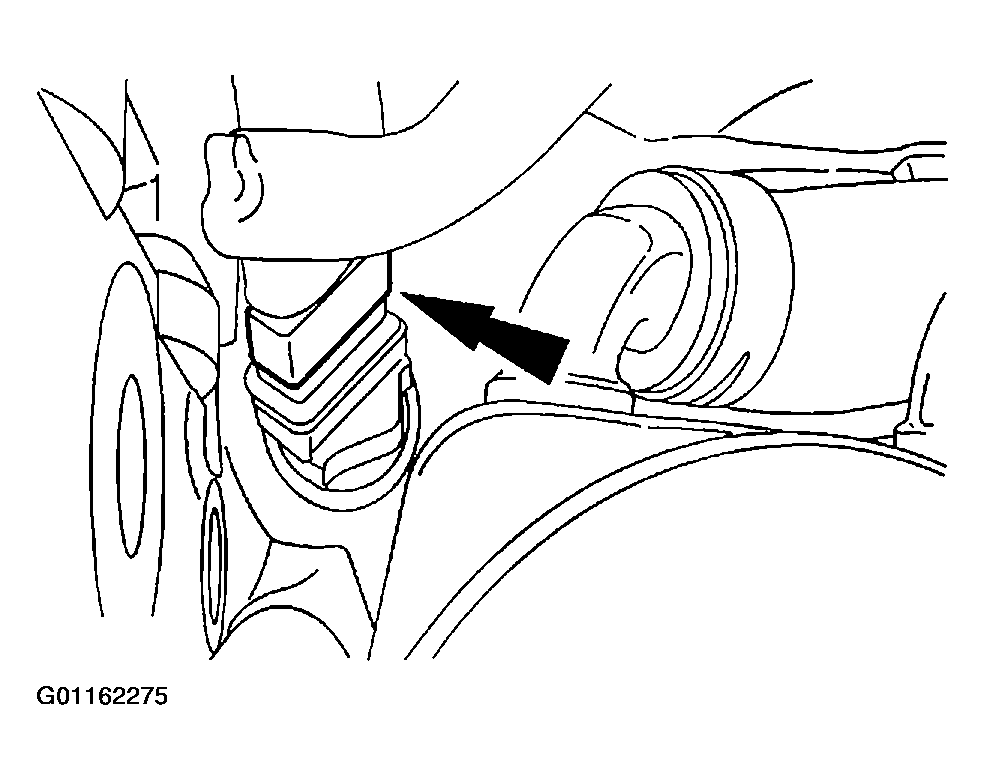 Courtesy of MAZDA MOTORS CORP.
- If equipped, disconnect the engine block heater electrical connector.
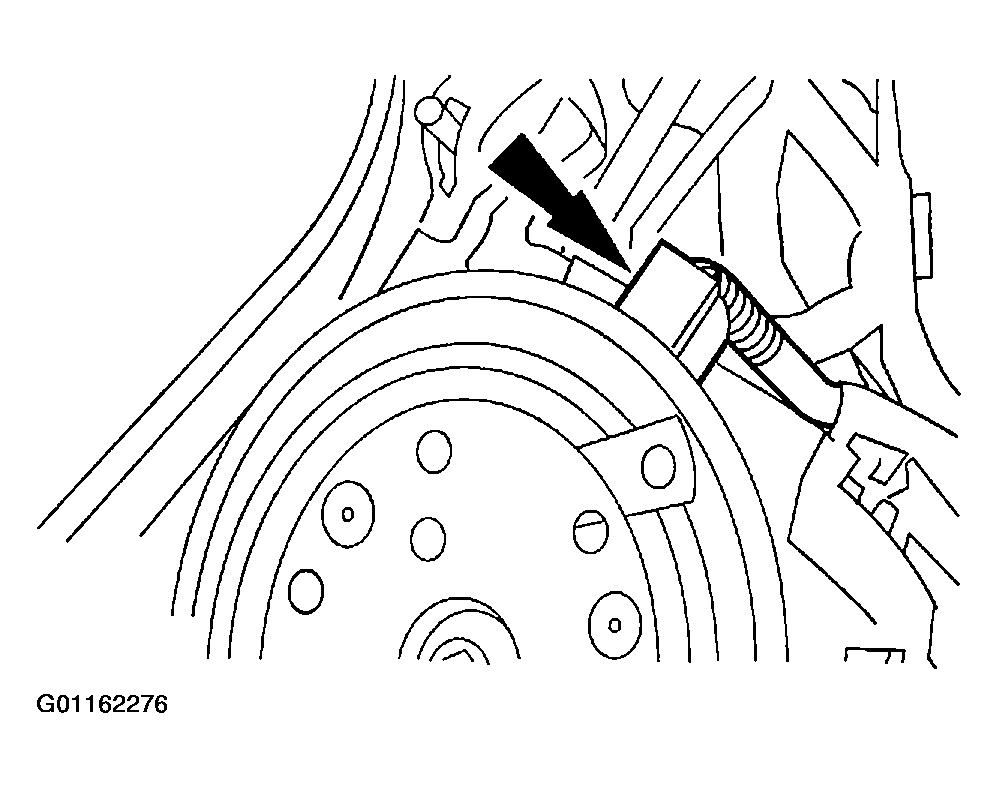 Courtesy of MAZDA MOTORS CORP.
- Disconnect the A/C clutch field coil electrical connector.
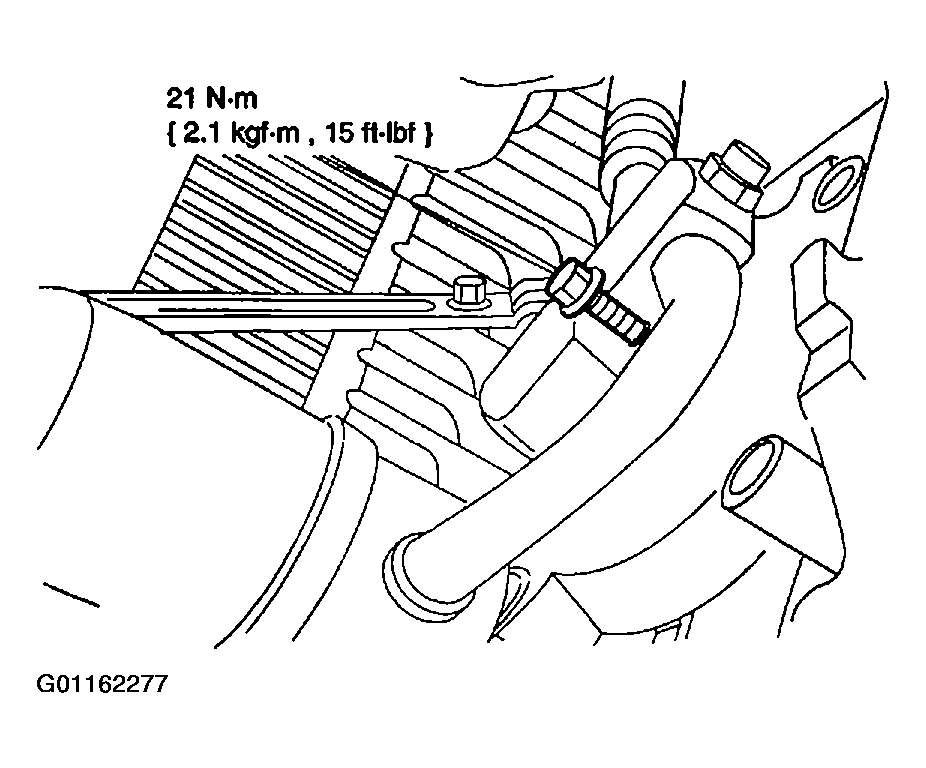 Courtesy of MAZDA MOTORS CORP.
CAUTION:
- Plug all ports to prevent contamination from dirt or moisture.
NOTE:
- Vehicles with 2.0L Zetec engine shown, vehicles with 3.0L (4V) engine similar.
- Remove the A/C manifold and tube assembly bolt.
- Remove the A/C manifold and tube assembly through the bottom of the vehicle.
- To install, reverse the removal procedure.
- Lubricate the O-ring seals with PAG Compressor Oil.
- Apply Pipe Sealant with Teflon(R) to the threads of the A/C manifold retaining bolt.