Removal
FRONT SUSPENSION: FRONT SHOCK ABSORBER: REMOVAL
HINT:
- Use the same procedures for the RH side and LH side.
- The procedures listed below are for the LH side.
1. REMOVE FRONT WHEEL
2. REMOVE FRONT FENDER SPLASH SHIELD SUB-ASSEMBLY LH Removal
3. REMOVE FRONT FENDER SPLASH SHIELD SUB-ASSEMBLY RH Removal
4. REMOVE NO. 1 ENGINE UNDER COVER SUB-ASSEMBLY Removal
5. LOOSEN FRONT NO. 1 STABILIZER BRACKET LH
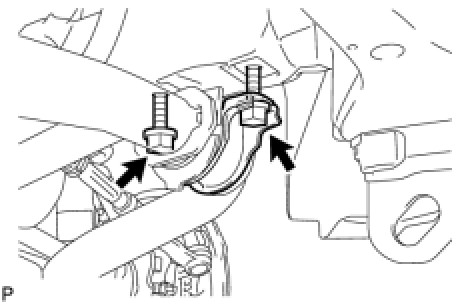
(a) Loosen the 2 bolts of the front stabilizer brackets.
6. LOOSEN FRONT NO. 1 STABILIZER BRACKET RH
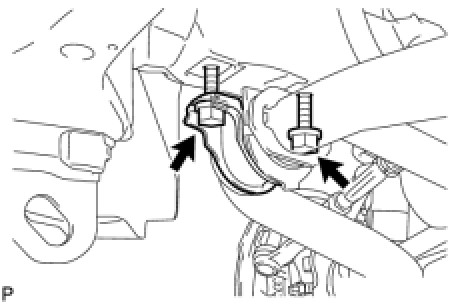
(a) Loosen the 2 bolts of the front stabilizer brackets.
7. REMOVE FRONT STABILIZER LINK ASSEMBLY LH
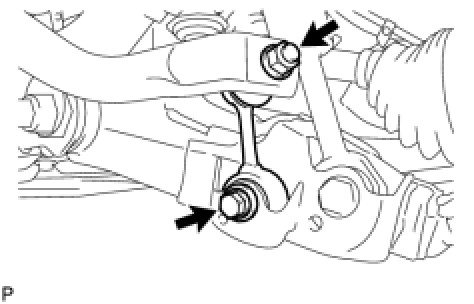
(a) Remove the bolt, nut and stabilizer link.
8. REMOVE FRONT STABILIZER LINK ASSEMBLY RH
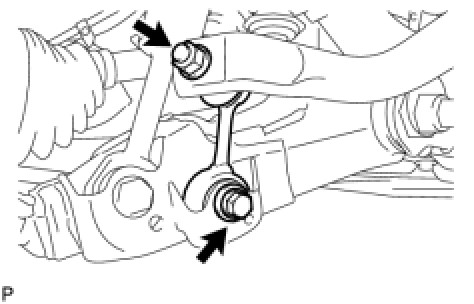
(a) Remove the bolt, nut and stabilizer link.
HINT:
If the ball joint turns together with the nut, use a 6 mm hexagon wrench to hold the stud.
9. DISCONNECT SKID CONTROL SENSOR WIRE Removal
10. DISCONNECT STEERING KNUCKLE LH Removal
11. DISCHARGE SUSPENSION FLUID PRESSURE Removal
12. REMOVE FRONT FENDER APRON SEAL LH
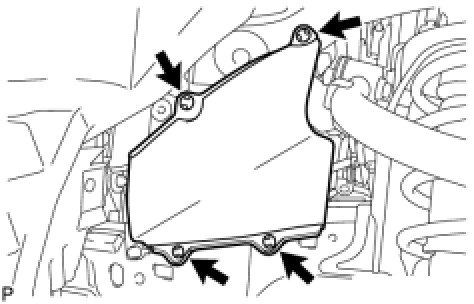
(a) Using a clip remover, remove the 4 clips and apron seal.
13. REMOVE FRONT FENDER APRON SEAL REAR LH
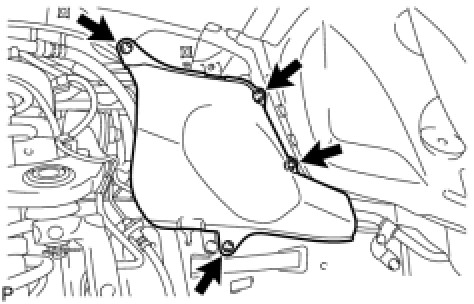
(a) Using a clip remover, remove the 4 clips and apron seal.
14. DISCONNECT NO. 2 SUSPENSION CONTROL PRESSURE HOSE
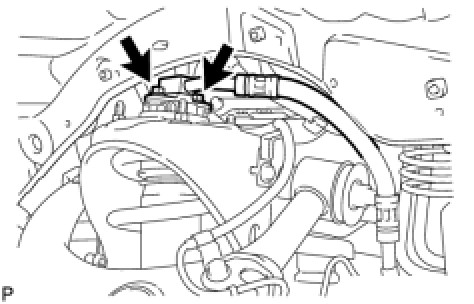
(a) Remove the 2 bolts and disconnect the pressure hose from the shock absorber.
15. REMOVE FRONT SHOCK ABSORBER WITH COIL SPRING LH
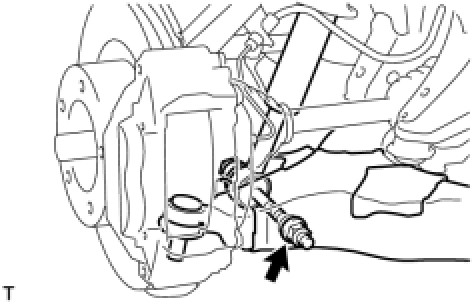
(a) Remove the nut from the shock absorber lower side.
NOTICE:
To prevent the shock absorber with coil spring from falling, leave the bolt inserted.
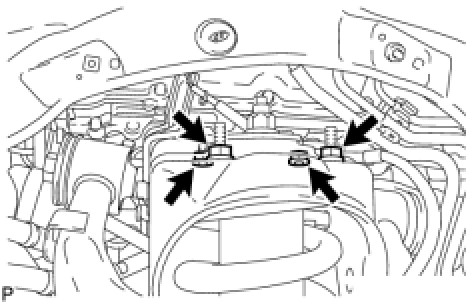
(b) Remove the 4 nuts.
(c) Remove the bolt (lower side) and shock absorber with coil spring.