Removal Procedure
- Disconnect the negative battery cable. Refer to Battery Negative Cable Disconnection and Connection
.
- Raise and support the vehicle. Refer to Lifting and Jacking the Vehicle
.
- Remove the catalytic converter guard. Refer to Catalytic Converter Guard Replacement
.
- Remove the catalytic converter. Refer to Catalytic Converter Replacement
.
- Drain the transmission then reinstall the fluid pan. Refer to Automatic Transmission Fluid, Fluid Pan and/or Filter Replacement .
- Remove the rear propeller shaft. Refer to Rear Propeller Shaft Replacement
.
- Remove the front propeller shaft. Refer to Front Propeller Shaft Replacement
.
 Courtesy of GENERAL MOTORS CORP.
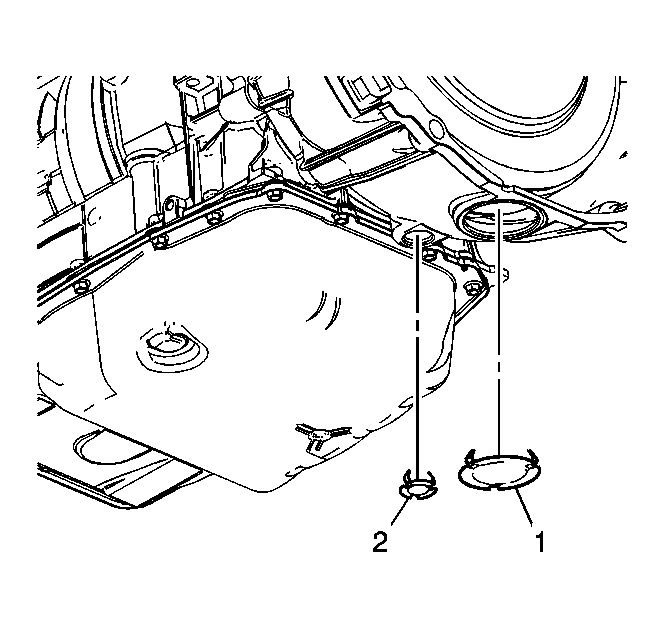
- Remove the torque converter access plugs (1, 2).
 Courtesy of GENERAL MOTORS CORP.
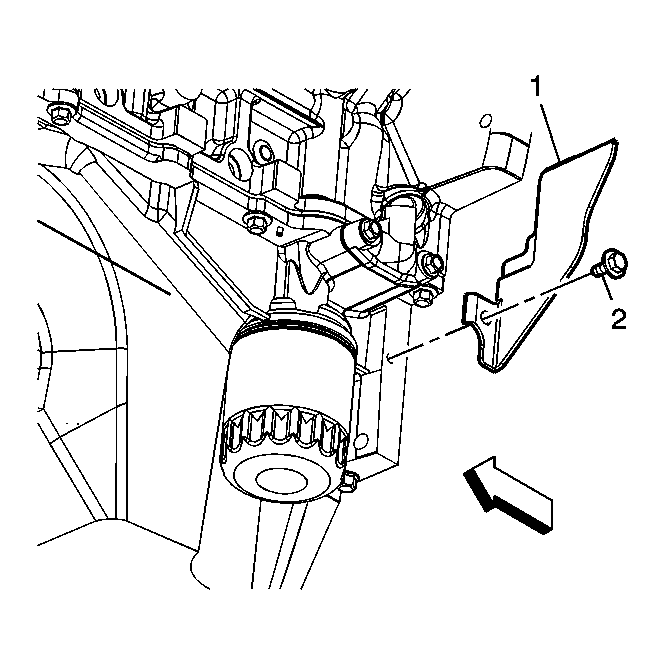
- Remove the left flex plate inspection cover bolt (2).
- Remove the left flex plate inspection cover (1).
- Remove the starter motor. Refer to Starter Motor Replacement
.
 Courtesy of GENERAL MOTORS CORP.
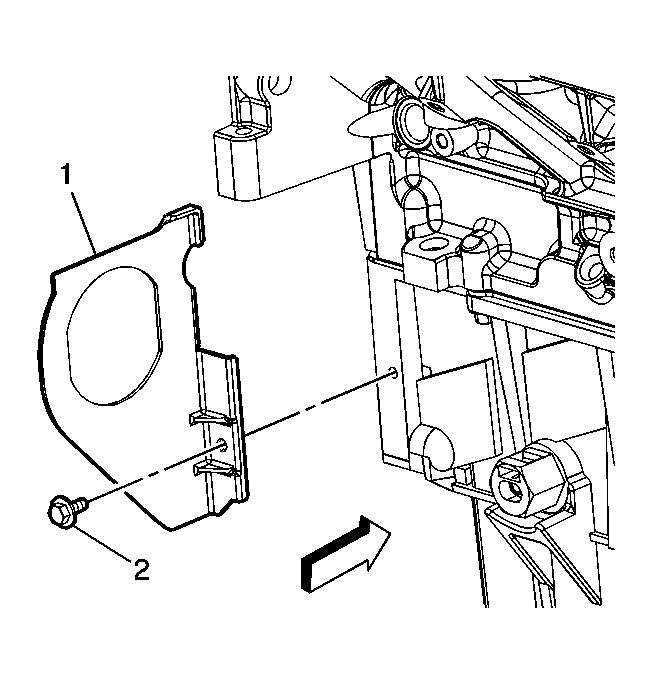
- Remove the right flex plate inspection cover bolt (2).
- Remove the right flex plate inspection cover (1).
- Mark the torque converter relationship to the flex plate.
 Courtesy of GENERAL MOTORS CORP.
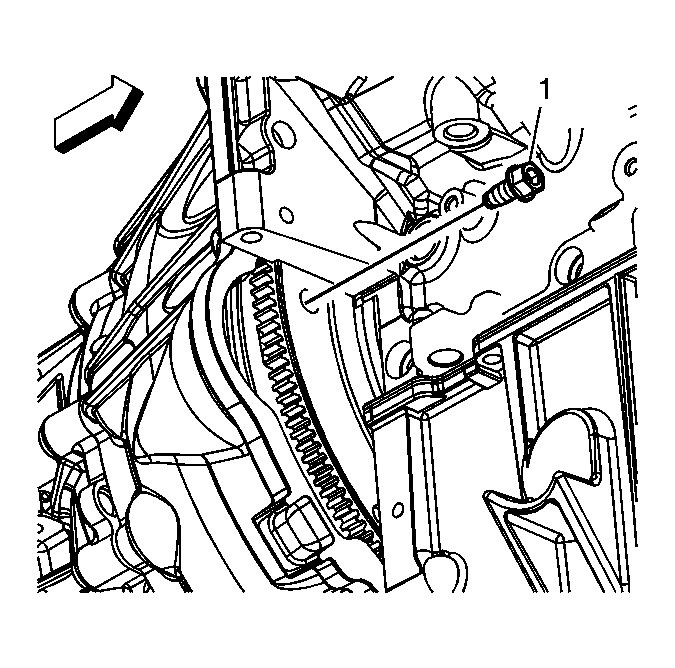
- Remove the flex plate to torque converter bolts (1).
- Support the transmission with a transmission jack.
- Remove the transmission support. Refer to Transmission Support Replacement
.
- Remove the transmission mount. Refer to Transmission Mount Replacement .
- Lower the transmission to gain access to the top and sides of the transmission.
- Remove the transmission heat shield. Refer to Transmission Heat Shield Replacement .
- Remove the vent hose from the transmission and transfer case.
 Courtesy of GENERAL MOTORS CORP.
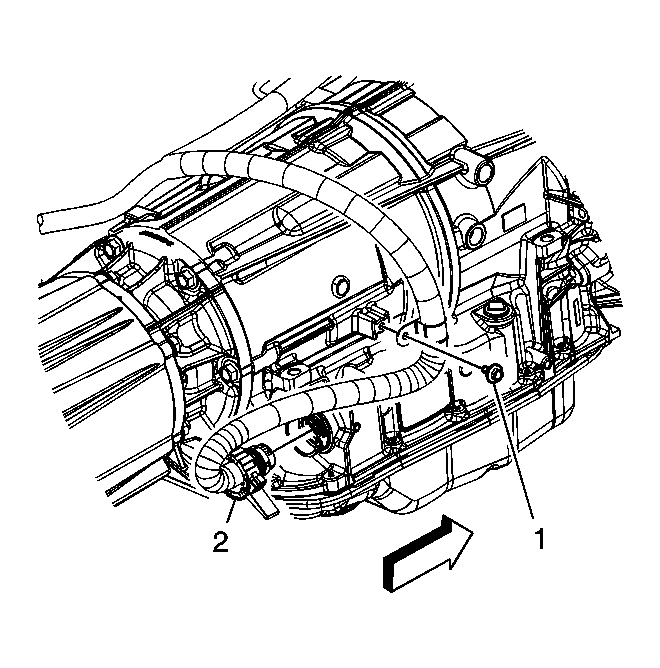
- Remove the transmission electrical harness retaining screw (1).
- Disconnect the transmission electrical harness connector (2).
 Courtesy of GENERAL MOTORS CORP.
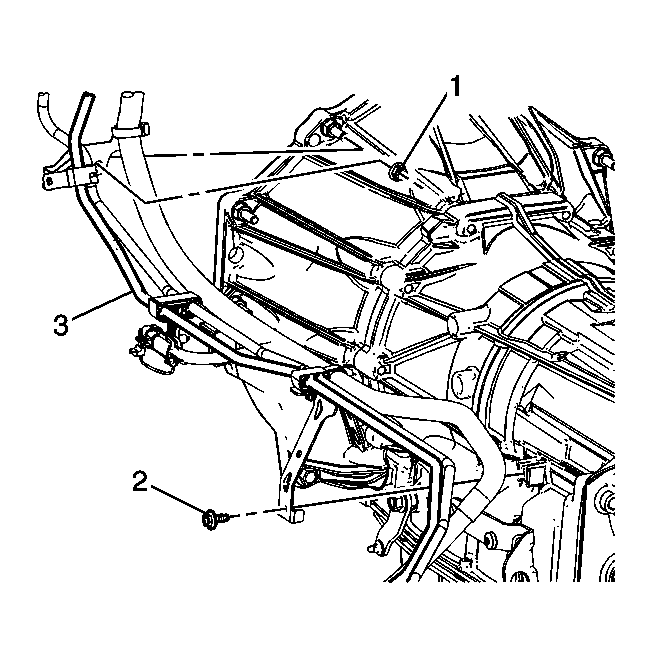
- Remove the fuel pipe bracket screw (2).
- Remove the fuel pipe bracket nut (1).
 Courtesy of GENERAL MOTORS CORP.
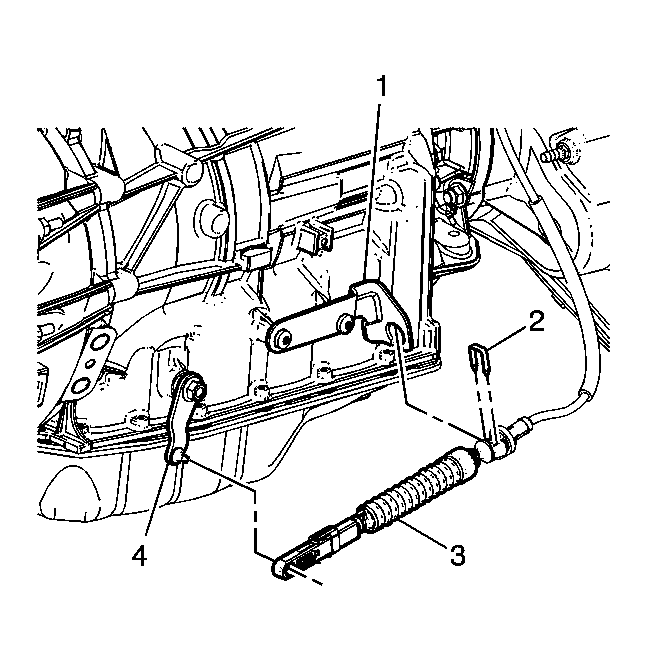
- disconnect the shift control cable (3) from the range select lever (4)
- Remove the shift control cable retainer (2).
- Remove the shift control cable (3) from the cable bracket (1).
- Remove the transfer case. Refer to Transfer Case Assembly Replacement
.
 Courtesy of GENERAL MOTORS CORP.
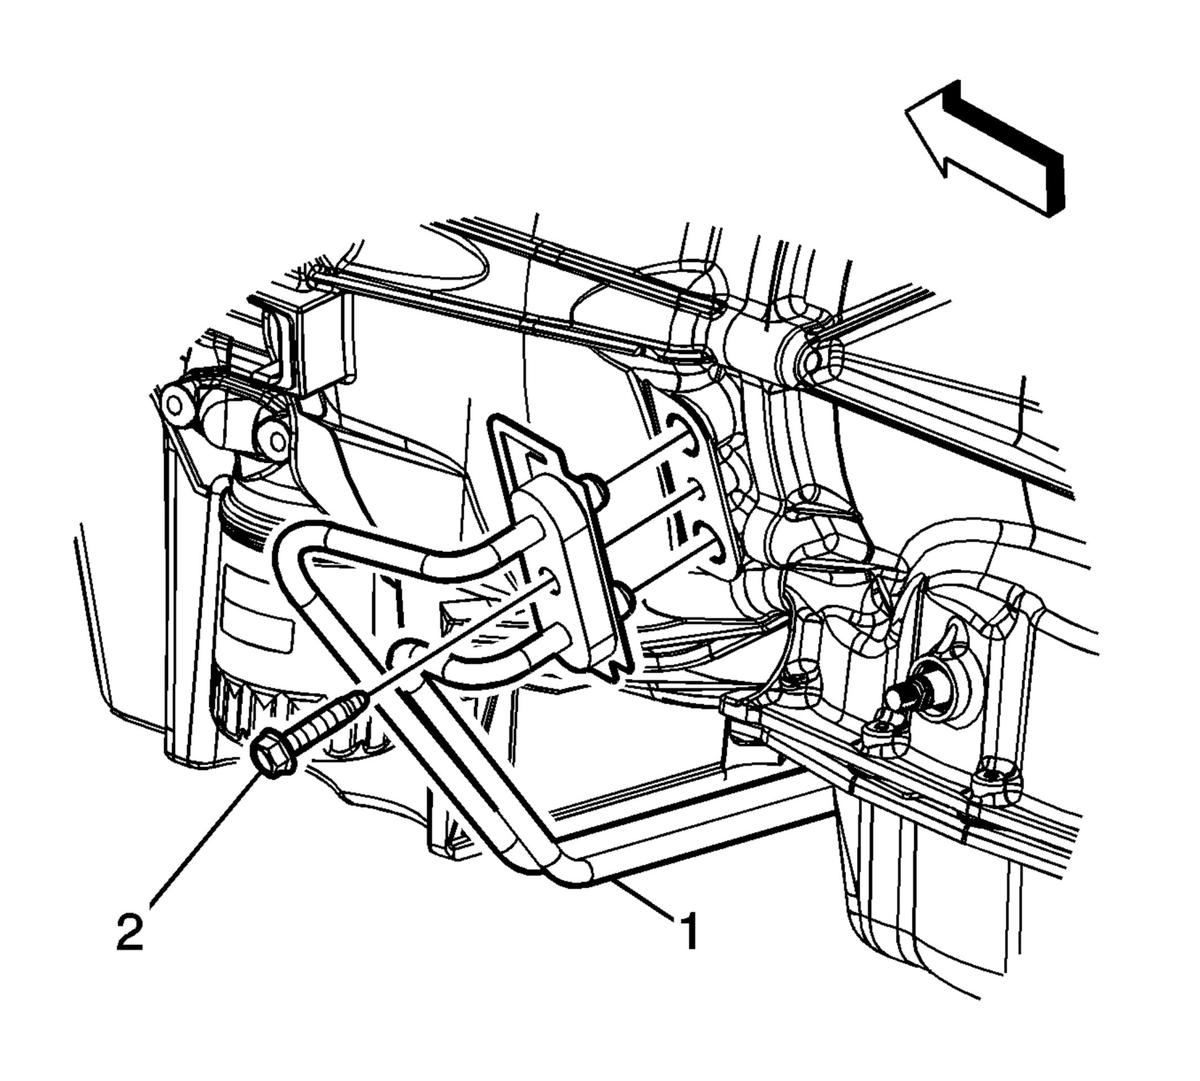
- Disconnect the transmission oil cooler lines from the transmission. Refer to Transmission Fluid Cooler Hose/Pipe Replacement .
- Plug the transmission oil cooler lines and line connection in the transmission case to prevent fluid loss and contamination.
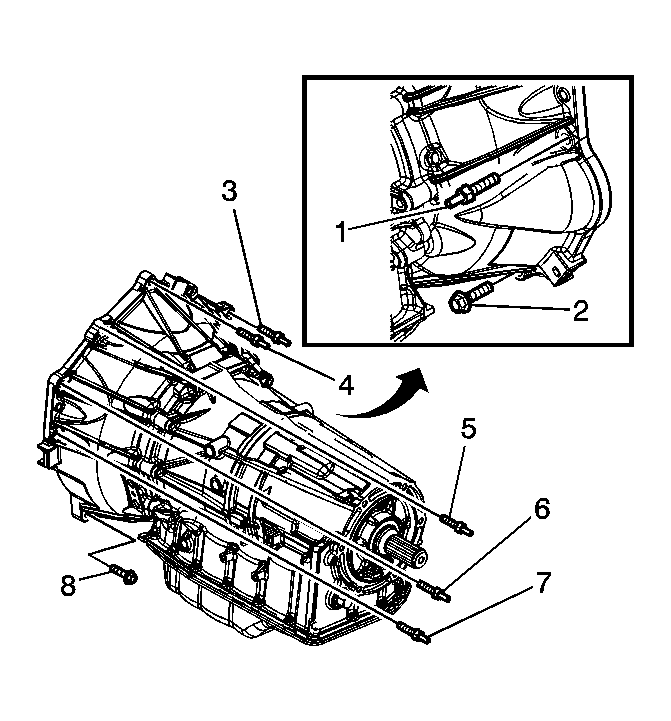 Courtesy of GENERAL MOTORS CORP.
- Remove the bolts and studs (1-8) securing the transmission to the engine.
- Pull the transmission straight back.
- Install the J 21366
onto the transmission bell housing to retain the torque converter.
- Remove the transmission from the vehicle while simultaneously removing the fluid level indicator tube.
- Flush the transmission oil cooler and cooling lines if necessary. Refer to Transmission Fluid Cooler Flushing and Flow Test .
- Transfer any remaining components to the new transmission if the transmission is being replaced.