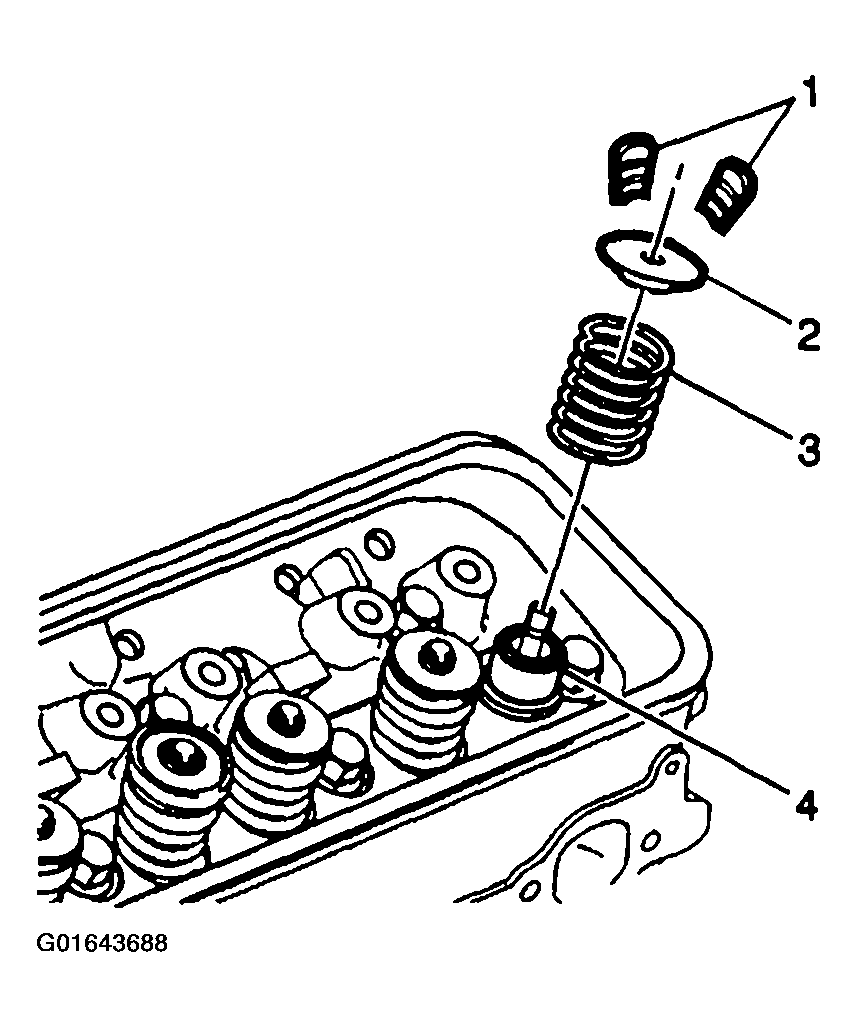
- Install the valve seals (4). Refer to CYLINDER HEAD ASSEMBLE
.
- Install the valve spring (3).
- Install the valve spring cap (2) on the valve stem.
CAUTION:
Compressed valve springs have high tension against the valve spring compressor. Valve springs that are not properly compressed by or released from the valve spring compressor with intense force. Use care while compressing or releasing the valve spring with the valve spring compressor and when removing or installing the valve stem keys. Failing to use care may cause personal injury.
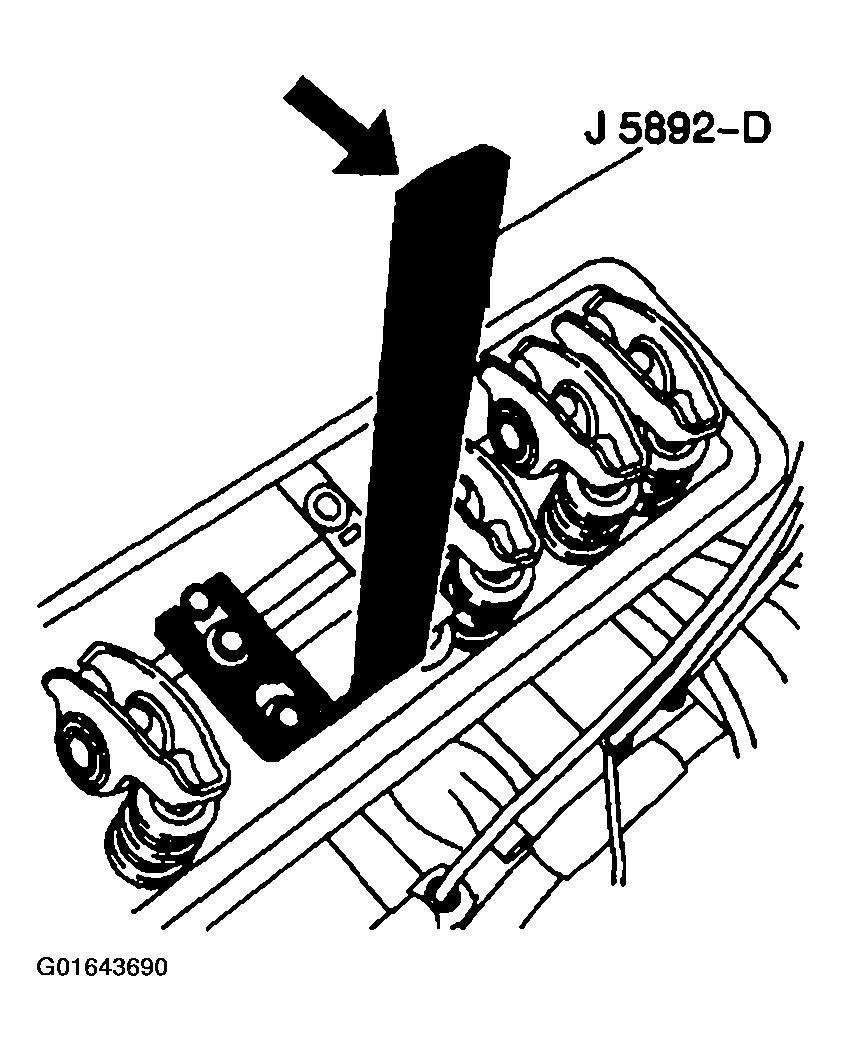
- To press the valve spring (3) use the J 5892-D.
 Courtesy of GENERAL MOTORS CORP.
NOTE:
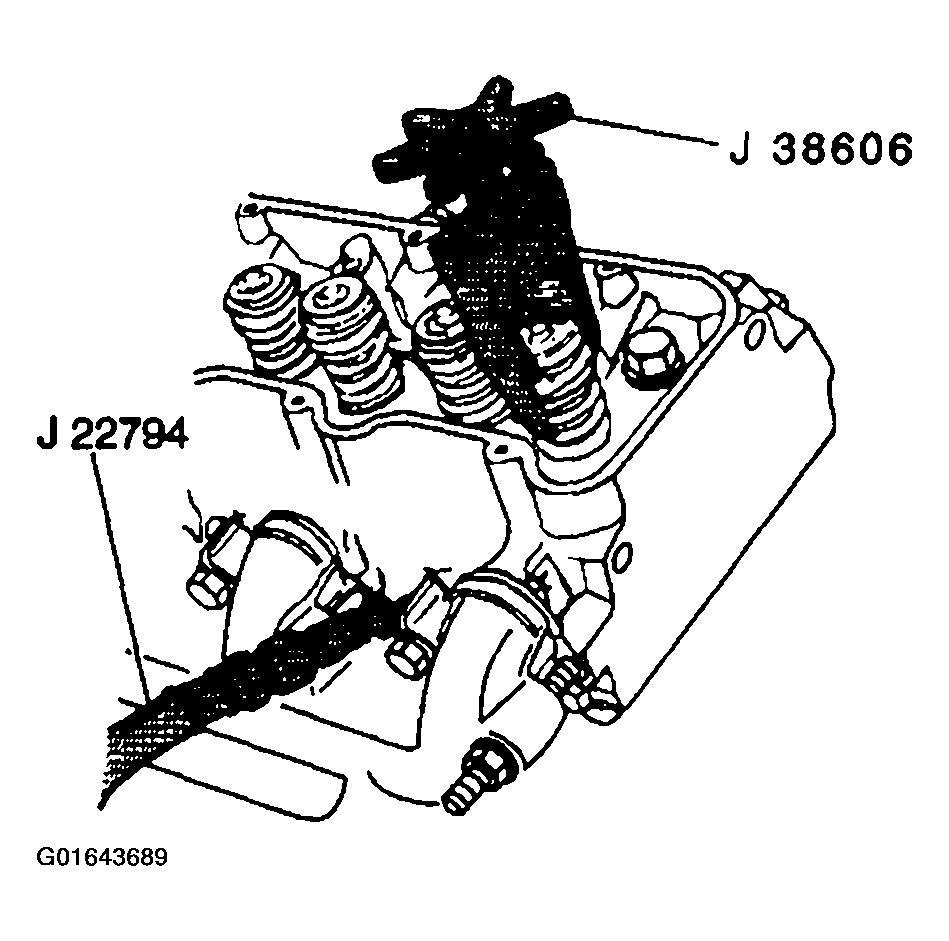
Completely engage the J 38606 jaws on the valve spring. The J 38606 may slip off and scratch the valve spring. Replace the valve spring if the valve spring becomes scratch.
- Use the J 38606
if the clearance does not permit use of the J 5892-D.
 Courtesy of GENERAL MOTORS CORP.
- Install the valve stem keys. Use grease in order to hold the valve stem keys in place.
- Carefully release the valve spring pressure, making sure the valve stem keys stay in place.
NOTE:
The valve stem keys must correctly seat in the valve spring cap. Engine damage may occur by not installing properly.
- Remove the J 5892-D
or the J 38606.
- 8.1. Look to ensure that the valve stem keys seat properly in the upper groove of the valve stem.
- 8.2. Tap the end of the valve stem with a plastic faced hammer in to seat the valve stem keys, if necessary.
 Courtesy of GENERAL MOTORS CORP.
- Remove the J 22794.
- Install the spark plugs. Refer to ENGINE CONTROLS - REMOVAL & INSTALLATION
in Engine Performance.
- Install the valve rocker arms to the cylinder head. Refer to VALVE ROCKER ARM AND PUSH ROD INSTALLATION
.
- Install the valve rocker arm cover. Refer to VALVE ROCKER ARM COVER REPLACEMENT - LEFT
or VALVE ROCKER ARM COVER REPLACEMENT - RIGHT
.