Removal Procedure
- Disconnect the battery negative cable. Refer to BATTERY NEGATIVE CABLE DISCONNECT/CONNECT PROCEDURE
in Battery.
- Remove the oil level indicator.
- Raise the vehicle. Refer to LIFTING AND JACKING THE VEHICLE
in General Information.
- Remove the oil pan drain plug and drain the engine oil into a suitable container.
- Remove the oil filter.
- Remove the bolt holding the oil cooler pipes bracket to the oil pan.
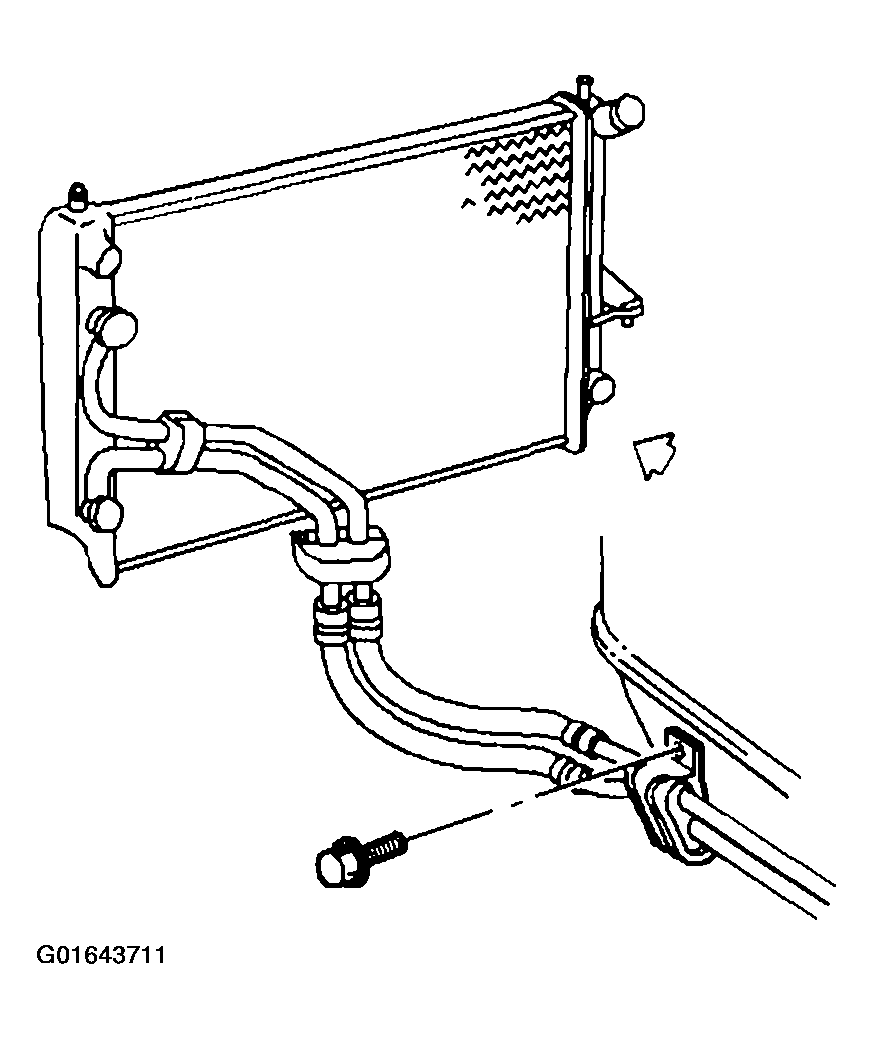 Courtesy of GENERAL MOTORS CORP.
- Remove the oil filter adapter. Refer to OIL FILTER ADAPTER REPLACEMENT
.
- Remove the bolt holding the bracket for the starter wiring harness and the transmission cooler pipes.
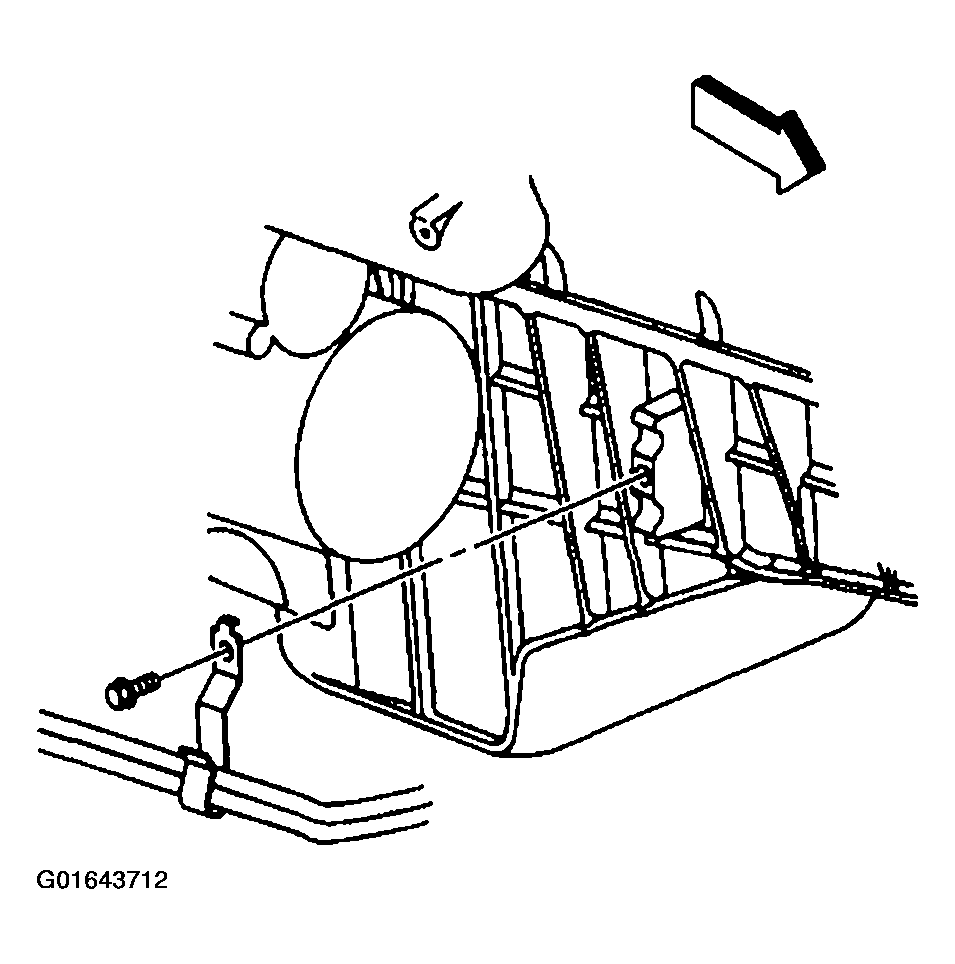 Courtesy of GENERAL MOTORS CORP.
- Remove the crankcase position (CKP) sensor wiring harness from the retainer.
- Remove the starter. Refer to STARTER MOTOR REPLACEMENT
in Battery.
- Remove the transmission cover.
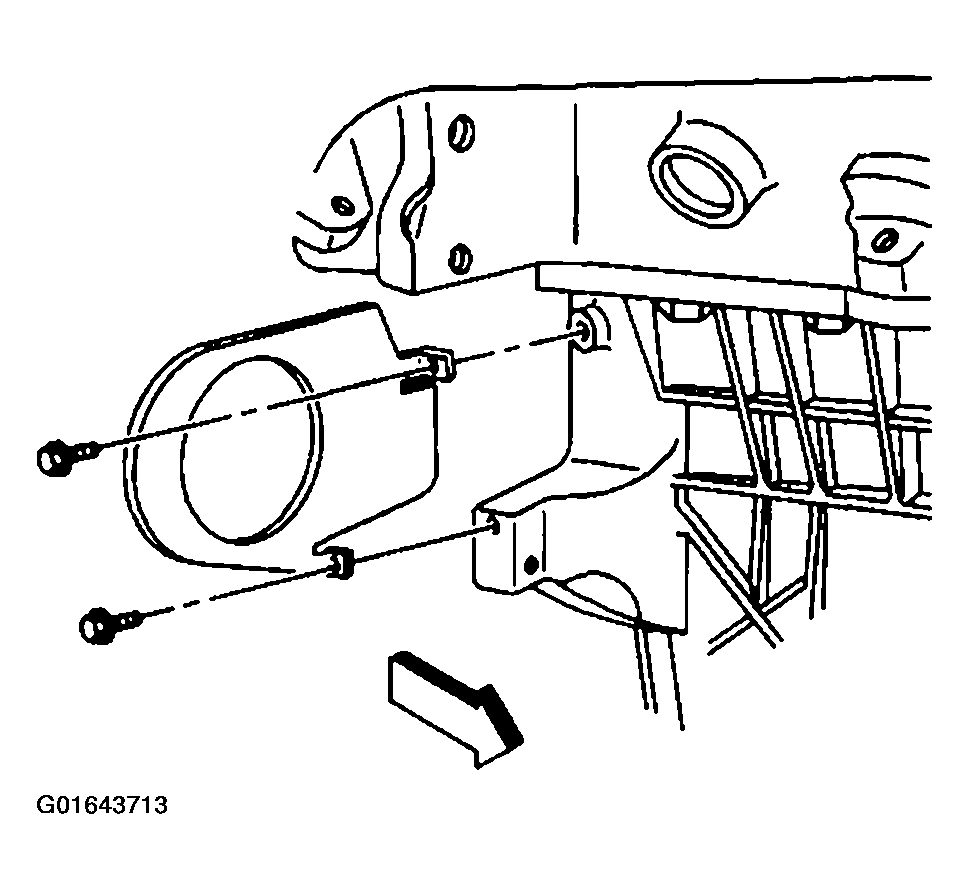 Courtesy of GENERAL MOTORS CORP.
- Remove the inner axle shaft housing support bracket to the frame nuts and the washers (AWD only).
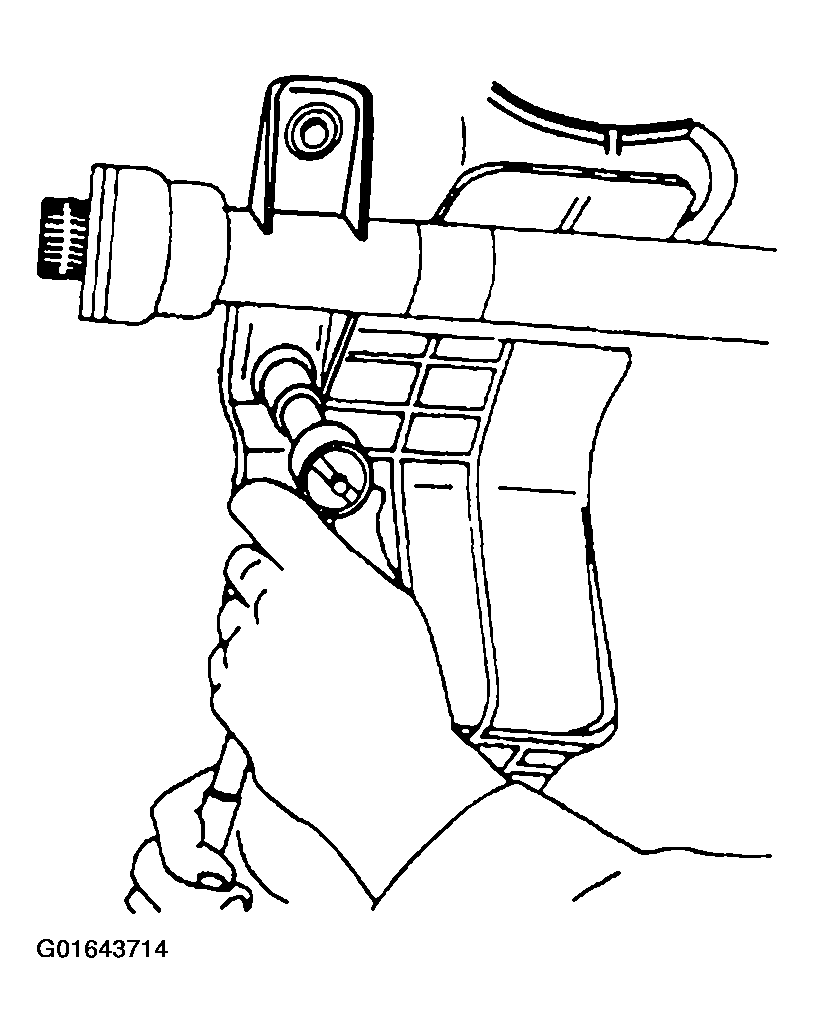 Courtesy of GENERAL MOTORS CORP.
- Remove the front differential carrier upper and lower mounting nuts and bolts (AWD only).
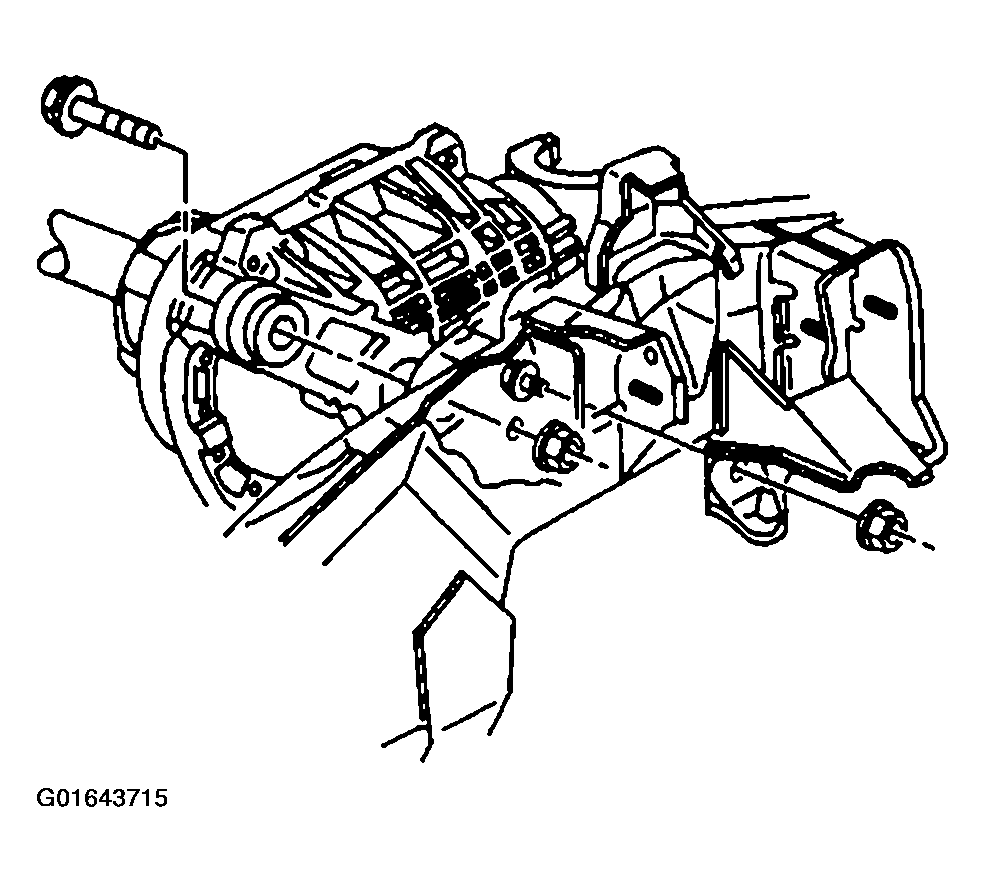 Courtesy of GENERAL MOTORS CORP.
- Lower the front differential carrier assembly only enough for removal of the oil pan.
- Remove the access plugs for the oil pan rear nuts.
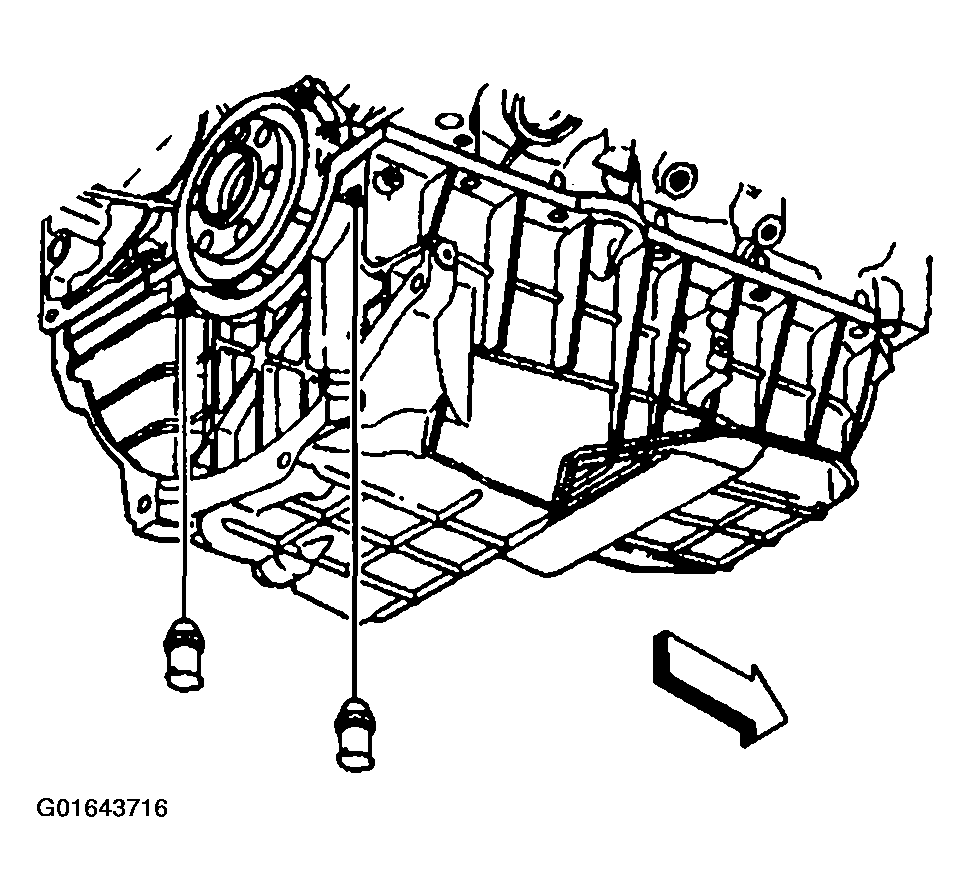 Courtesy of GENERAL MOTORS CORP.
- Remove the transmission to oil pan bolts.
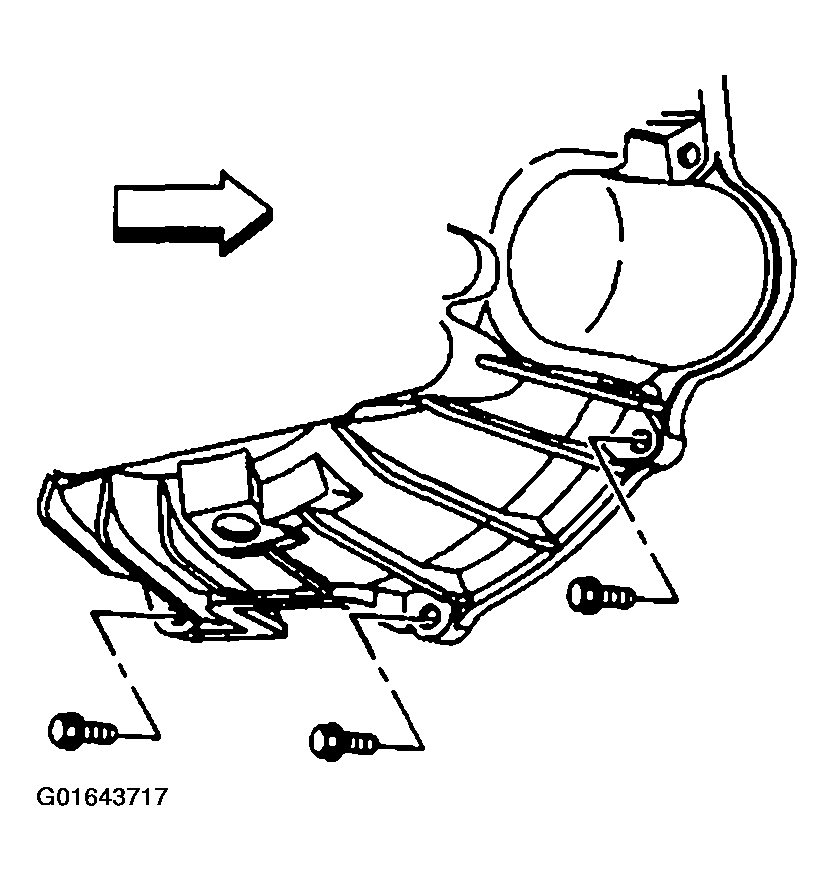 Courtesy of GENERAL MOTORS CORP.
- Remove the oil pan from the engine. Refer to OIL PAN REMOVAL
.
- Clean all sealing surfaces on the engine and the oil pan. Refer to OIL PAN CLEANING AND INSPECTION
.