Roof Panel Joint Rear Finish Molding Replacement (Buick)
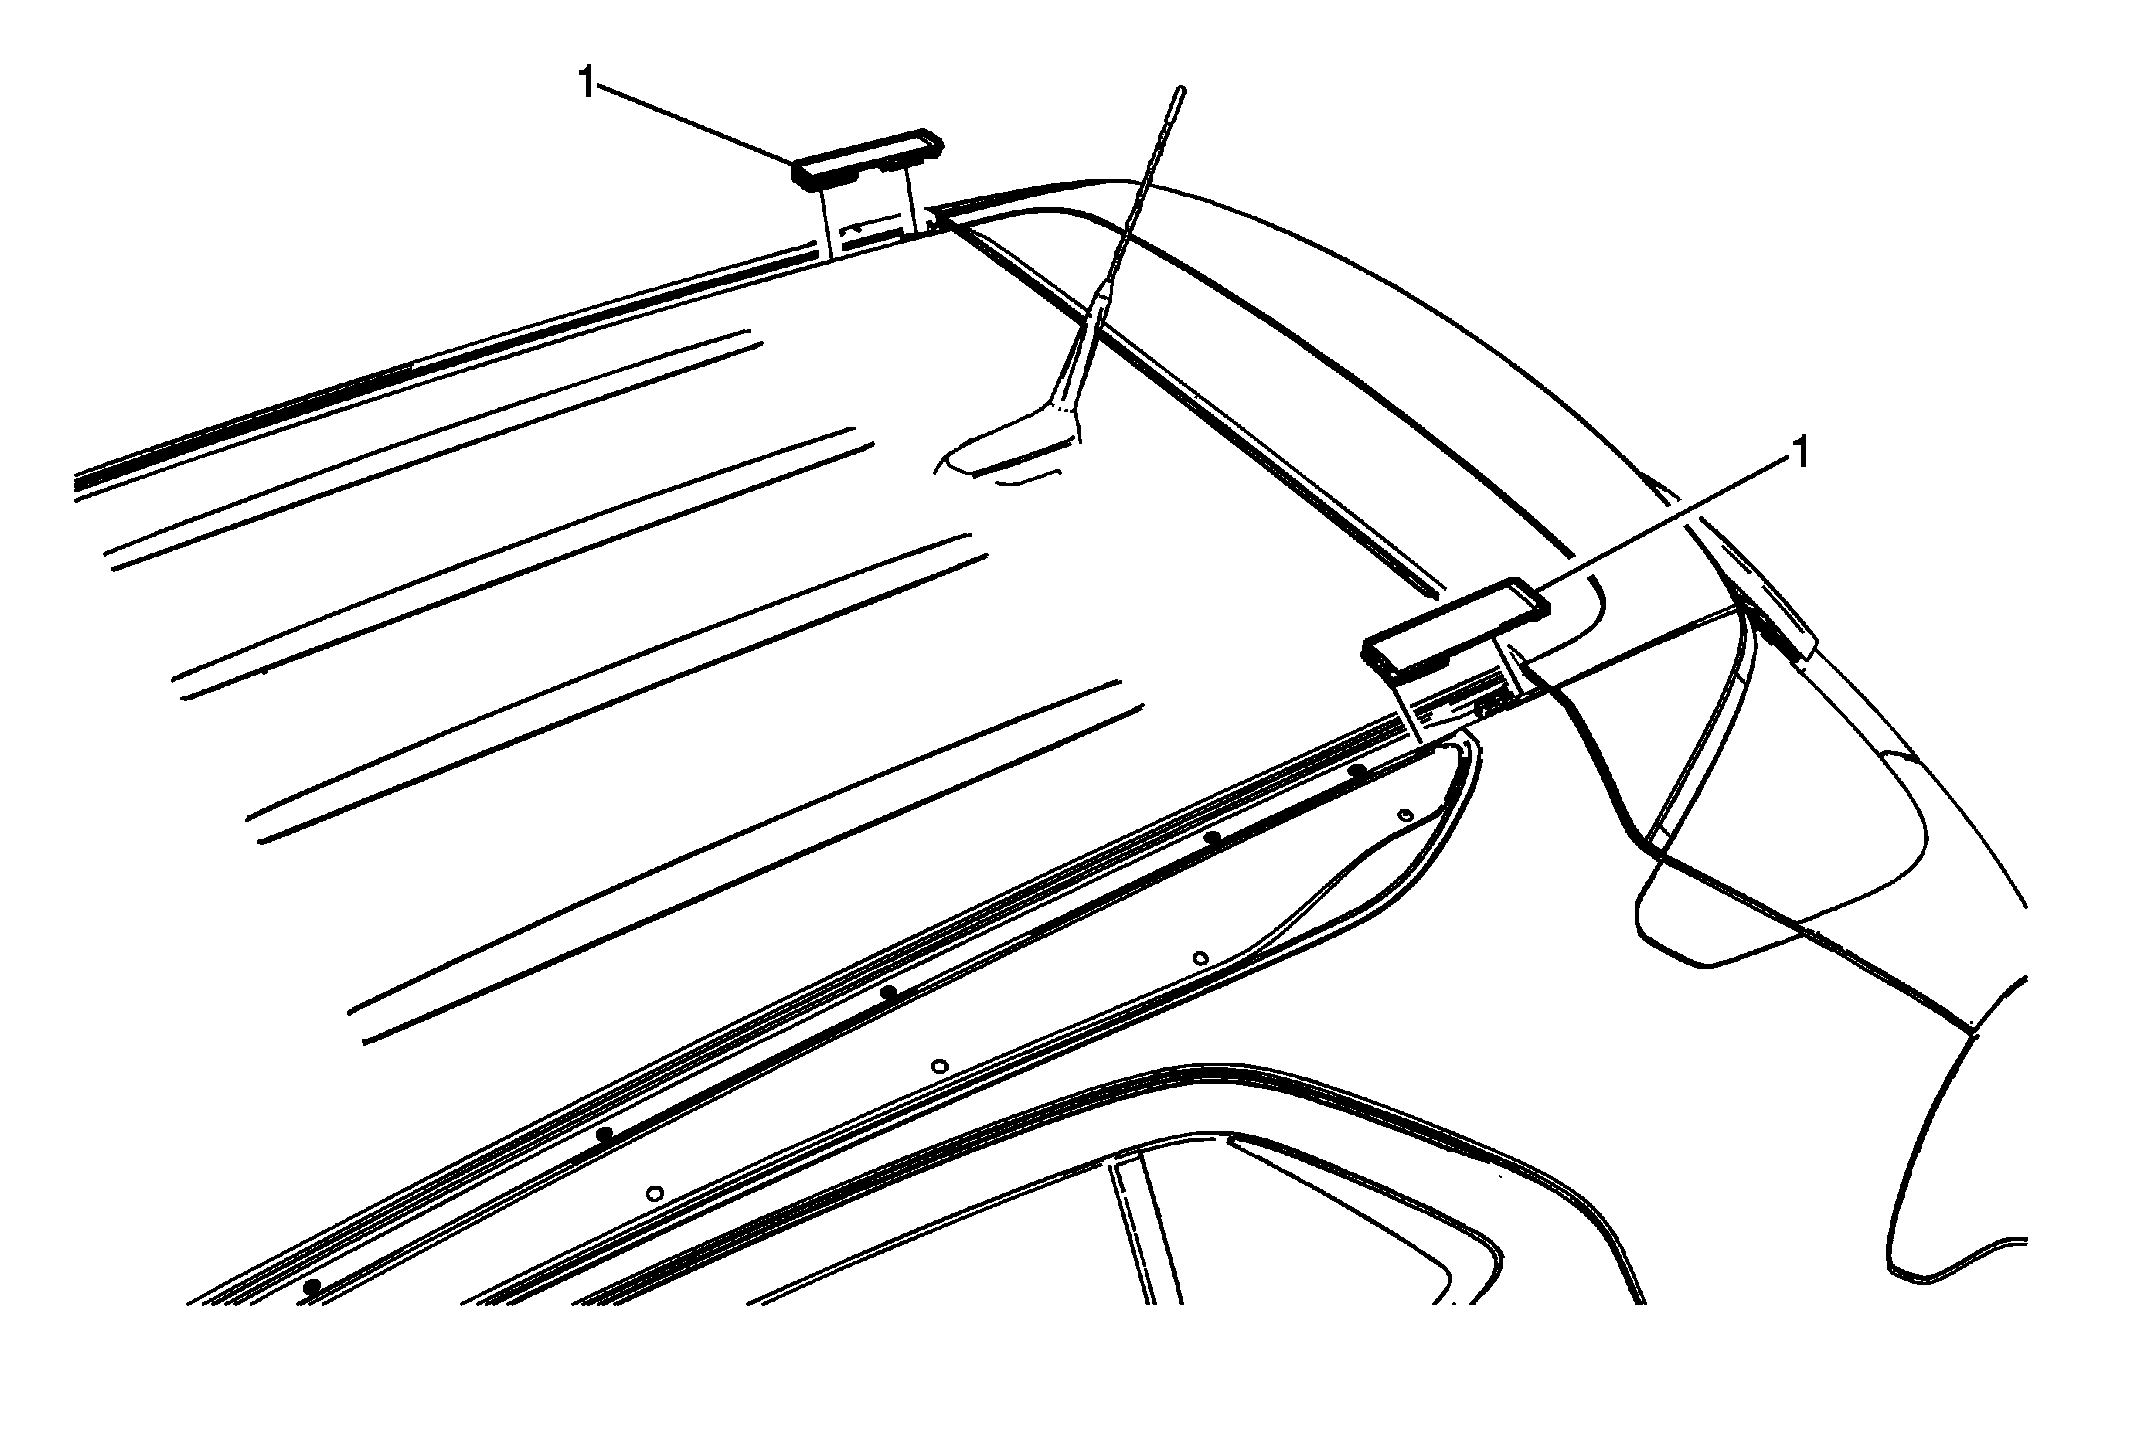 Courtesy of GENERAL MOTORS COMPANY
 Roof Panel Joint Rear Finish Molding Replacement (Buick)
| Callout |
Component Name |
| - |
Preliminary Procedure
Remove the luggage carrier side rail. Refer to Luggage Carrier Side Rail Replacement (Chevrolet) |
| 1 |
Roof Panel Joint Rear Finish Molding Procedure
- Use a heat gun in a circular motion to warm the roof panel joint rear finish molding for removal.
- Start at the front edge of the roof panel joint rear finish molding and carefully pry the molding from the roof panel integral joint retaining clip.
- Clean any debris from the roof panel joint area using a 50/50 mixture by volume of isopropyl alcohol and clean drinkable water.
- Remove the protective liner from the roof panel joint rear finish molding adhesive tape surfaces.
- Position the rear edge of the roof panel joint rear finish molding to the edge of the spoiler and press into the integral joint retaining clip.
- Using a roller-type tool, roll the roof panel joint rear finish molding into the roof panel joint.
- Inspect the roof panel joint rear finish molding for proper adhesion and fit into the roof panel joint.
|