Roof Panel Joint Finish Molding Replacement (Acadia)
WARNING: This page is about a different car, the 2016 GMC Acadia, 2016 Chevrolet Traverse, and 2016 Buick Enclave. However, it is still accessible from the selected car via links, so may be relevant.
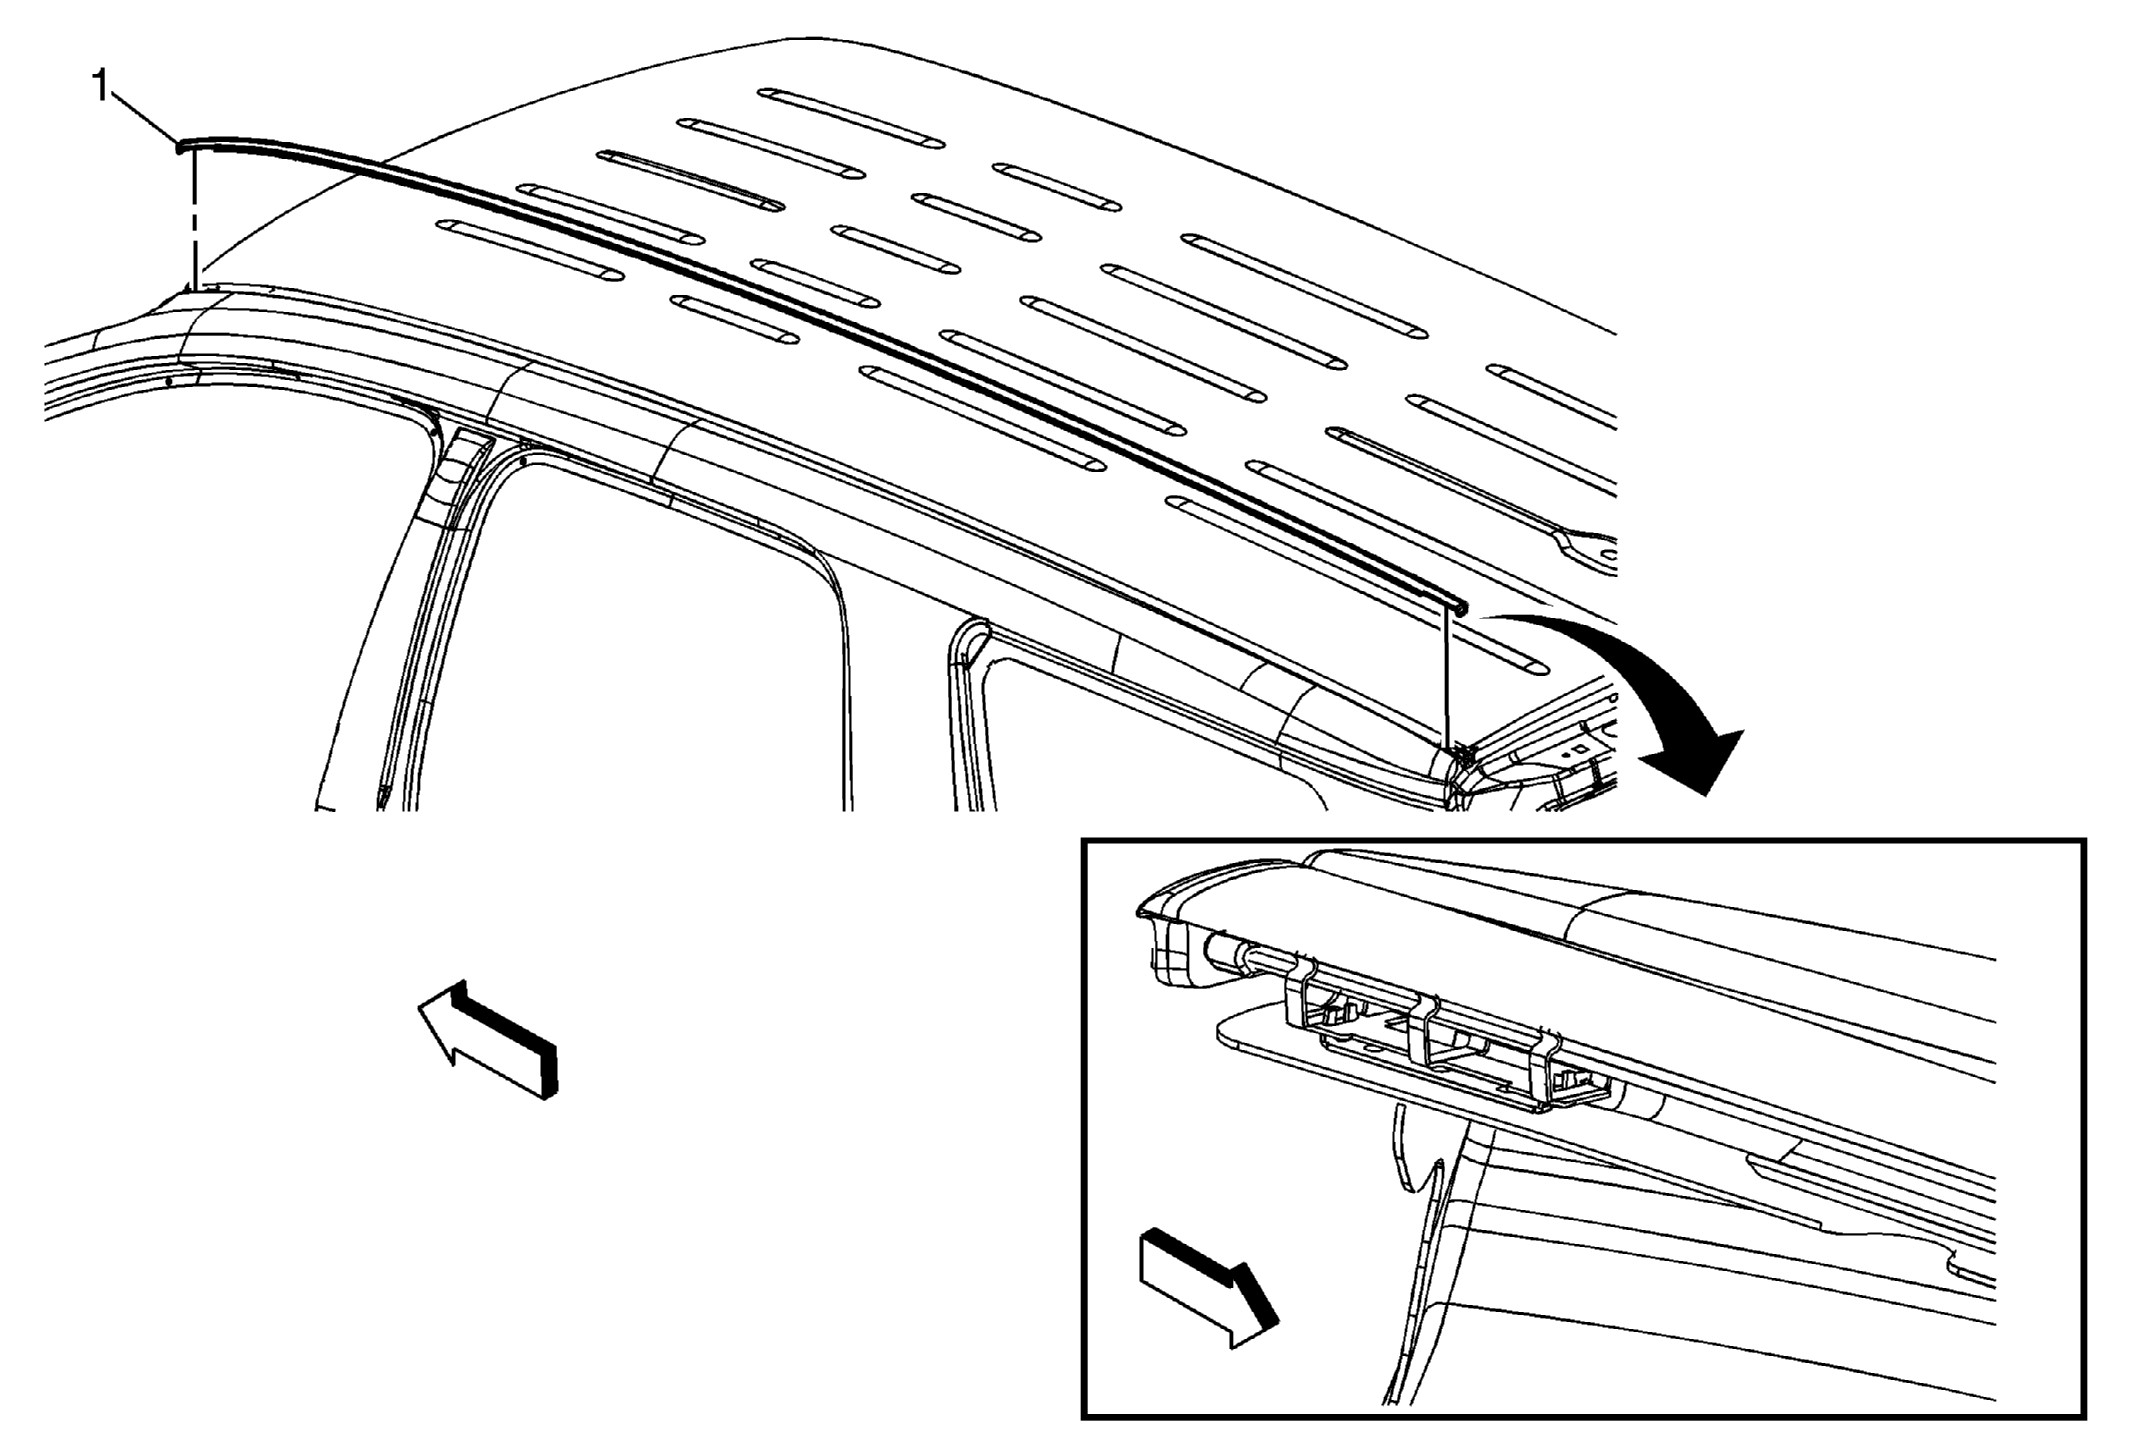 Courtesy of GENERAL MOTORS COMPANY
| Callout |
Component Name |
| 1 |
Roof Panel Joint Finish Molding Procedure
- Locate the finish molding fore/aft to be within 15-20 mm from the front edge of the windshield opening and also the rear edge of the roof panel.
- Insert molding into the front roof ditch clip securing one clip finger at a time from front to rear.
- Press small portions of the roof ditch molding front to rear.
- Secure the reminder of the molding into the rear ditch one clip finger at a time.
- If loose or damaged molding retainer clips are present, refer to Roof Panel Molding Retainer Replacement for the repair procedure.
|