Installation Procedure
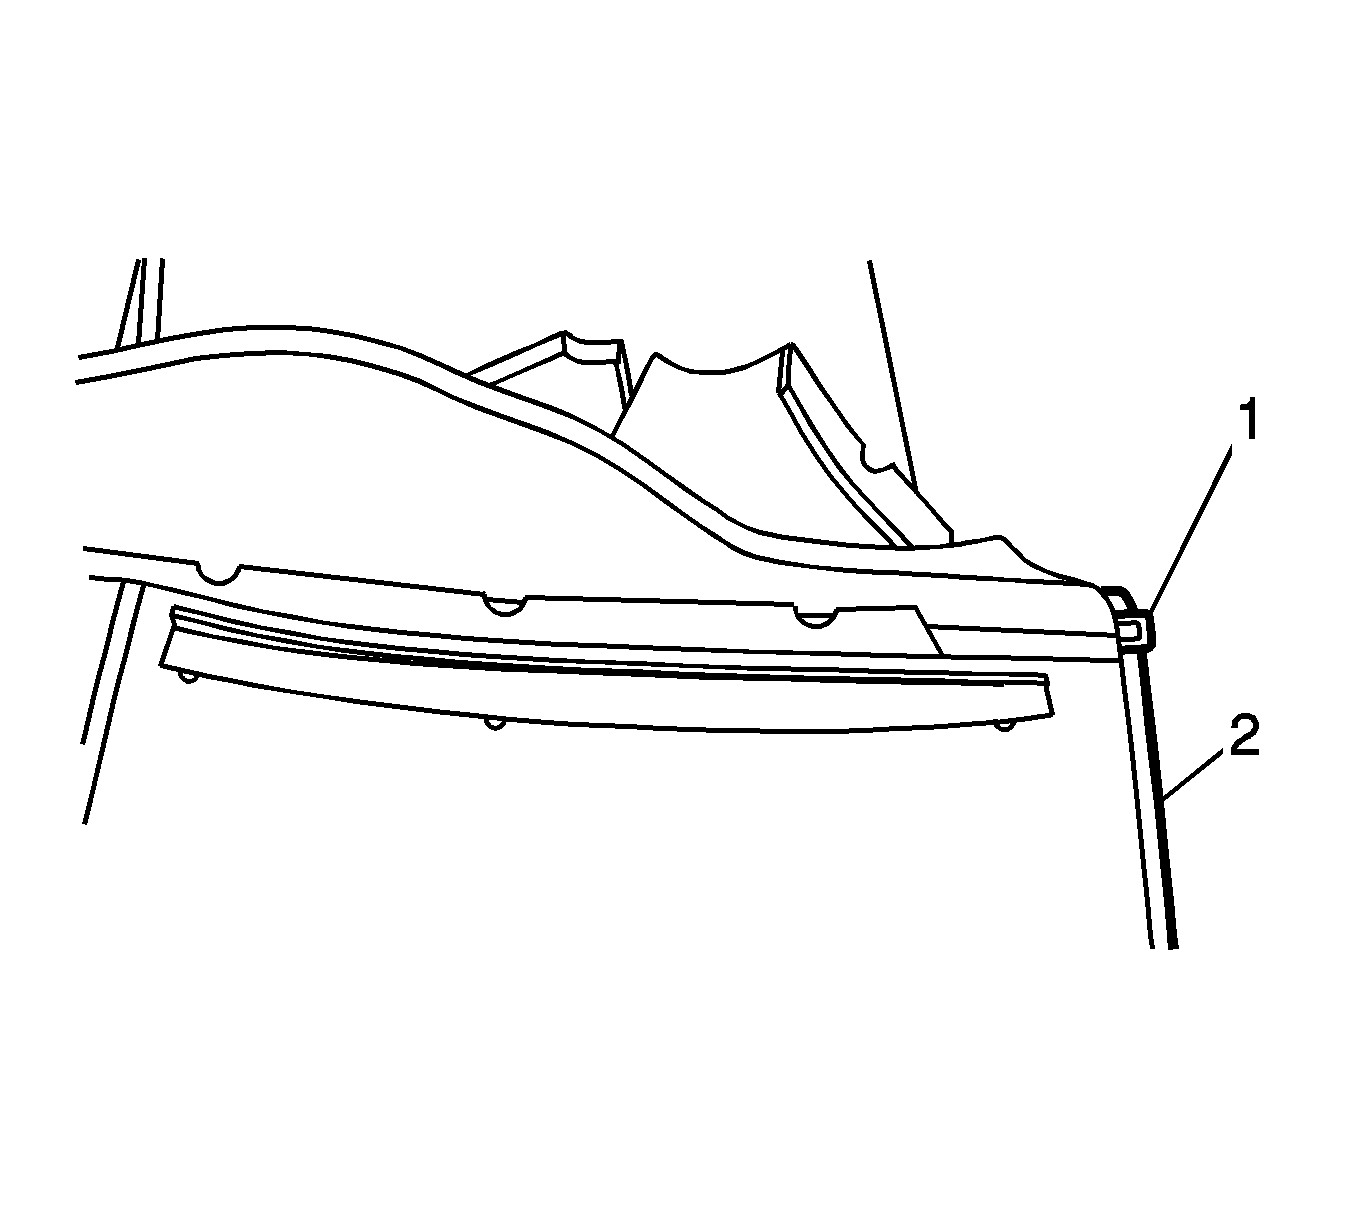 Courtesy of GENERAL MOTORS COMPANY
- Pull the vertical listing wires (1) rearward partially out of the trim cover (2) before placing the trim cover on the pad.
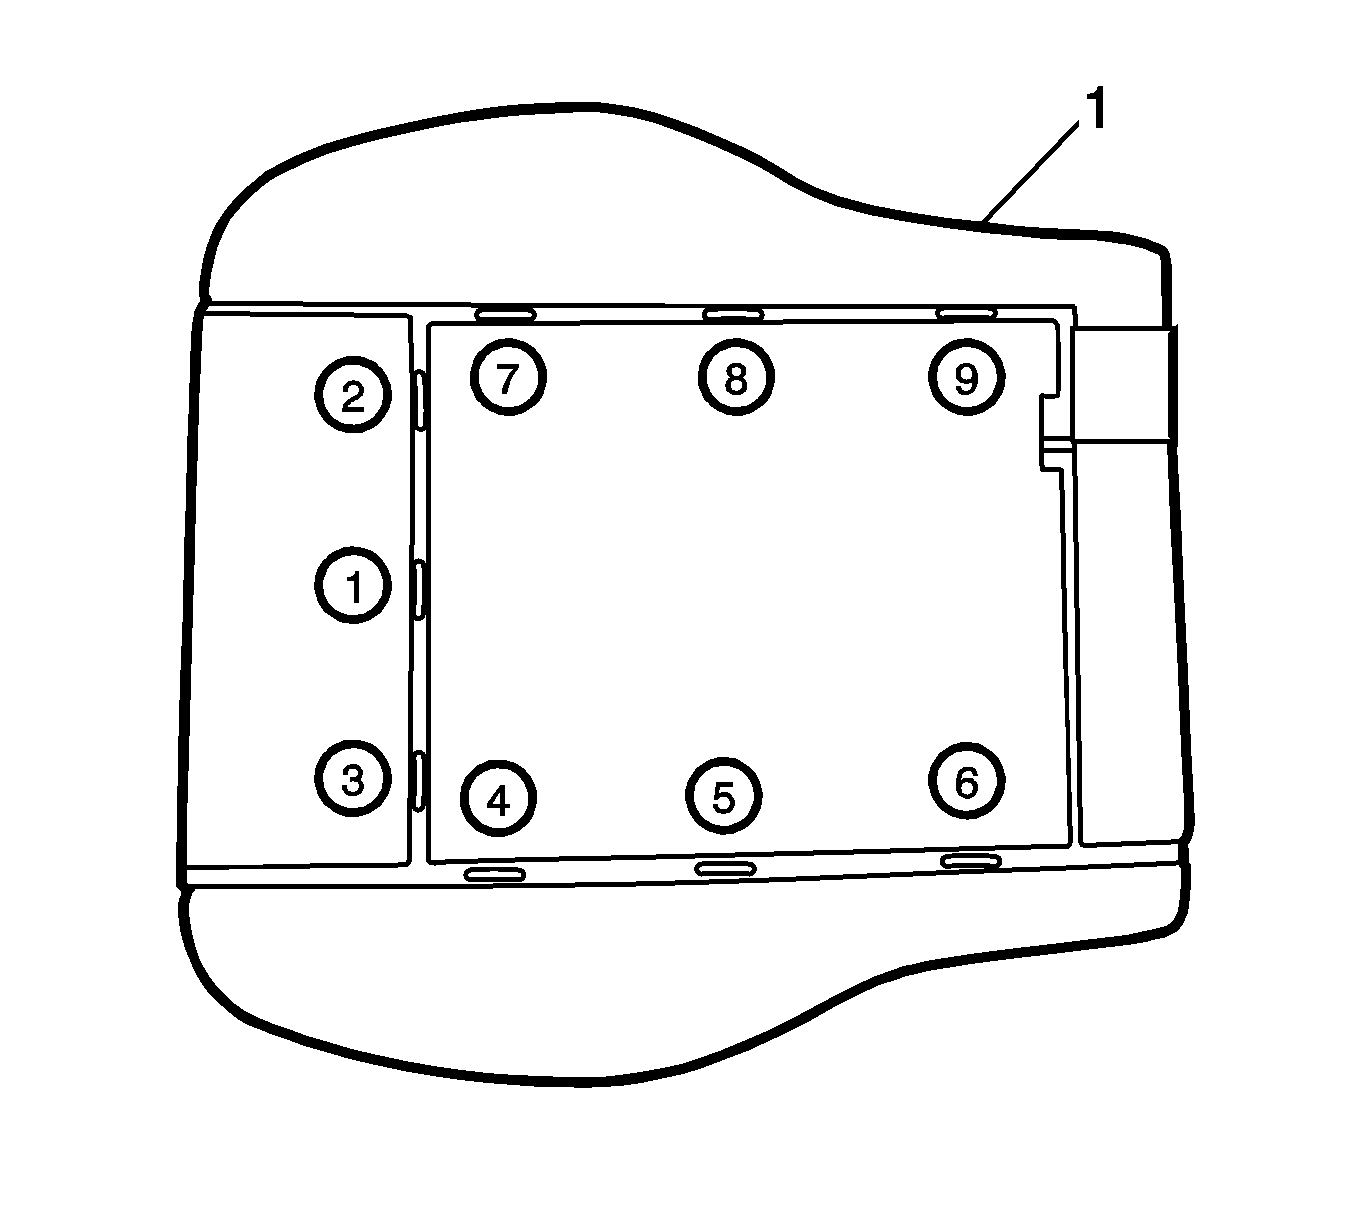 Courtesy of GENERAL MOTORS COMPANY
- Install hogrings in position 1 through 3, attaching the cover to the pad (1).
- Pull the listing wires forward into the design position.
- Install hogrings in position 4 through 9, attaching the cover to the pad (1).
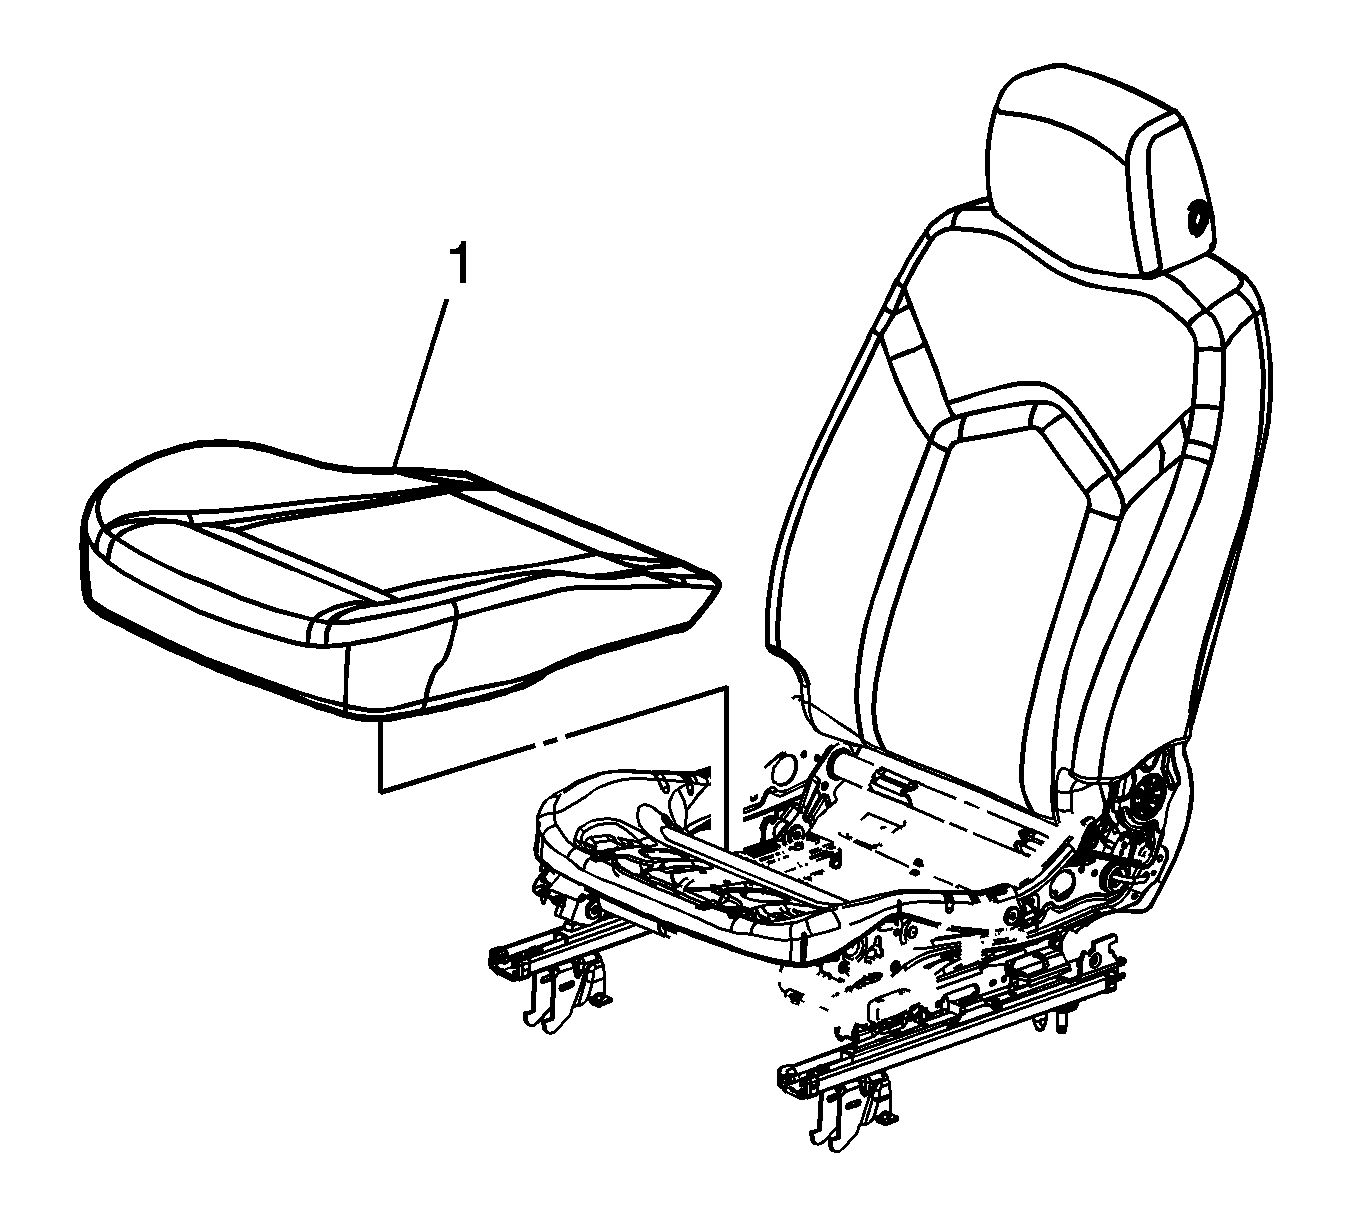 Courtesy of GENERAL MOTORS COMPANY
- Install the seat cushion cover and pad (1) to the seat cushion frame as an assembly.
- Connect the duct from the vent fan, if equipped.
- Connect the electrical connector, if equipped.
- Install the J-channel retainers to the seat frame.
- Install the rear retainers on the seat cushion cover to the seat frame.
- Install the front seat inner recliner finish cover. Refer to Driver or Passenger Seat Inner Recliner Finish Cover Replacement .
- Install the front seat outer adjuster finish cover. Refer to Driver or Passenger Seat Outer Adjuster Finish Cover Replacement .
- Install the front seat adjuster, if equipped. Refer to Front Seat Adjuster Replacement .
- Install the front seat. Refer to Driver or Passenger Seat Removal and Installation .
- When working with the passenger seat, you must test for a preload to the inflatable restraint passenger presence system whenever the seat cushion or any component of the passenger presence system is removed. Refer to Control Module References
.