Front Driveshaft Removal
Front Driveshaft Removal
1. Raise the vehicle on a lift.
2. Remove the front wheels.
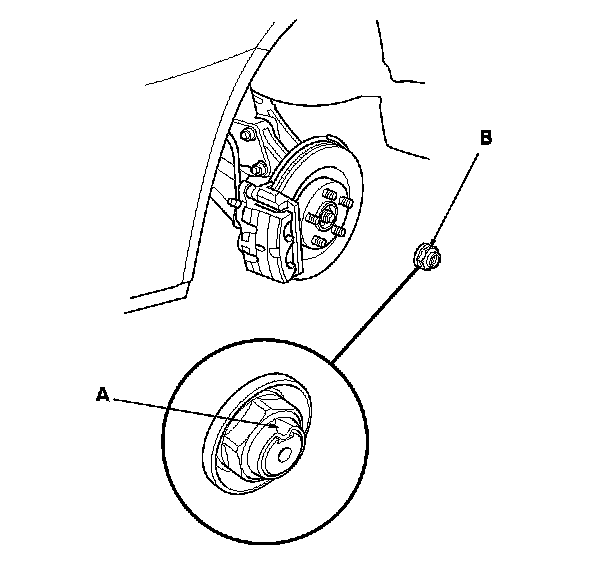
3. Pry up the locking tab (A) on the spindle nut (B), then remove the nut.
4. Remove the splash shield. Engine Removal
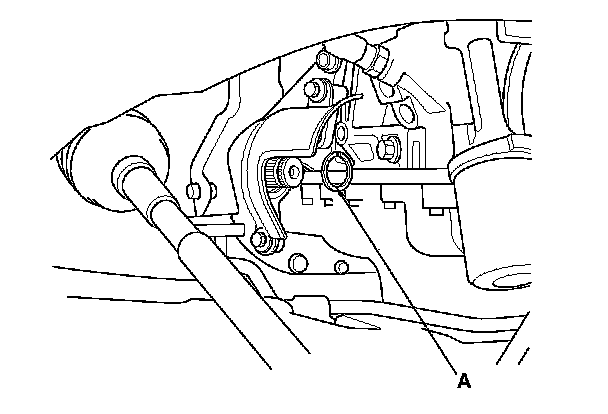
5. Drain the transmission fluid, then reinstall the drain plug with a new sealing washer. ATF Replacement
6. Remove the suspension stroke sensor (with active damper system). Suspension Stroke Sensor Replacement (With Active Damper System)
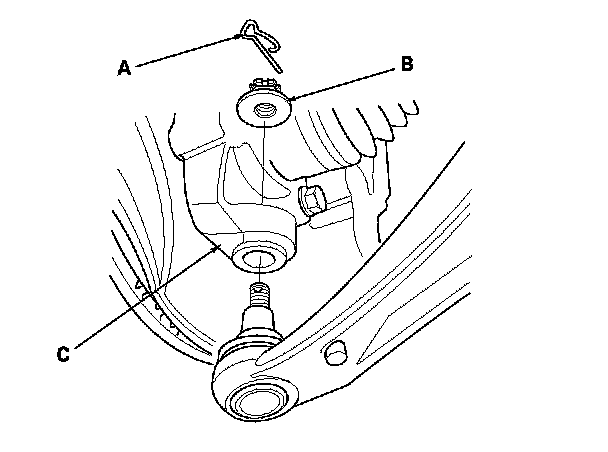
7. Remove the lock pin (A) from the lower arm ball joint castle nut (B), and remove the nut.
8. Separate the ball joint from the knuckle (C). Front Lower Arm Removal/Installation
NOTE:
- To avoid damaging the ball joint, install the ball joint thread protector onto the threads of the ball joint.
- Be careful not to damage the ball joint boot when installing the remover. Ball Joint Removal
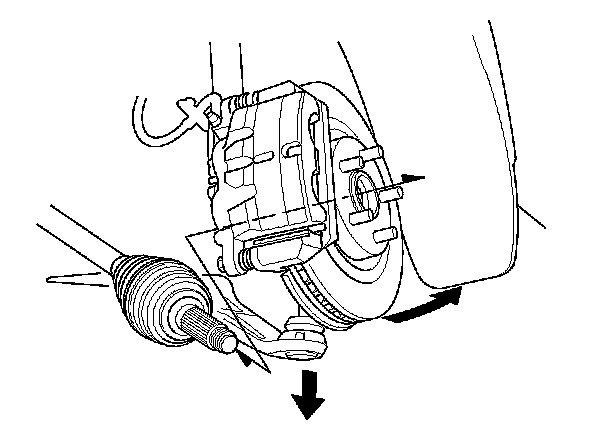
9. Loosen the driveshaft outboard joint from the front hub using a plastic hammer.
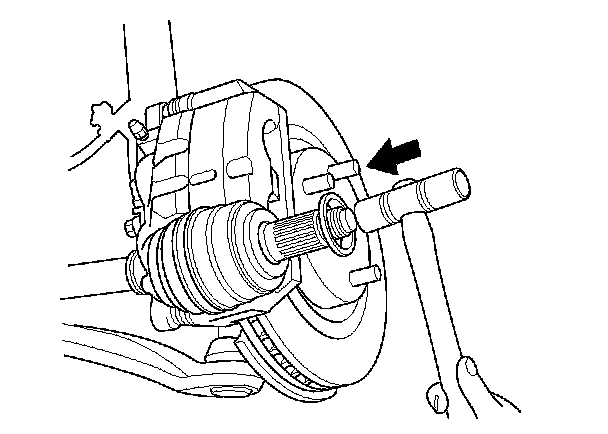
10. Pull the knuckle outward, and separate the outboard joint from the front hub.
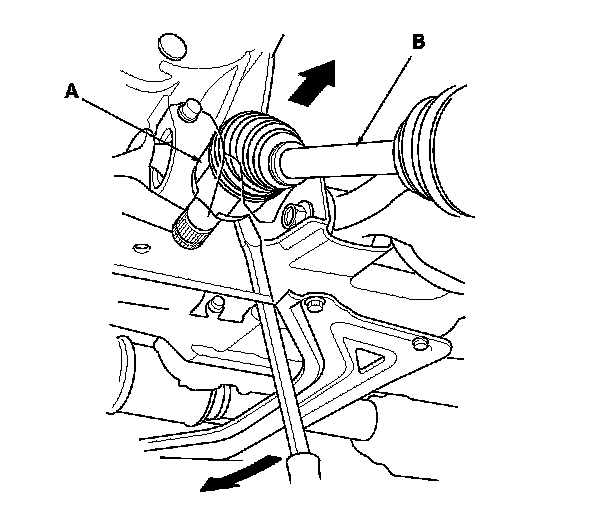
11. Left driveshaft: Pry the inboard joint (A) from the differential with a prybar. Remove the driveshaft as an assembly.
NOTE:
- Do not pull by the driveshaft (B) or the inboard joint may come apart. Pull the driveshaft straight out to avoid damaging the oil seal.
- Be careful not to damage the oil seal with the prybar.
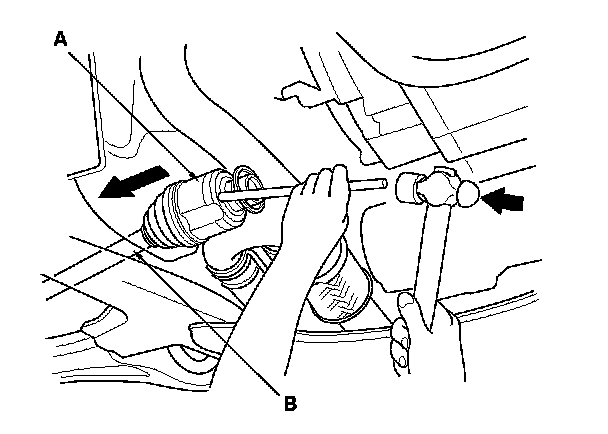
12. Right driveshaft: Drive the inboard joint (A) off of the intermediate shaft using a drift and a hammer. Remove the driveshaft as an assembly.
NOTE: Do not pull on the driveshaft (B) or the inboard joint may come apart.
13. Remove the set ring (A) from the left driveshaft inboard joint.
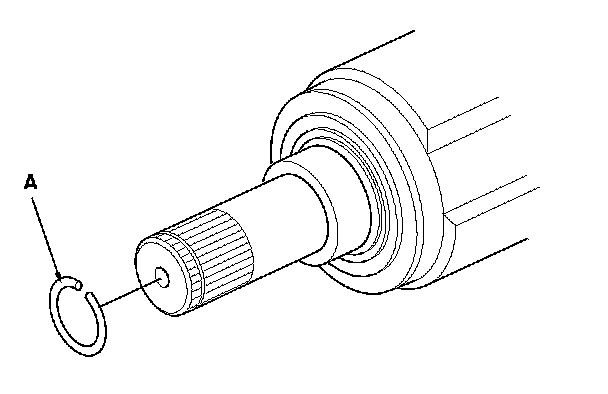
14. Remove the set ring (A) from the intermediate shaft.