Cylinder Head Removal
Cylinder Head Removal
NOTE:
- Use fender covers to avoid damaging painted surfaces.
- To avoid damage, unplug the wiring connectors carefully while holding the connector portion.
- To avoid damaging the cylinder head, wait until the engine coolant temperature drops below 100 °F (38 °C) before loosening the cylinder head bolts.
- Mark all wiring and hoses to avoid misconnection. Also, be sure that they do not contact other wiring or hoses, or interfere with other parts.
1. Relieve the fuel pressure. Service and Repair
2. Do the battery terminal disconnection procedure. Procedures
3. Drain the engine coolant. Service and Repair
4. Remove the drive belt. Service and Repair
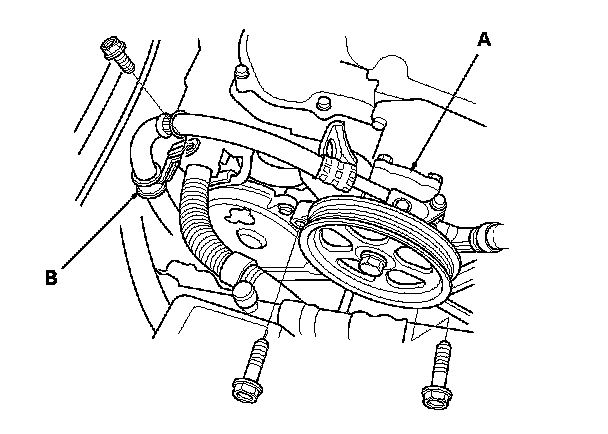
5. Remove the power steering (P/S) pump (A), and P/S hose clamp (B).
6. Remove the alternator. Removal and Replacement
7. Remove the timing belt. Timing Belt Removal
8. Remove the intake manifold. Intake Manifold Removal and Installation
9. Remove the six ignition coils. Service and Repair
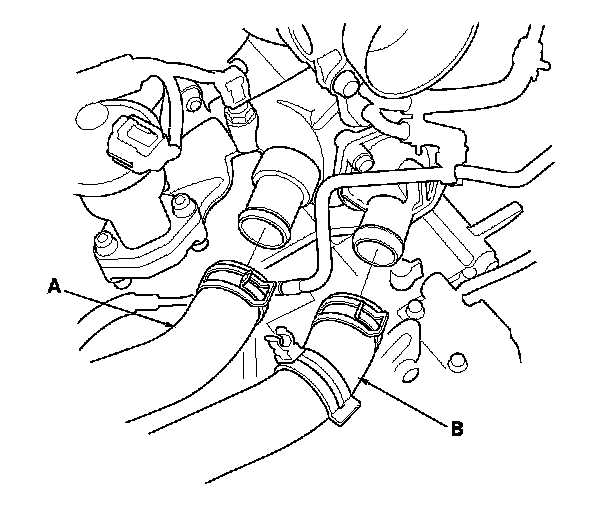
10. Disconnect the upper radiator hose (A) and lower radiator hose (B).
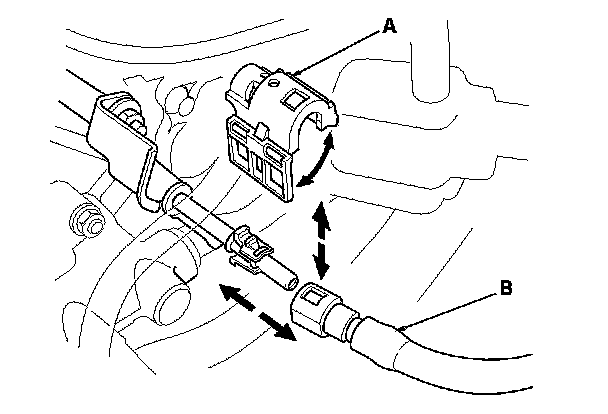
11. Remove the quick-connect fitting cover (A), then disconnect the fuel feed hose (B). Fuel Line/Quick-Connect Fitting Removal
12. Remove the purge joint.
13. Remove the following engine wire harness connectors and wire harness clamps from the cylinder head.
- Six injector connectors
- Engine coolant temperature (ECT) sensor 1 connector
- Crankshaft position (CKP) sensor connector
- Exhaust gas recirculation (EGR) valve connector
- Rocker arm oil control solenoid connector
- Rocker arm oil pressure switch connector
- Oil pressure switch connector
- Two air fuel ratio (A/F) sensor connectors
- Two secondary heated oxygen sensor (secondary HO2S) connectors
14. Remove the front warm up three way catalytic converter (front WU-TWC) Warm Up TWC Removal/Installationand rear warm up three way catalytic converter (rear WU-TWC). Warm Up TWC Removal/Installation
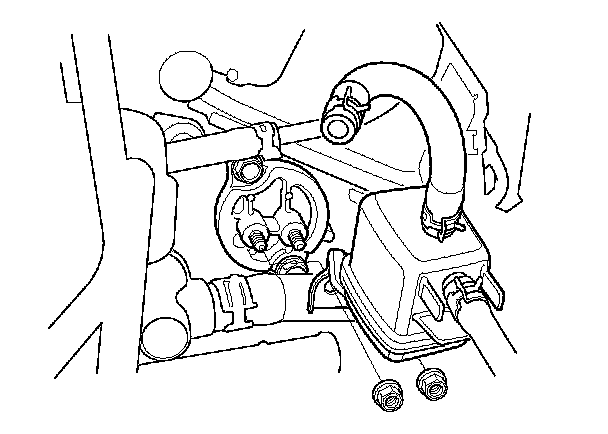
15. Remove the connector bracket from the front cylinder head.
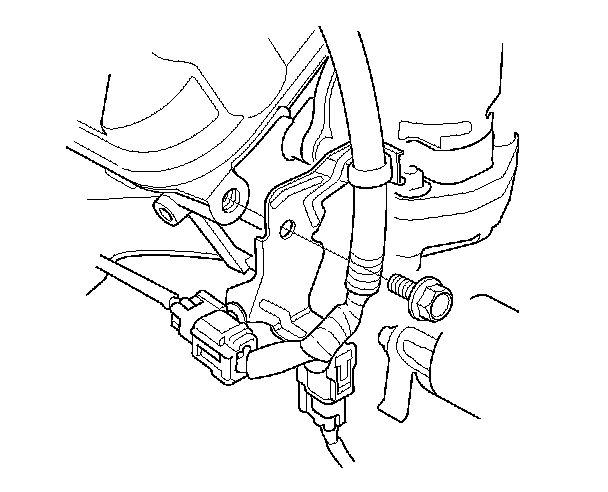
16. Remove the bracket (A) from the rear cylinder head.
17. Remove the fuel rails. Service and Repair
18. Remove the water passage. Water Passage Replacement
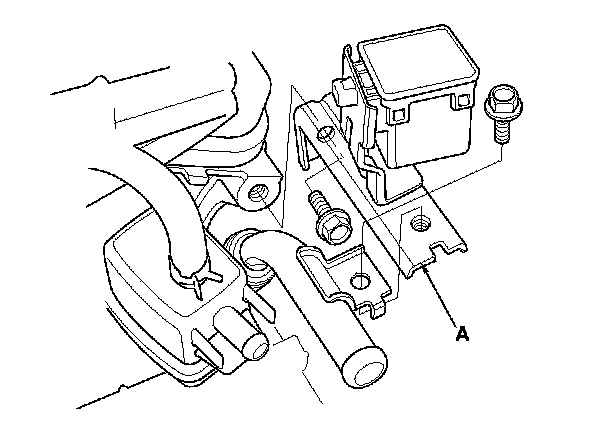
19. Remove the front and rear camshaft pulleys (A) and back covers (B).
20. Remove the cylinder head cover. Cylinder Head Cover Removal
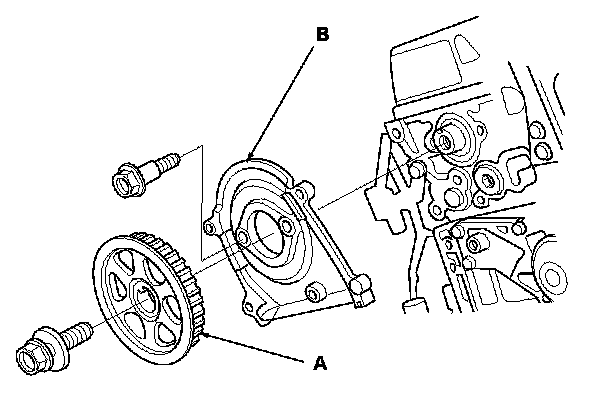
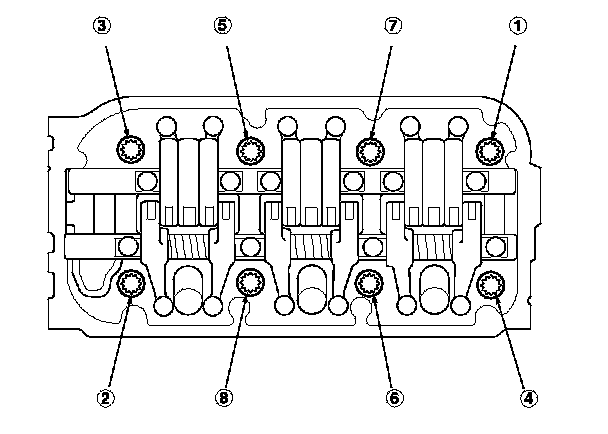
21. Remove the cylinder head bolts. To prevent warpage, loosen the bolts in sequence 1/3 turn at a time; repeat the sequence until all the bolts are loosened.
22. Remove the cylinder head.