Brake Pedal: Disassembly
- REMOVE BRAKE PEDAL RETURN SPRING
- Remove the return spring.
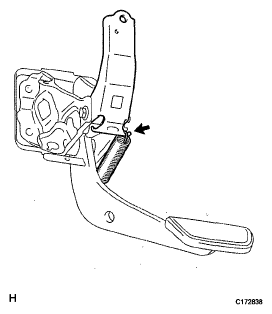 Courtesy of © TOYOTA, LICENSE AGREEMENT TMS1002
- REMOVE BRAKE PEDAL SUPPORT REINFORCEMENT
- Remove the bolt and nut, then remove the brake pedal support reinforcement from brake pedal support sub-assembly.
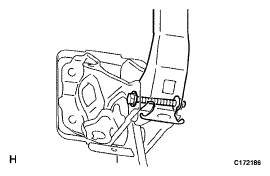 Courtesy of © TOYOTA, LICENSE AGREEMENT TMS1002
- REMOVE BRAKE PEDAL SUB-ASSEMBLY
- Remove the bolt and nut, then remove the brake pedal sub-assembly from the brake pedal support sub-assembly.
- Remove the 4 brake pedal bushes from the brake pedal and brake pedal lever.
- Remove the 2 collars from the brake pedal subassembly and brake pedal lever.
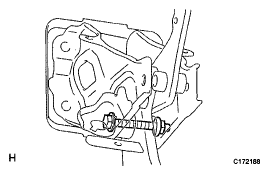 Courtesy of © TOYOTA, LICENSE AGREEMENT TMS1002
- REMOVE BRAKE PEDAL LEVER SUB-ASSEMBLY
- Using a screwdriver, remove the 2 E-rings from the brake pedal link.
- Remove the 2 brake pedal links and 2 brake pedal shaft collars.
- Remove the brake pedal lever from the brake pedal sub-assembly.
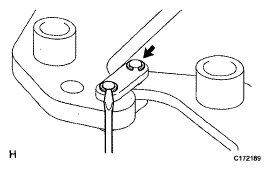 Courtesy of © TOYOTA, LICENSE AGREEMENT TMS1002
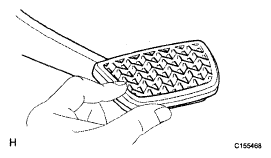
- REMOVE BRAKE PEDAL PAD
- Remove the brake pedal pad from the brake pedal sub-assembly.
- REMOVE STOP LIGHT SWITCH MOUNTING ADJUSTER
- Remove the stop light switch mounting adjuster from the brake pedal support.
- REMOVE BRAKE PEDAL SUPPORT SUB-ASSEMBLY
 Courtesy of © TOYOTA, LICENSE AGREEMENT TMS1002