Upper & Lower Control Arms: Removal
- Raise and support vehicle. Raise up the rear axle housing and support it with a jack.
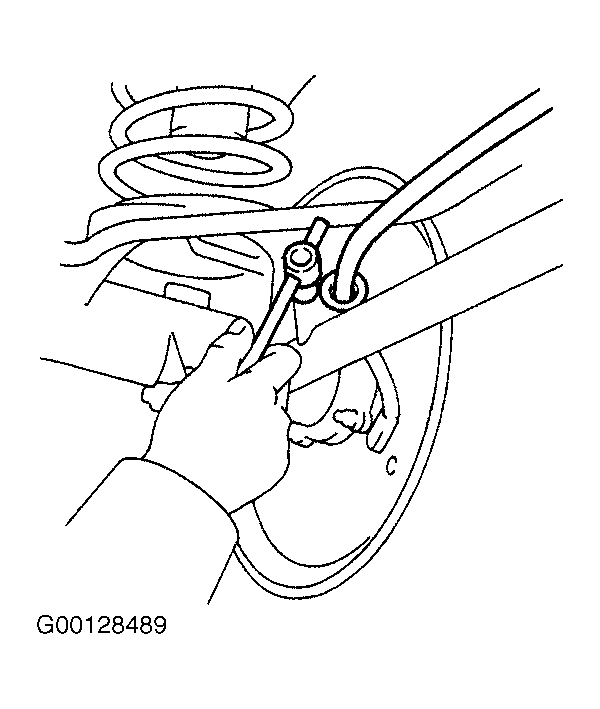
- Disconnect the parking brake cable from the lower control arm. See Fig 1.
 Courtesy of © TOYOTA, LICENSE AGREEMENT TMS1002
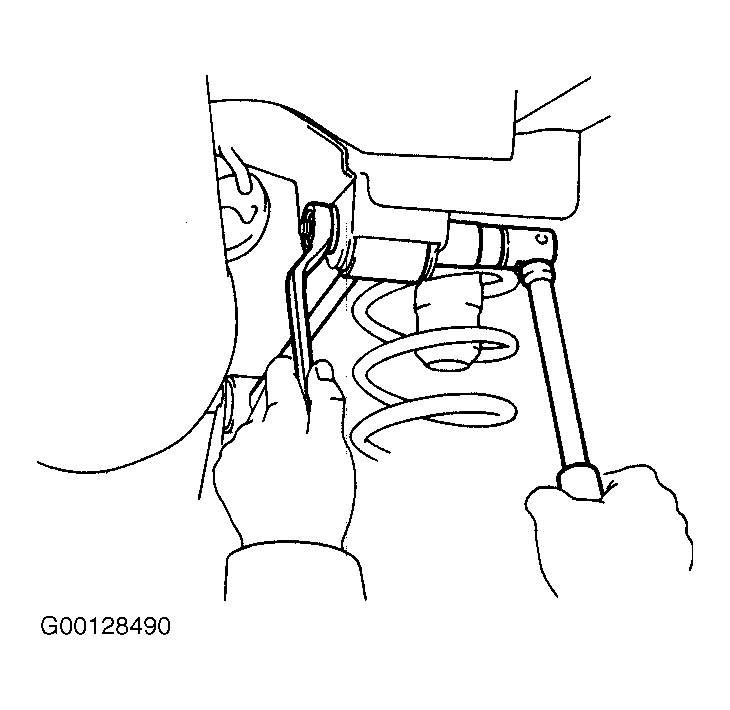
- Remove the bolt and nut holding the upper control arm to the frame. See Fig 2.
 Courtesy of © TOYOTA, LICENSE AGREEMENT TMS1002
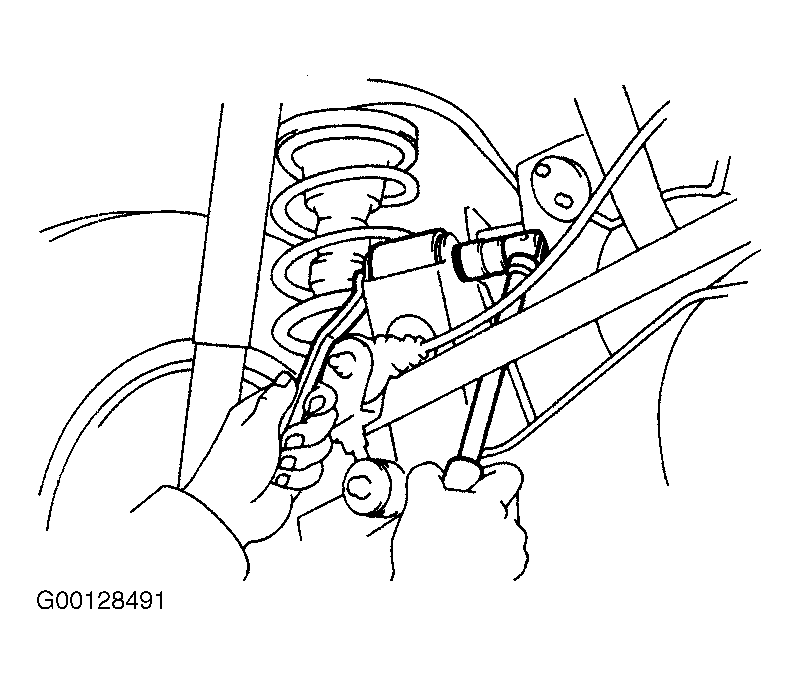
- Remove the bolt, plate washer and nut holding the upper control arm to the rear axle housing, and remove the upper control arm. See Fig 3.
 Courtesy of © TOYOTA, LICENSE AGREEMENT TMS1002
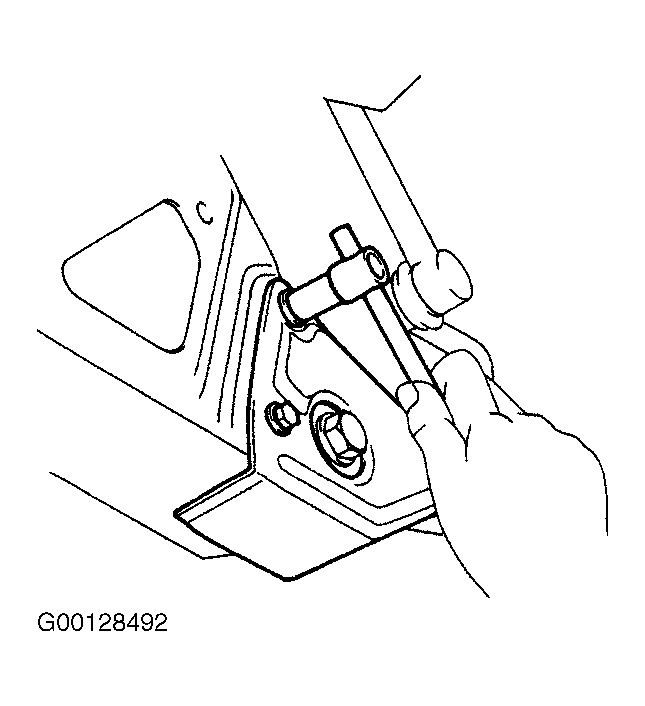
- Remove the 2 bolts and protector. See Fig 4.
 Courtesy of © TOYOTA, LICENSE AGREEMENT TMS1002
- Remove the bolt and nut holding the lower control arm to the frame. See Fig 5.
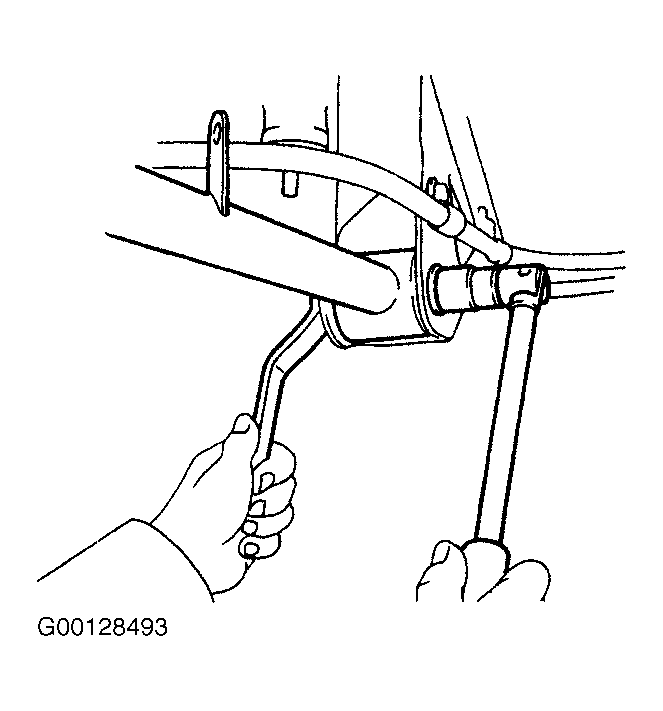 Courtesy of © TOYOTA, LICENSE AGREEMENT TMS1002
- Remove the bolt, plate washer and nut holding the lower control arm to the rear axle housing, and remove the lower control arm. See Fig 6.
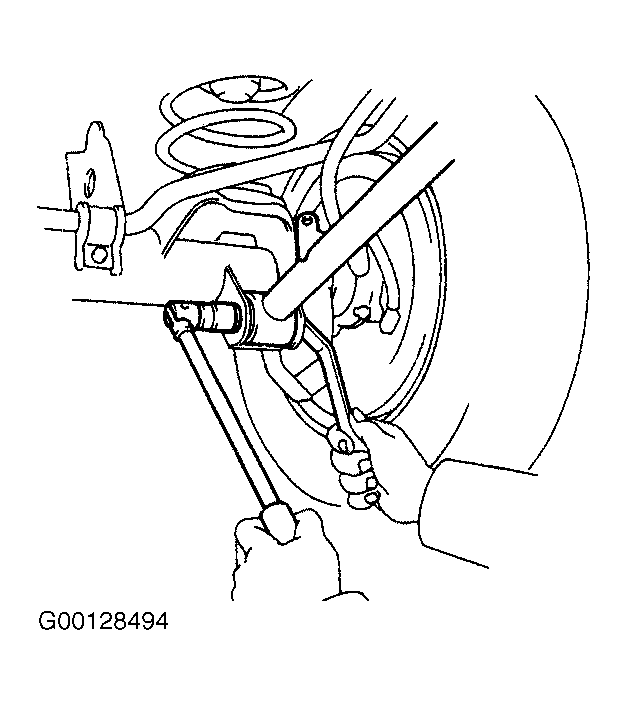 Courtesy of © TOYOTA, LICENSE AGREEMENT TMS1002