Celica, Cressida, Land Cruiser, Supra, Tercel & Van
- Unplug sending unit connector. Connect a 12-volt, 3.4-watt bulb in-line with sending unit lead and ground. Turn ignition switch on. Bulb should start flashing and gauge pointer should deflect.
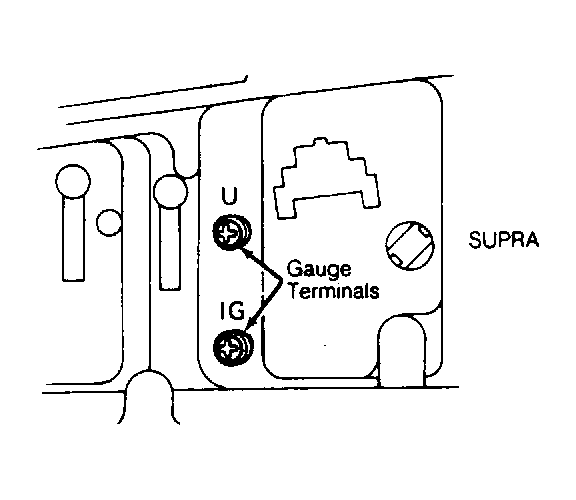
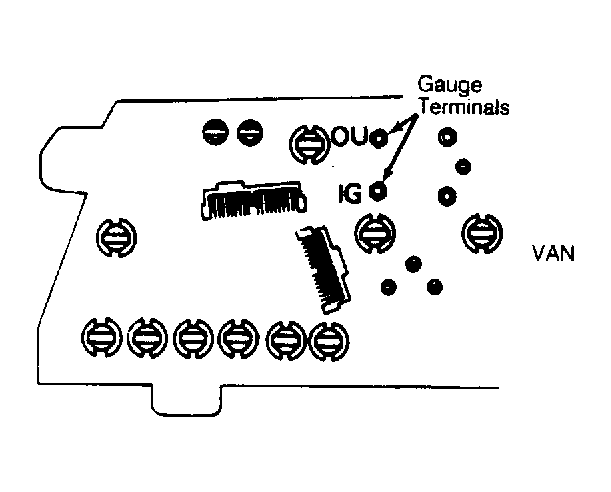
- Using an ohmmeter, check resistance between gauge terminals. See Fig 1-Fig 6
. On Land Cruiser, resistance should be about 55 ohms. On Celica, Supra and Van resistance should be about 42 ohms. Replace gauge if defective.
- To check sending unit, unplug connector from sending unit. Connect 12-volt source to sending unit in series with a 3.4-watt bulb. Bulb should not light with engine stopped. With engine running, bulb should flash. Flashes will vary with engine speed.
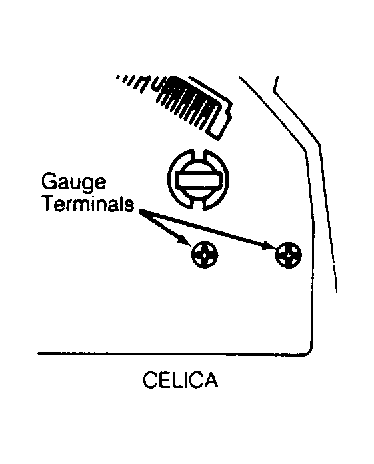 Courtesy of © TOYOTA, LICENSE AGREEMENT TMS1002
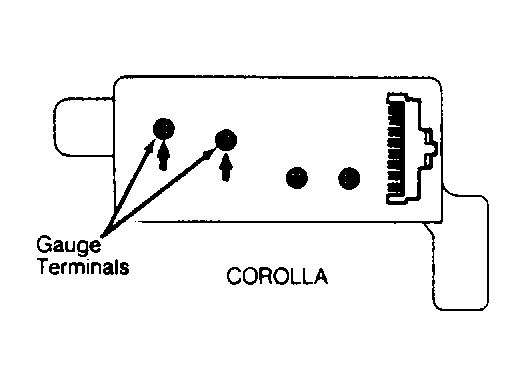 Courtesy of © TOYOTA, LICENSE AGREEMENT TMS1002
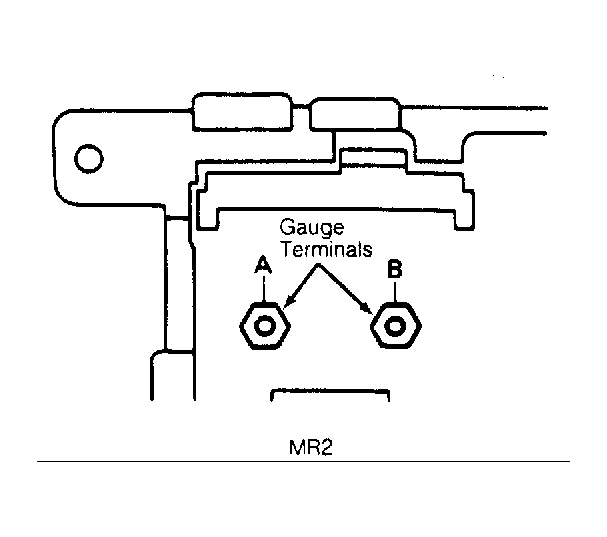 Courtesy of © TOYOTA, LICENSE AGREEMENT TMS1002
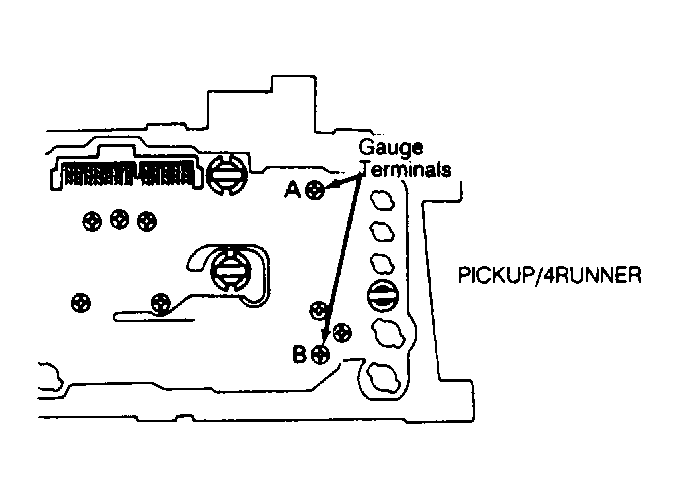 Courtesy of © TOYOTA, LICENSE AGREEMENT TMS1002
 Courtesy of © TOYOTA, LICENSE AGREEMENT TMS1002
 Courtesy of © TOYOTA, LICENSE AGREEMENT TMS1002