- Open all four doors.
- Lower all four windows.
- Open liftgate.
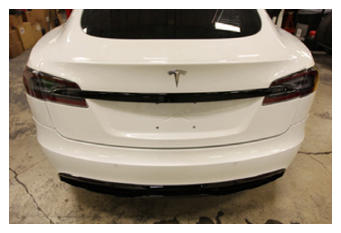 Courtesy of TESLA, INC. Courtesy of TESLA, INC.
|
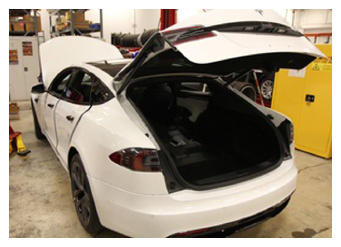 Courtesy of TESLA, INC. Courtesy of TESLA, INC.
|
- Remove parcel shelf.
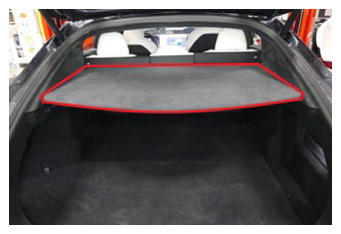 Courtesy of TESLA, INC. Courtesy of TESLA, INC.
|
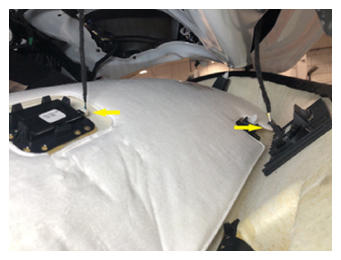
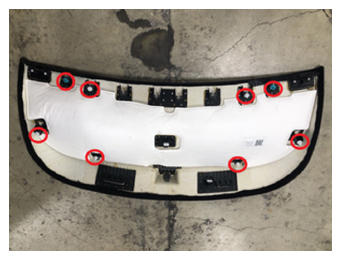
- Remove lower liftgate trim.
NOTE:
8x clips, 2x connectors, Be careful not to hang or drop quickly to prevent damage to connectors.
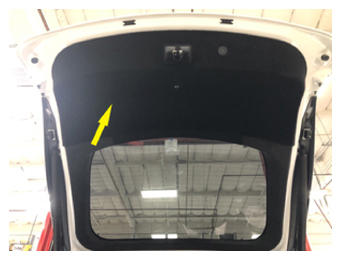 Courtesy of TESLA, INC. Courtesy of TESLA, INC.
|
 Courtesy of TESLA, INC. Courtesy of TESLA, INC.
|
 Courtesy of TESLA, INC. Courtesy of TESLA, INC.
|
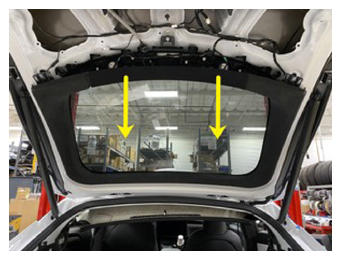
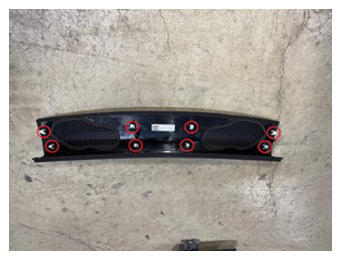
- Remove speaker grill trim.
NOTE:
8x clips, 2x datums.
 Courtesy of TESLA, INC. Courtesy of TESLA, INC.
|
 Courtesy of TESLA, INC. Courtesy of TESLA, INC.
|
- Remove liftgate upper trim.
NOTE:
10x clips.
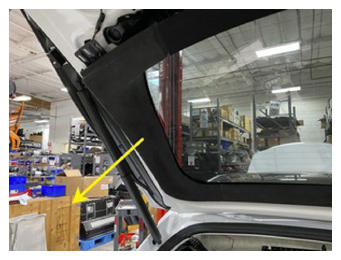 Courtesy of TESLA, INC. Courtesy of TESLA, INC.
|
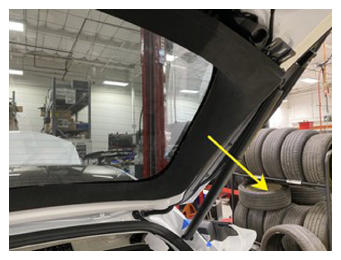 Courtesy of TESLA, INC. Courtesy of TESLA, INC.
|
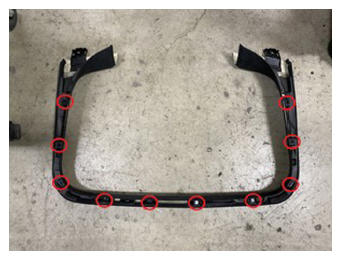 Courtesy of TESLA, INC. Courtesy of TESLA, INC.
|
- Disconnect chimsel connector.
NOTE:
1x connector.
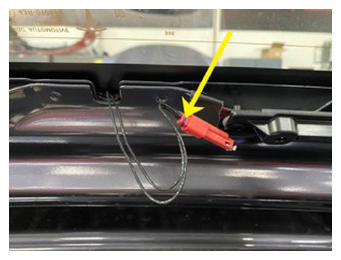 Courtesy of TESLA, INC. Courtesy of TESLA, INC.
|
- Disconnect LH antenna amplifier connector.
NOTE:
1x connector, secure harness onto backlite assembly.
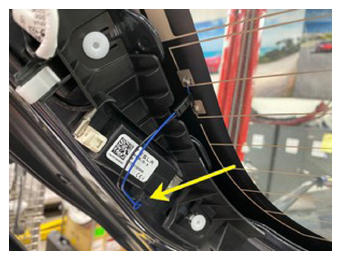 Courtesy of TESLA, INC. Courtesy of TESLA, INC.
|
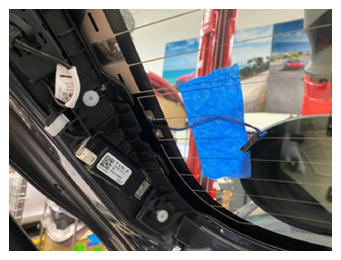 Courtesy of TESLA, INC. Courtesy of TESLA, INC.
|
- Disconnect LH antenna RF filter connector.
NOTE:
1x connector.
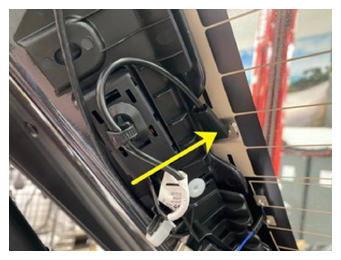 Courtesy of TESLA, INC. Courtesy of TESLA, INC.
|
- Disconnect RH antenna amplifier connector.
NOTE:
1x connector, secure harness onto backlite assembly.
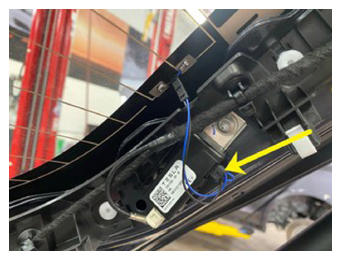 Courtesy of TESLA, INC. Courtesy of TESLA, INC.
|
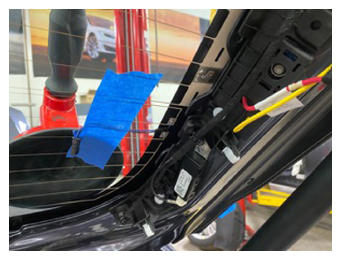 Courtesy of TESLA, INC. Courtesy of TESLA, INC.
|
- Disconnect rear defrost grid harness from +12V noise filter antenna located on RH side of liftgate.
NOTE:
1x connector.
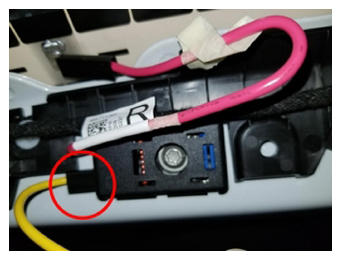 Courtesy of TESLA, INC. Courtesy of TESLA, INC.
|
- Apply tape to body surrounding backlite assembly for protection.
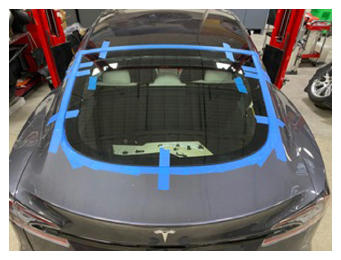 Courtesy of TESLA, INC. Courtesy of TESLA, INC.
|
- Clean backlite and secure double suction cup handles onto both side of backlite assembly.
NOTE:
2x double suction cup handles, 1 on each side of glass.
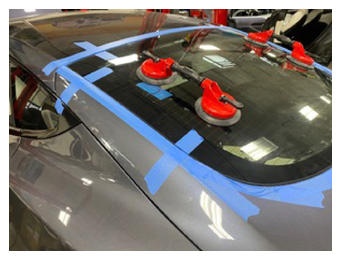 Courtesy of TESLA, INC. Courtesy of TESLA, INC.
|
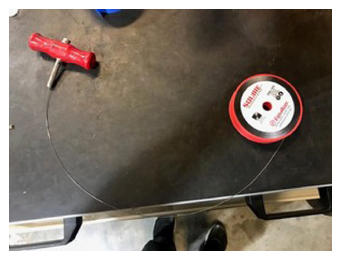
- Cut length of square wire to use with T-handles.
NOTE:
Make sure there's adequate wire.
 Courtesy of TESLA, INC. Courtesy of TESLA, INC.
|
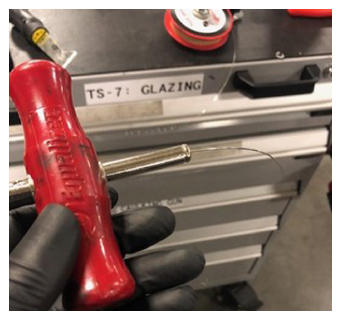
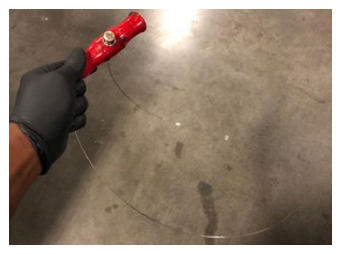
- Secure square wire into T-handle.
 Courtesy of TESLA, INC. Courtesy of TESLA, INC.
|
 Courtesy of TESLA, INC. Courtesy of TESLA, INC.
|
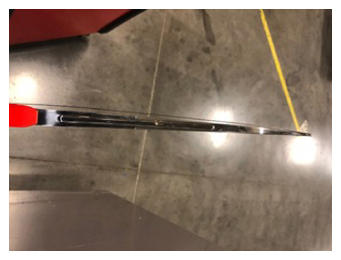
- Secure wire to starter tool and push tool through urethane at upper left side.
NOTE:
Carefully push starter wire tool in between backlite assembly and Chimsel.
 Courtesy of TESLA, INC. Courtesy of TESLA, INC.
|
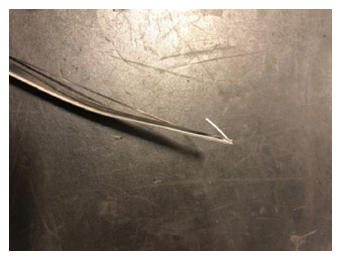 Courtesy of TESLA, INC. Courtesy of TESLA, INC.
|
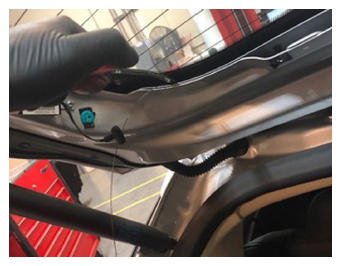 Courtesy of TESLA, INC. Courtesy of TESLA, INC.
|
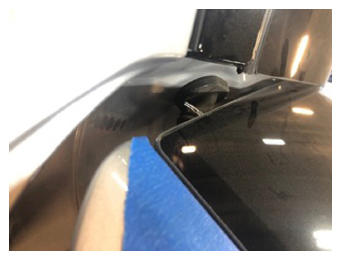 Courtesy of TESLA, INC. Courtesy of TESLA, INC.
|
- Remove wire from starter tool and secure square wire into one T-handle.
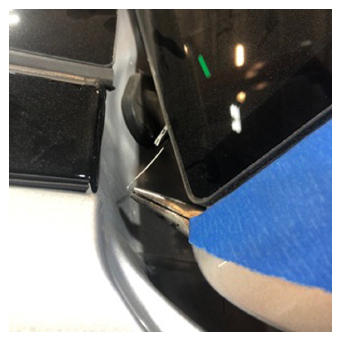 Courtesy of TESLA, INC. Courtesy of TESLA, INC.
|
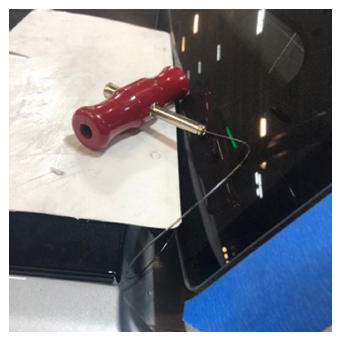 Courtesy of TESLA, INC. Courtesy of TESLA, INC.
|
- Remove wire starter tool from vehicle.
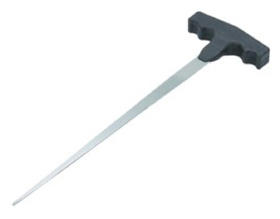 Courtesy of TESLA, INC. Courtesy of TESLA, INC.
|
- Cut out and remove rear backlite assembly.
NOTE:
Recommend assistance, if wire is getting caught on Chimsel, equalizer can be used to separate Chimsel from backlite assembly.
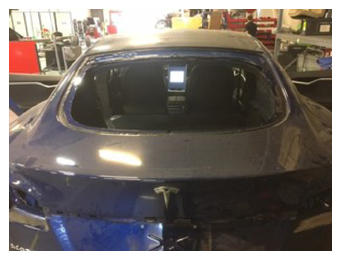 Courtesy of TESLA, INC. Courtesy of TESLA, INC.
|
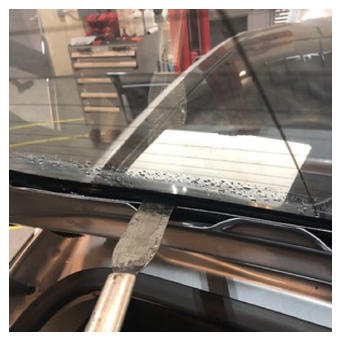 Courtesy of TESLA, INC. Courtesy of TESLA, INC.
|
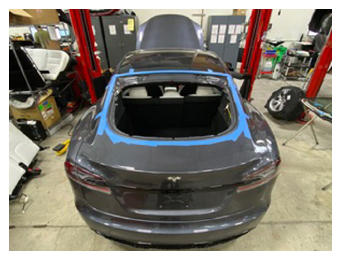
- Remove protective tape from body.
NOTE:
Inspect body and liftgate assembly for any nicks that may need touch up paint.
 Courtesy of TESLA, INC. Courtesy of TESLA, INC.
|
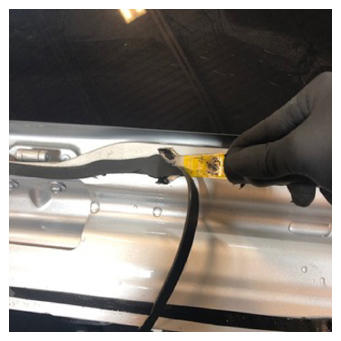
- Remove urethane from liftgate assembly.
 Courtesy of TESLA, INC. Courtesy of TESLA, INC.
|
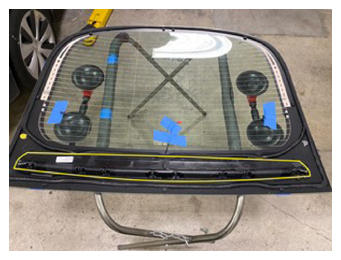
- Remove Chimsel from backlite assembly.
 Courtesy of TESLA, INC. Courtesy of TESLA, INC.
|
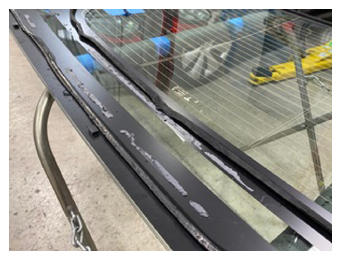
- Remove adhesive residue from backlite assembly.
NOTE:
Carefully remove adhesive residue from backlite assembly.
 Courtesy of TESLA, INC. Courtesy of TESLA, INC.
|
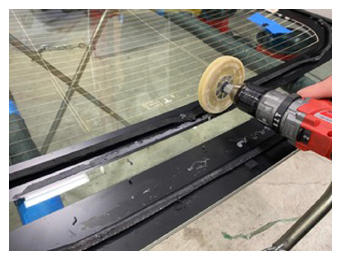 Courtesy of TESLA, INC. Courtesy of TESLA, INC.
|
- Remove urethane from backlite assembly.
NOTE:
Carefully remove remaining urethane from backlite assembly.
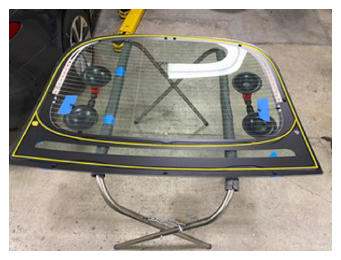 Courtesy of TESLA, INC. Courtesy of TESLA, INC.
|
- Fold 40 seat into down position.
NOTE:
If seat cushion is not present, protect the seat as required.
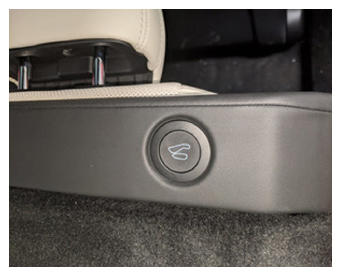 Courtesy of TESLA, INC. Courtesy of TESLA, INC.
|
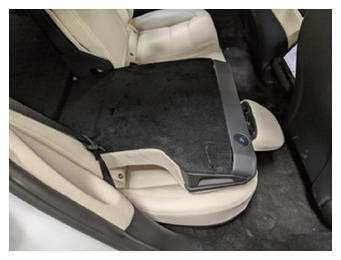 Courtesy of TESLA, INC. Courtesy of TESLA, INC.
|
- Remove RH side bolster trim.
NOTE:
1x clip, 1x tab, Start by releasing upper portion.
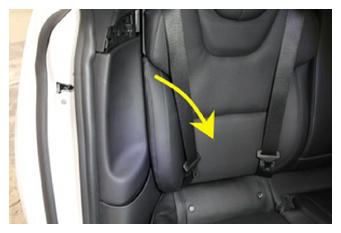 Courtesy of TESLA, INC. Courtesy of TESLA, INC.
|
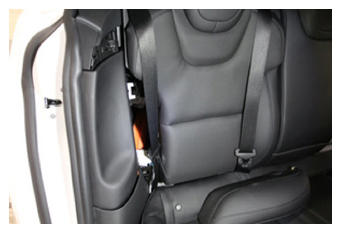 Courtesy of TESLA, INC. Courtesy of TESLA, INC.
|
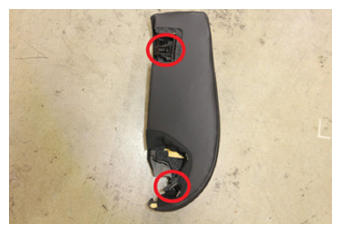 Courtesy of TESLA, INC. Courtesy of TESLA, INC.
|
- Separate RH lower C-pillar trim from RH mid C-pillar trim.
NOTE:
4x clips, 1x datum.
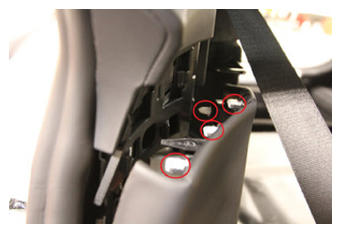 Courtesy of TESLA, INC. Courtesy of TESLA, INC.
|
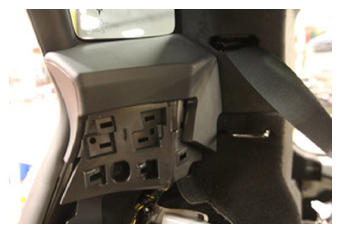
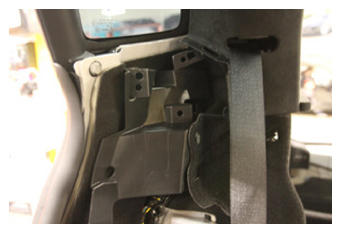
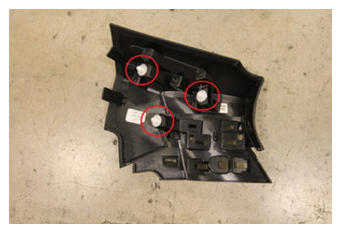
- Remove RH mid C-pillar trim.
NOTE:
3x clips.
 Courtesy of TESLA, INC. Courtesy of TESLA, INC.
|
 Courtesy of TESLA, INC. Courtesy of TESLA, INC.
|
 Courtesy of TESLA, INC. Courtesy of TESLA, INC.
|
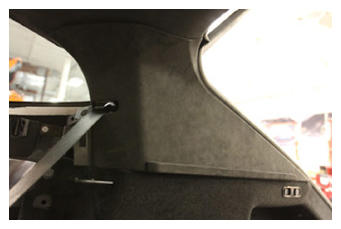
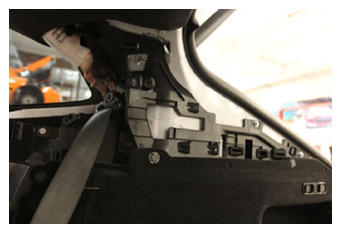
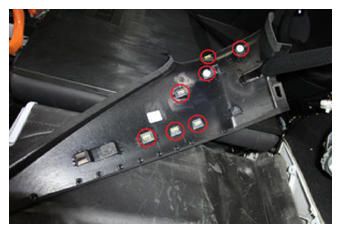
- Release RH upper C-pillar trim and move aside.
NOTE:
7x clips.
 Courtesy of TESLA, INC. Courtesy of TESLA, INC.
|
 Courtesy of TESLA, INC. Courtesy of TESLA, INC.
|
 Courtesy of TESLA, INC. Courtesy of TESLA, INC.
|
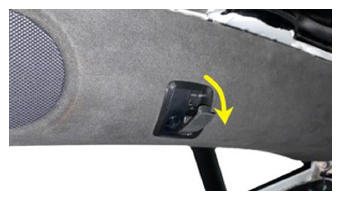
- Push open RH coat hook.
 Courtesy of TESLA, INC. Courtesy of TESLA, INC.
|
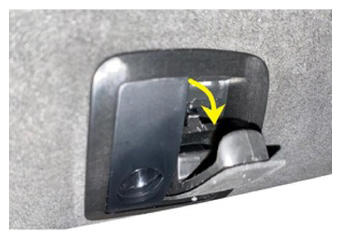
- Pry open RH coat hook screw cover.
NOTE:
2x tabs.
 Courtesy of TESLA, INC. Courtesy of TESLA, INC.
|
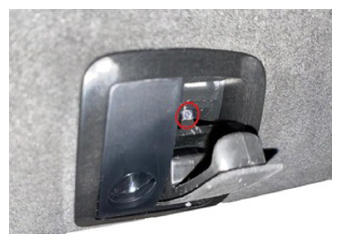
- Remove RH coat hook screw.
NOTE:
1x screw, T25, 2.5 N.m
 Courtesy of TESLA, INC. Courtesy of TESLA, INC.
|
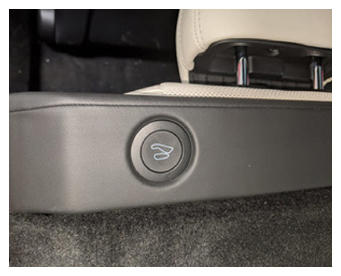
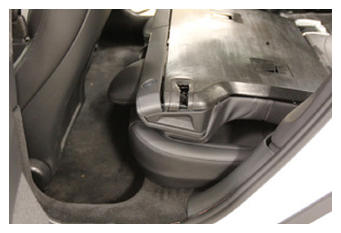
- Fold the 60 seat in down position.
NOTE:
If seat cushion is not present, protect the seat as required.
 Courtesy of TESLA, INC. Courtesy of TESLA, INC.
|
 Courtesy of TESLA, INC. Courtesy of TESLA, INC.
|
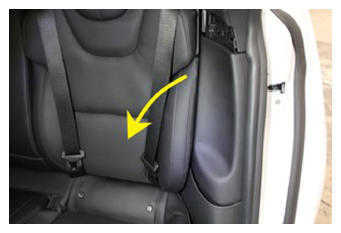
- Remove LH side bolster trim.
NOTE:
1x clip, 1x tab, Start by releasing upper portion.
 Courtesy of TESLA, INC. Courtesy of TESLA, INC.
|
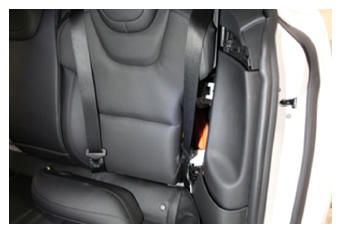 Courtesy of TESLA, INC. Courtesy of TESLA, INC.
|
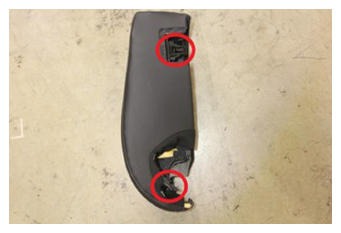 Courtesy of TESLA, INC. Courtesy of TESLA, INC.
|
- Separate LH lower C-pillar trim from LH mid C-pillar trim.
NOTE:
4x clips, 1x datum.
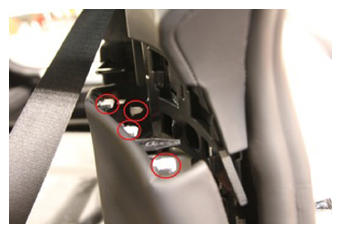 Courtesy of TESLA, INC. Courtesy of TESLA, INC.
|
- Remove LH mid C-pillar trim.
NOTE:
3x clips.
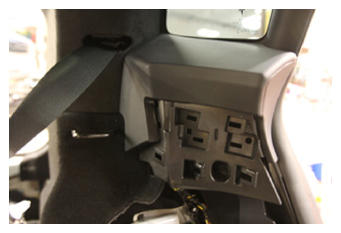 Courtesy of TESLA, INC. Courtesy of TESLA, INC.
|
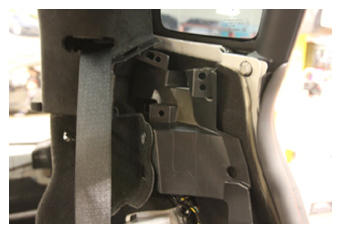 Courtesy of TESLA, INC. Courtesy of TESLA, INC.
|
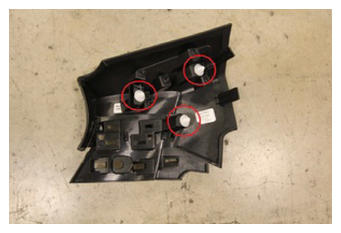 Courtesy of TESLA, INC. Courtesy of TESLA, INC.
|
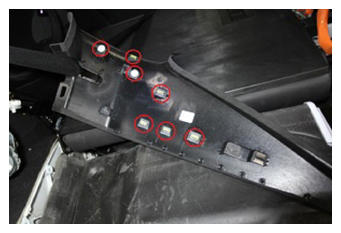
- Release LH upper C-pillar trim and move aside.
NOTE:
7x clips.
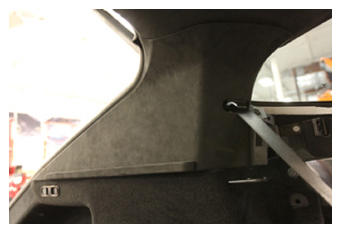 Courtesy of TESLA, INC. Courtesy of TESLA, INC.
|
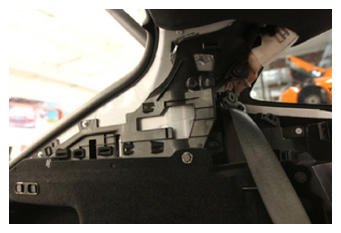 Courtesy of TESLA, INC. Courtesy of TESLA, INC.
|
 Courtesy of TESLA, INC. Courtesy of TESLA, INC.
|
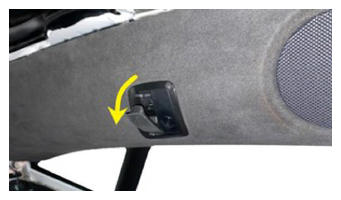
- Push open LH coat hook.
 Courtesy of TESLA, INC. Courtesy of TESLA, INC.
|
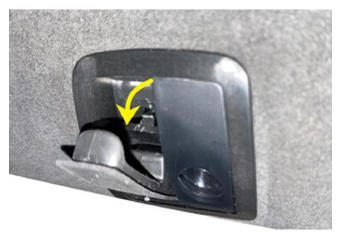
- Pry open LH coat hook screw cover.
NOTE:
2x tabs.
 Courtesy of TESLA, INC. Courtesy of TESLA, INC.
|
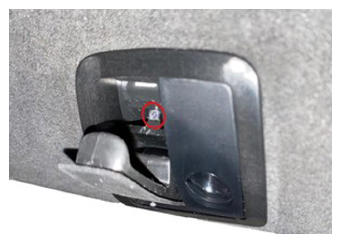
- Remove LH coat hook screw.
NOTE:
1x screw, T25, 2.5 N.m.
 Courtesy of TESLA, INC. Courtesy of TESLA, INC.
|
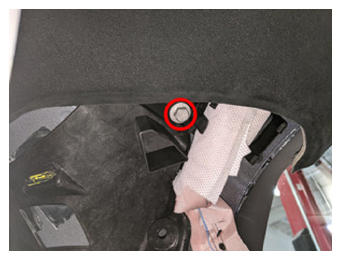
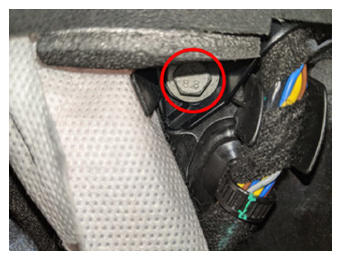
- Remove bolts securing rear of headliner to body.
NOTE:
2x bolts, 10 mm, 3 N.m, Bolt located on LH & RH side of headliner.
 Courtesy of TESLA, INC. Courtesy of TESLA, INC.
|
 Courtesy of TESLA, INC. Courtesy of TESLA, INC.
|
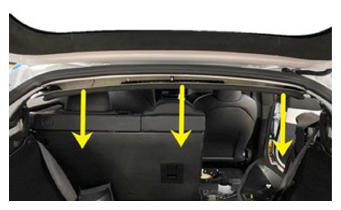
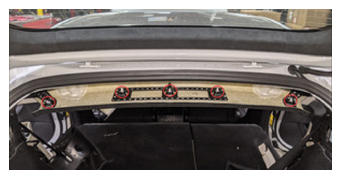
- Release headliner from rear end of vehicle.
NOTE:
5x clips.
 Courtesy of TESLA, INC. Courtesy of TESLA, INC.
|
 Courtesy of TESLA, INC. Courtesy of TESLA, INC.
|
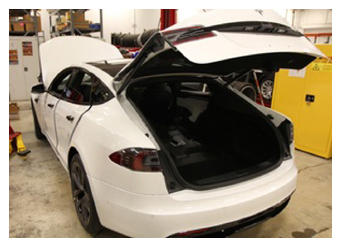
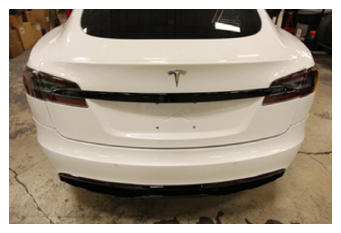
- Close liftgate.
 Courtesy of TESLA, INC. Courtesy of TESLA, INC.
|
 Courtesy of TESLA, INC. Courtesy of TESLA, INC.
|
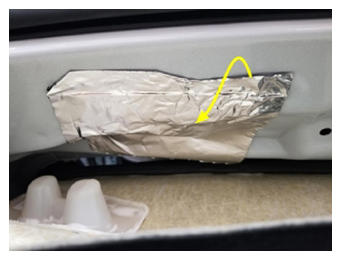
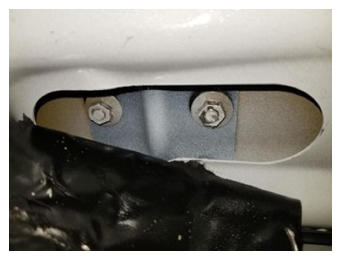
- Remove butyl patch to access liftgate hinge to body nuts.
 Courtesy of TESLA, INC. Courtesy of TESLA, INC.
|
 Courtesy of TESLA, INC. Courtesy of TESLA, INC.
|
- Mark fastener location for installation.
NOTE:
Location of nuts for hinge can be marked using masking tape, sharpie or lightly scribing with pocket screwdriver.
 Courtesy of TESLA, INC. Courtesy of TESLA, INC.
|
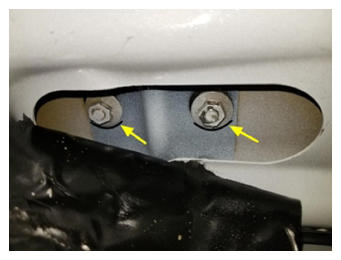
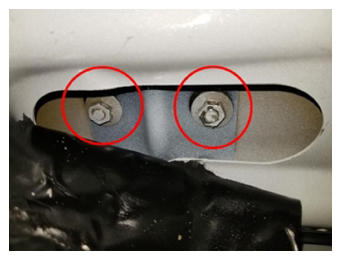
- Remove nuts on hinge to body LH.
NOTE:
2x M6 nuts, 10 mm 16 N.m Recommend assistance, nuts are easily accessed inside the vehicle.
 Courtesy of TESLA, INC. Courtesy of TESLA, INC.
|
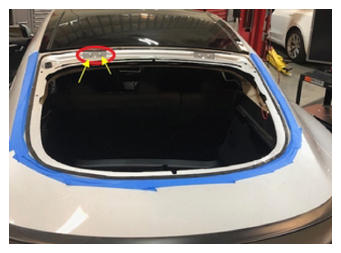
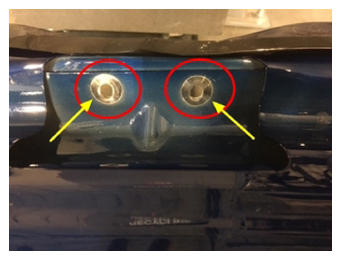
- Remove hinge bolts from liftgate to LH hinge.
NOTE:
2x bolts, 10 mm 11 N.m Mark bolt location on liftgate to LH hinge. However should have ghost marks from bolts.
 Courtesy of TESLA, INC. Courtesy of TESLA, INC.
|
 Courtesy of TESLA, INC. Courtesy of TESLA, INC.
|
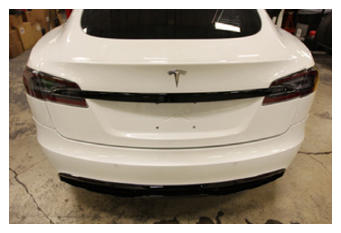
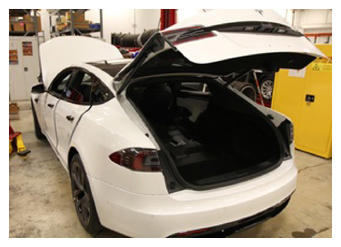
- Open liftgate.
 Courtesy of TESLA, INC. Courtesy of TESLA, INC.
|
 Courtesy of TESLA, INC. Courtesy of TESLA, INC.
|
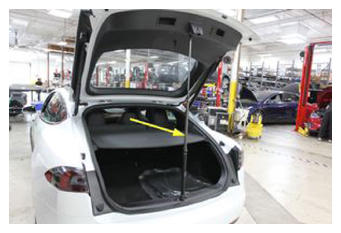
- Support liftgate with hood prop.
 Courtesy of TESLA, INC. Courtesy of TESLA, INC.
|
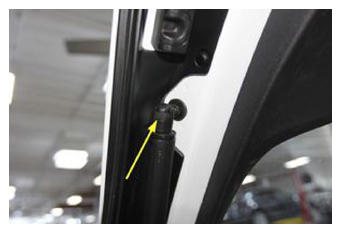
- Release LH liftgate gas strut from ball stud at liftgate.
NOTE:
1x clip.
 Courtesy of TESLA, INC. Courtesy of TESLA, INC.
|
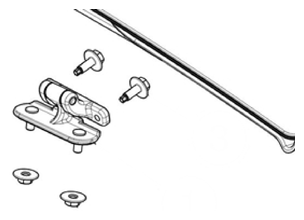
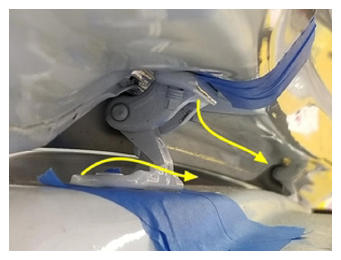
- Remove LH liftgate hinge.
NOTE:
Recommend assistance. Have assistant lift up on liftgate LH side while person inside trunk removes hinge. Once removed, install new hinge while liftgate is being held up.
 Courtesy of TESLA, INC. Courtesy of TESLA, INC.
|
 Courtesy of TESLA, INC. Courtesy of TESLA, INC.
|