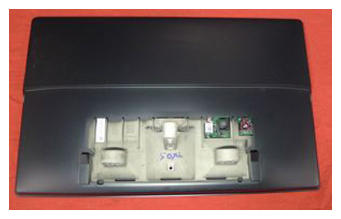
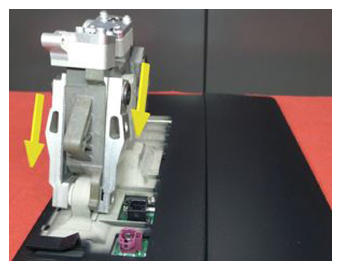
- Position the display mechanism on the touchscreen housing.
NOTE:
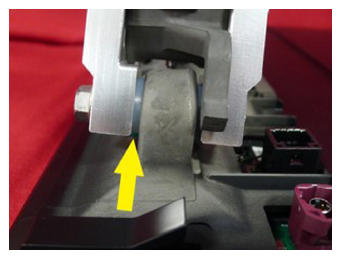
Make sure a plastic washer is installed on the top of each lower display mechanism arm.
 Courtesy of TESLA, INC. Courtesy of TESLA, INC.
|
 Courtesy of TESLA, INC. Courtesy of TESLA, INC.
|
 Courtesy of TESLA, INC. Courtesy of TESLA, INC.
|
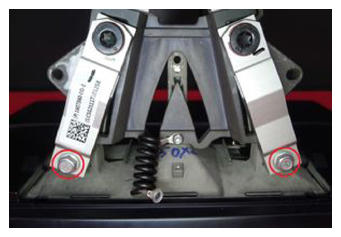
- Install new bolts (x2) that attach the display mechanism to the touchscreen housing.
NOTE:
10 mm, 10 N.m
 Courtesy of TESLA, INC. Courtesy of TESLA, INC.
|
- Position the ground strap on the touchscreen, and then install the bolt that attaches the ground strap to the touchscreen.
CAUTION:
Replace the bolt if it is damaged. Failure to properly reconnect the ground strap will result in display functionality issues.
NOTE:
4 N.m, T20
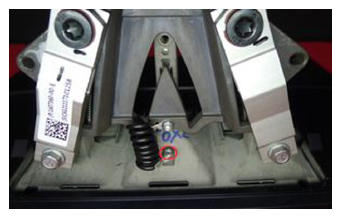 Courtesy of TESLA, INC. Courtesy of TESLA, INC.
|
- Position the touchscreen on the IP carrier, and then route the display harness behind the LH side of the display mechanism.
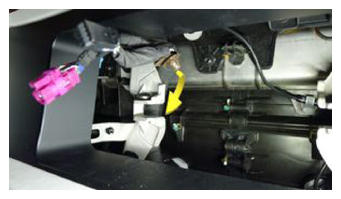 Courtesy of TESLA, INC. Courtesy of TESLA, INC.
|
- Connect the coax and power connectors to the touchscreen, and then install the clip that attaches the harness to the display mechanism arm.
NOTE:
Replace the clip if it is damaged.
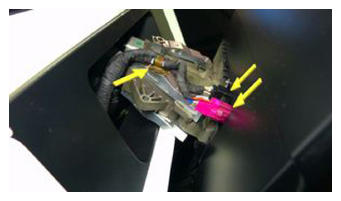 Courtesy of TESLA, INC. Courtesy of TESLA, INC.
|
- Position the touchscreen shroud behind the touchscreen, and then install the tabs (x3) that attach the shroud to the touchscreen.
NOTE:
Slide the display downward until the tabs fully engage.
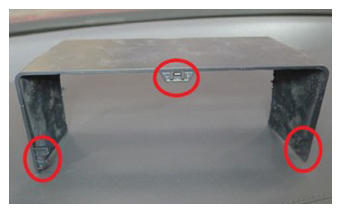 Courtesy of TESLA, INC. Courtesy of TESLA, INC.
|
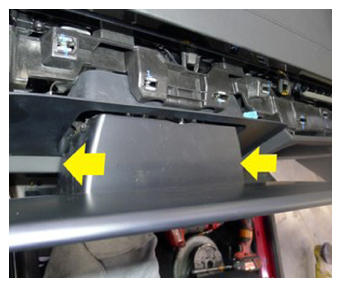 Courtesy of TESLA, INC. Courtesy of TESLA, INC.
|
- Install the bolts (x2) that attach the touchscreen bracket to the IP carrier.
NOTE:
11.5 N.m
NOTE:
Start the RH bolt first.
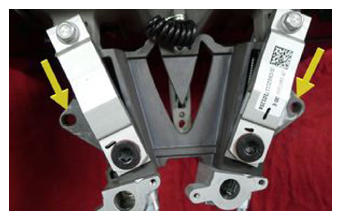 Courtesy of TESLA, INC. Courtesy of TESLA, INC.
|
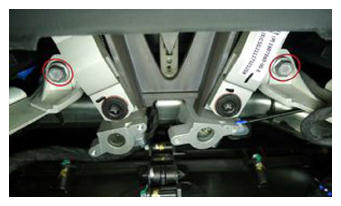 Courtesy of TESLA, INC. Courtesy of TESLA, INC.
|
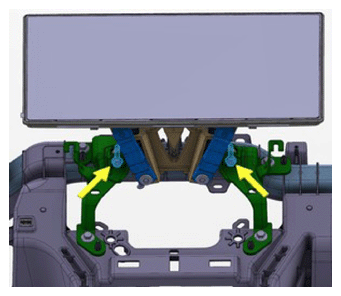 Courtesy of TESLA, INC. Courtesy of TESLA, INC.
|
- Connect the electrical connectors (x2) for the touchscreen tilt motors, if equipped.
 Courtesy of TESLA INC Courtesy of TESLA INC
|
- Install the instrument panel service panel and phone dock. See Service Panel - Instrument Panel (Remove And Replace) .
- Connect LV power. See LV Power (Disconnect and Connect)
.
- Move the RH front seat to its original position.
- Raise the RH front window.