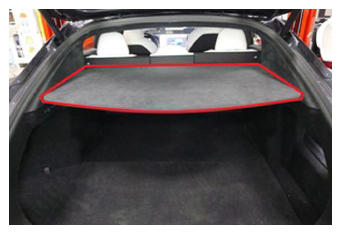
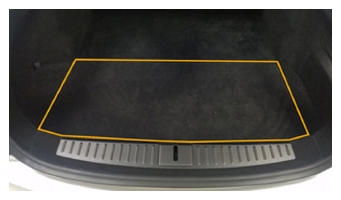
- Open the liftgate and remove the parcel shelf and trunk load floor.
 Courtesy of TESLA, INC. Courtesy of TESLA, INC.
|
 Courtesy of TESLA, INC. Courtesy of TESLA, INC.
|
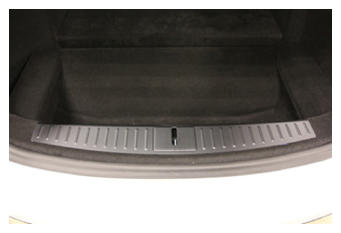
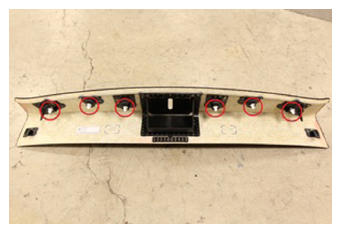
- Release the 6 clips that attach the trunk sill panel to the vehicle.
 Courtesy of TESLA, INC. Courtesy of TESLA, INC.
|
 Courtesy of TESLA, INC. Courtesy of TESLA, INC.
|
- Release the clips that attach the RH trunk bracket to the vehicle.
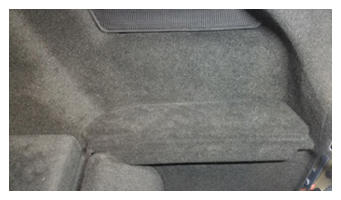 Courtesy of TESLA, INC. Courtesy of TESLA, INC.
|
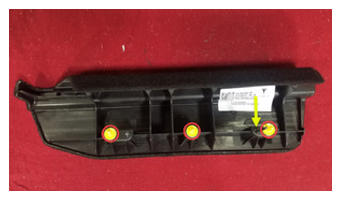 Courtesy of TESLA, INC. Courtesy of TESLA, INC.
|
- Remove the rear trunk floor.
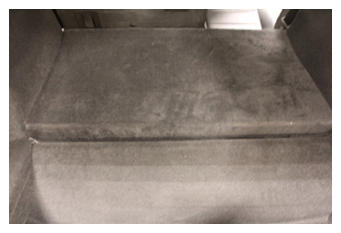 Courtesy of TESLA, INC. Courtesy of TESLA, INC.
|
- Release the 4 clips that attach the rear wall trim to the vehicle.
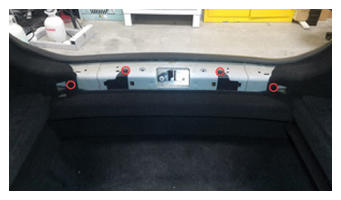 Courtesy of TESLA, INC. Courtesy of TESLA, INC.
|
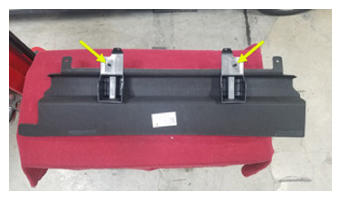 Courtesy of TESLA, INC. Courtesy of TESLA, INC.
|
- Release the clip that attaches the RH side bolster trim to the vehicle.
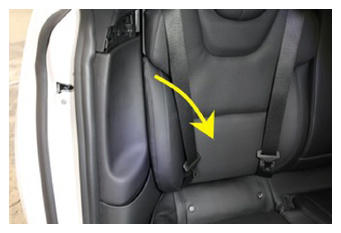 Courtesy of TESLA, INC. Courtesy of TESLA, INC.
|
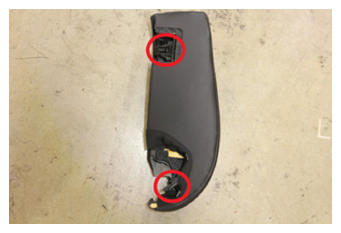 Courtesy of TESLA, INC. Courtesy of TESLA, INC.
|
- Release the clips (x4) that attach the RH lower C-pillar trim to the RH mid C-pillar trim.
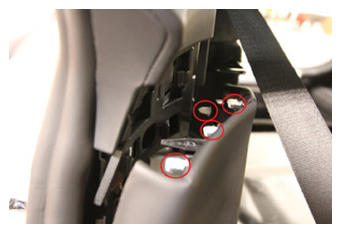 Courtesy of TESLA, INC. Courtesy of TESLA, INC.
|
- Release the clips (x3) that attach the RH mid C-pillar trim to the vehicle.
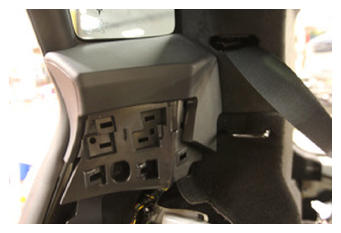 Courtesy of TESLA, INC. Courtesy of TESLA, INC.
|
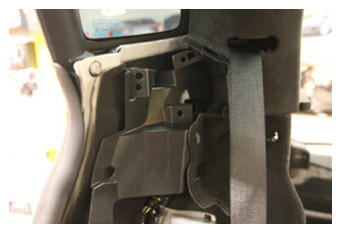 Courtesy of TESLA, INC. Courtesy of TESLA, INC.
|
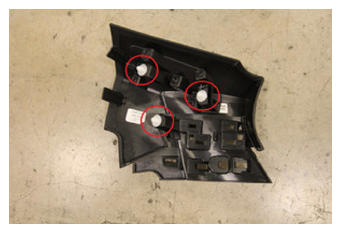 Courtesy of TESLA, INC. Courtesy of TESLA, INC.
|
- Release the clips (x7) that attach the RH upper C-pillar trim and move the trim aside.
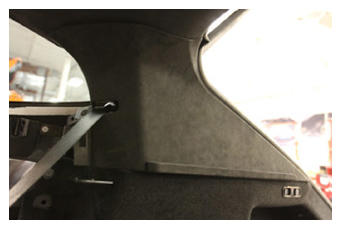 Courtesy of TESLA, INC. Courtesy of TESLA, INC.
|
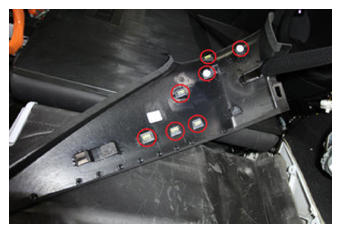 Courtesy of TESLA, INC. Courtesy of TESLA, INC.
|
- Release the clips (x3) that attach the RH trunk side trim to the vehicle.
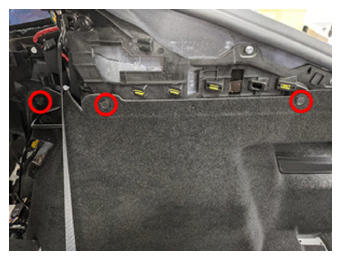 Courtesy of TESLA, INC. Courtesy of TESLA, INC.
|
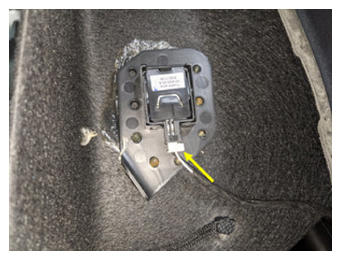 Courtesy of TESLA, INC. Courtesy of TESLA, INC.
|
- Disconnect the electrical harness from the RH taillight.
CAUTION:
DO NOT push down on the red locking tab. Pull the tab away from the connector until the connector is unlocked, and then continue pulling to release the connector.
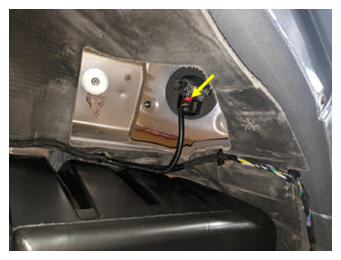 Courtesy of TESLA, INC. Courtesy of TESLA, INC.
|
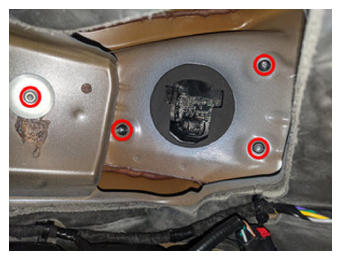
- Remove the nuts (x4) that attach the RH taillight to the vehicle.
NOTE:
4x nuts, 8 mm, 4 N.m
 Courtesy of TESLA, INC. Courtesy of TESLA, INC.
|
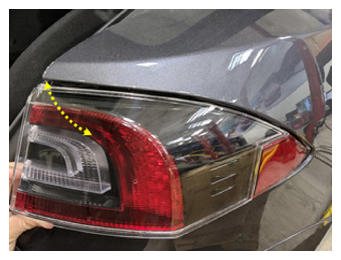
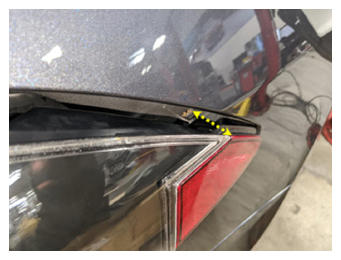
- Remove the RH taillight from the vehicle.
NOTE:
Make note of any shims or spacers to retain fitment on install.
CAUTION:
Use caution not to damage painted surfaces.
 Courtesy of TESLA, INC. Courtesy of TESLA, INC.
|
 Courtesy of TESLA, INC. Courtesy of TESLA, INC.
|
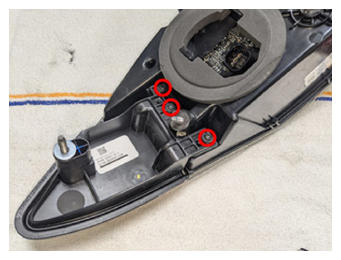
- Remove the screws (x3) that attach the fixed door to the RH taillight.
NOTE:
3x screws, T20, 2.5 N.m
 Courtesy of TESLA, INC. Courtesy of TESLA, INC.
|