- Install the parking distance sensor to the rear fascia.
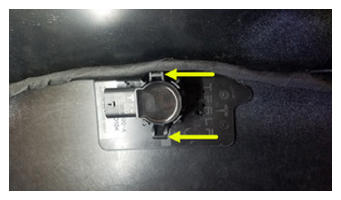 Courtesy of TESLA, INC. Courtesy of TESLA, INC.
|
- Connect the electrical harness to the parking distance sensor.
CAUTION:
Push the red locking tab into the connector to engage the locking mechanism. DO NOT push down or pull up on the red locking tab.
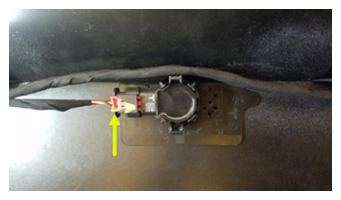 Courtesy of TESLA, INC. Courtesy of TESLA, INC.
|
- Install the rear fascia assembly. See Fascia Assembly - Rear (Remove and Install)
.
- Connect LV power. See LV Power (Disconnect And Connect)
.
NOTE:
After connecting LV power, do not shift the vehicle to Drive until the Toolbox routine (further below) is performed. Failure to do so can trigger vehicle alerts.
- On the vehicle touchscreen, touch Controls > Service > Jack Mode
to deactivate Jack Mode.
- Using a laptop, connect to the vehicle with the ethernet diagnostic kit and Toolbox 3.
- Select "Actions/Autodiag" and search for "USS Addresses".
- Select "PROC_USM_REAR_PROGRAM-USS-ADDRESSES". Click "Run" and allow the routine to complete.
NOTE:
Select "X" at the top right of the window to close once the routine is complete.
- Disconnect Toolbox 3 from the vehicle and remove the laptop and ethernet diagnostic kit.