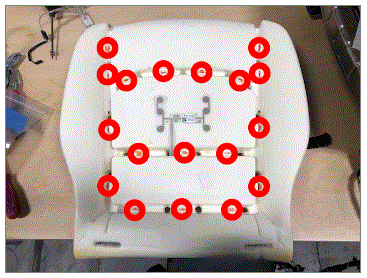
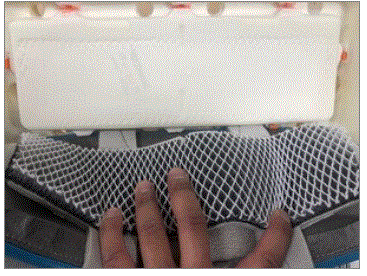
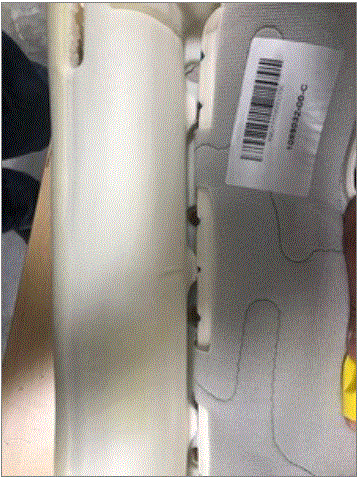
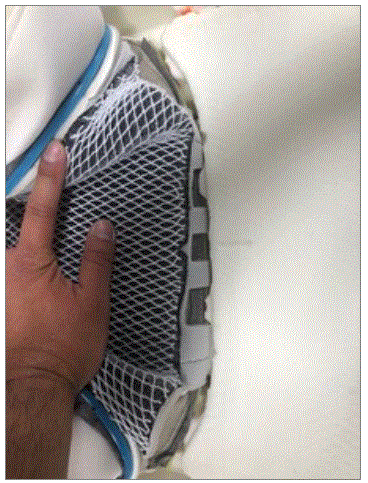
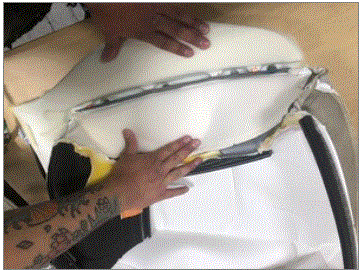
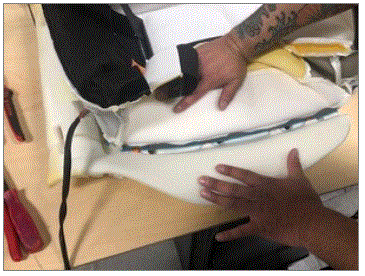
- Position the seat cushion trim onto the foam pad, and then reinstall the clips (x18) that attach the seat cushion trim to the foam pad.
 Courtesy of TESLA INC. Courtesy of TESLA INC.
|
 Courtesy of TESLA INC. Courtesy of TESLA INC.
|
 Courtesy of TESLA INC. Courtesy of TESLA INC.
|
 Courtesy of TESLA INC. Courtesy of TESLA INC.
|
 Courtesy of TESLA INC. Courtesy of TESLA INC.
|
 Courtesy of TESLA INC. Courtesy of TESLA INC.
|
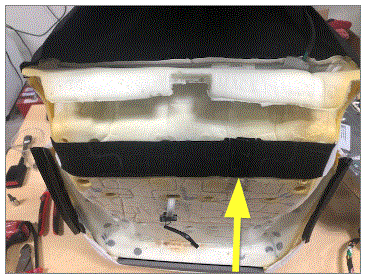
- Attach the strap that attaches the seat cushion trim to the foam pad.
 Courtesy of TESLA INC. Courtesy of TESLA INC.
|
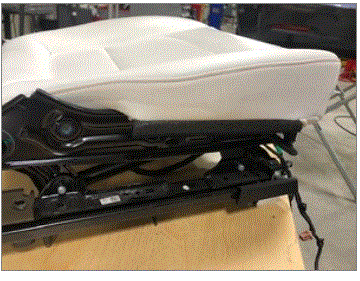
- Position the cushion pad assembly onto the seat cushion frame for installation.
NOTE:
Insert the rear of the seat cushion to seat bottom frame and then lower the rest on the seat cushion to the seat bottom frame. Make sure the wiring harness is routed through the back of seat frame.
 Courtesy of TESLA INC. Courtesy of TESLA INC.
|
- Lay the seat on its seat back to gain access to the underside of the seat cushion.
CAUTION:
Protect the seat cushion from damage as necessary.
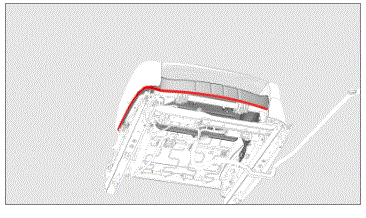
- Install the seat cushion foam pad to the seat cushion frame, and then fasten the clip strips (x3) that attach the seat cushion to the frame at the outboard and inboard sides, and at the front.
NOTE:
Make sure that the seat heater connector and seat occupied sensor assembly pass through the seat suspension or frame.
 Courtesy of TESLA INC. Courtesy of TESLA INC.
|
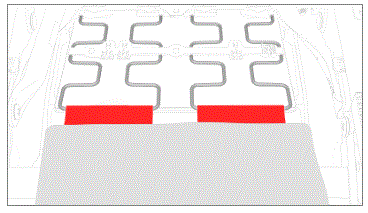
- Fasten the clips (x2) that attach the seat cushion to the seat suspension.
 Courtesy of TESLA INC. Courtesy of TESLA INC.
|
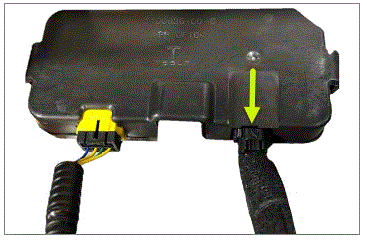
- Connect the seat cushion heat pad from the module.
 Courtesy of TESLA INC. Courtesy of TESLA INC.
|
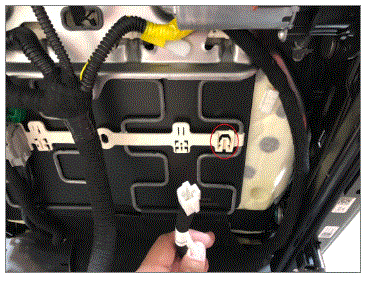
- Install the seat cushion connector to the seat assembly.
 Courtesy of TESLA INC. Courtesy of TESLA INC.
|
- Connect the seat cushion heat pad connector to the seat back head pad connector.
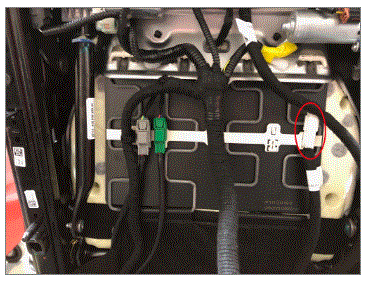 Courtesy of TESLA INC. Courtesy of TESLA INC.
|
- Install the heat pad connector to the seat frame.
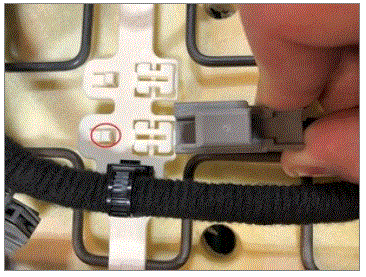 Courtesy of TESLA INC. Courtesy of TESLA INC.
|
- Connect the heat pad connector.
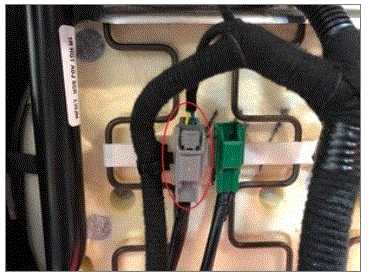 Courtesy of TESLA INC. Courtesy of TESLA INC.
|
- Install the seat occupied sensor to the seat underside, and then fasten the clip that attaches the sensor to the seat underside.
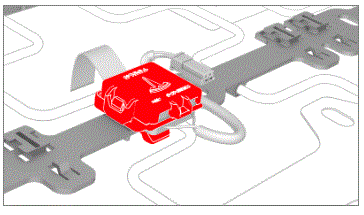 Courtesy of TESLA INC. Courtesy of TESLA INC.
|
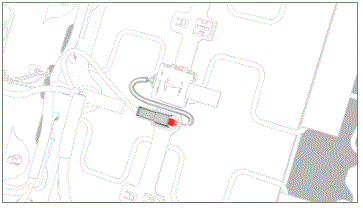
- Connect the occupied sensor connector.
 Courtesy of TESAL INC. Courtesy of TESAL INC.
|
- Move the seat to the upright position.
- Install the front passenger seat inboard side shield. See Side Shield - Inboard - Driver Seat - Remove And Replace
- Install the front passenger seat outboard side shield. See Side Shield - Outboard - Driver Seat - Remove And Replace
- Install the front passenger seat from the vehicle. See Seat Assembly - 1st Row - LH - Remove and Replace
- If servicing the front passenger seat in a North American vehicle:
- Remove all objects from the front passenger seat before beginning calibration.
- On the vehicle touchscreen, touch Controls (Vehicle Icon) > Software
and check the vehicle firmware version. If the vehicle firmware is 2023.2.11 or newer, perform a software reinstall. See SOFTWARE REINSTALL - TOUCHSCREEN
. If the vehicle firmware is not 2023.2.11 or newer, update the vehicle firmware. See SOFTWARE UPDATE
- Locally connect a laptop with Toolbox 3 to the vehicle. See TOOLBOX 3 - CONNECT AND DISCONNECT
- Unlock the vehicle gateway. See GATEWAY (UNLOCK)
- In Toolbox, click on the Actions
tab, and then search for "OCS".
- Run
the PROC_OCS1P_SELF-CALIBRATION routine.
- Click on the Actions
tab, and then search for "Seat calibration".
- Run
the PROC_VCRIGHT_SEAT-TEST-CALIBRATE routine.
- Disconnect Toolbox and remove the laptop from the vehicle.