- Use IPA wipes to clean and remove excess urethane from the roof area.
NOTE:
Allow 1 minute of dry time.
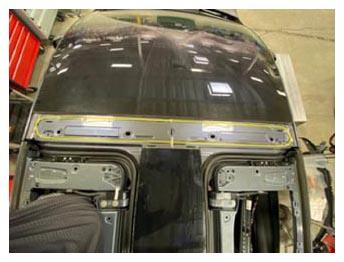 Courtesy of TESLA, INC. Courtesy of TESLA, INC.
|
- Apply primer along the urethane path on the roof assembly.
NOTE:
Check the primer packaging for the appropriate wait time before applying adhesive.
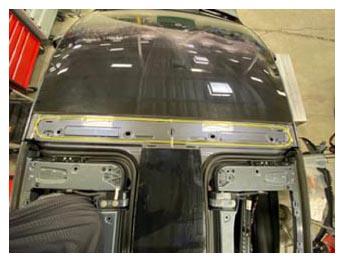 Courtesy of TESLA, INC. Courtesy of TESLA, INC.
|
- Apply primer to the front roof applique assembly.
 Courtesy of TESLA, INC. Courtesy of TESLA, INC.
|
- Prepare the caulking gun and urethane.
NOTE:
The opening must be 8 mm wide and 14 mm tall.
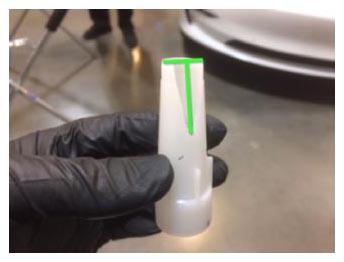 Courtesy of TESLA, INC. Courtesy of TESLA, INC.
|
- Apply urethane to the front roof applique following the primer patch.
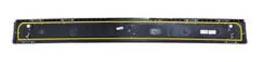 Courtesy of TESLA, INC. Courtesy of TESLA, INC.
|
- Position the front roof applique onto the vehicle, and then firmly press the applique into the vehicle to engage the clips (x5) and urethane.
NOTE:
Ensure the gaps between the applique and the adjacent panels are even from front to back and from side to side. Clean off any excess urethane.
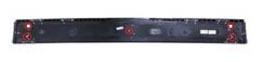 Courtesy of TESLA, INC. Courtesy of TESLA, INC.
|
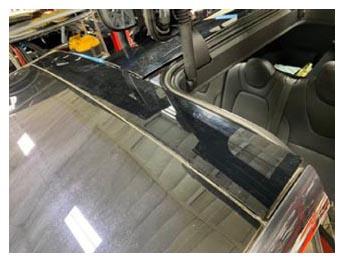 Courtesy of TESLA, INC. Courtesy of TESLA, INC.
|
- Apply tape on the front roof applique assembly to temporarily hold it in place. Allow the urethane to dry as directed by the adhesive manufacturer.
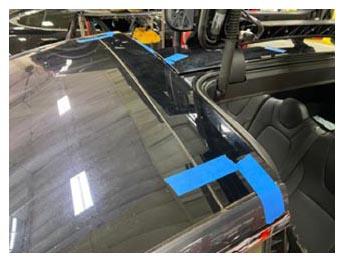 Courtesy of TESLA, INC. Courtesy of TESLA, INC.
|
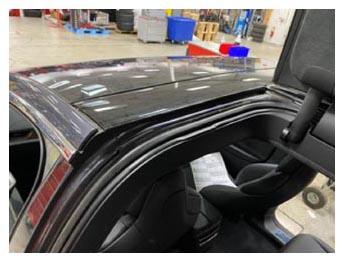
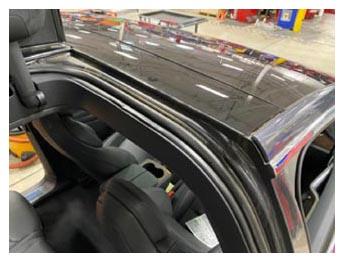
- Remove the tape from the roof area.
 Courtesy of TESLA, INC. Courtesy of TESLA, INC.
|
 Courtesy of TESLA, INC. Courtesy of TESLA, INC.
|
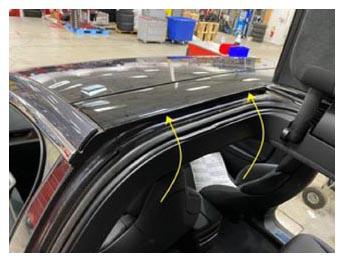
- Secure the clips (x3) that attach the LH B-pillar applique seal to the vehicle. Repeat this step for the RH B-pillar applique.
 Courtesy of TESLA, INC. Courtesy of TESLA, INC.
|