- Open the LH and RH falcon wing doors.
- Open the liftgate.
- Fold the 2nd row 40 and 60 seats downward.
- Remove the rear trunk load floor. See Trunk Load Floor - Rear (Remove and Replace)
.
- Remove the rear trunk floor NVH insulator. See NVH Insulator - Floor - Rear Trunk (Remove and Replace)
.
- Remove the rear trunk carpet. See Carpet - Rear Trunk (5 Seat) (Remove and Replace)
.
- Fold the LH and RH 3rd row seats downward.
- Remove the LH 3rd row seat back carpet. See SEAT BACK CARPET - 3RD ROW - LH (REMOVE AND REPLACE)
.
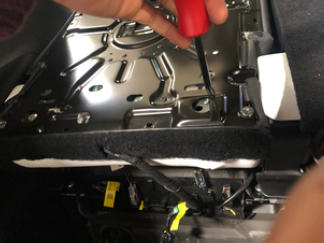
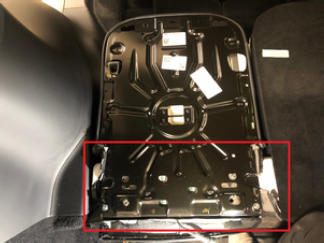
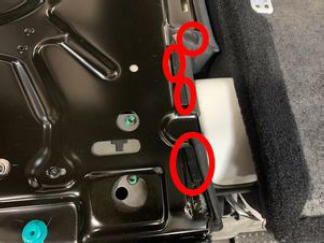
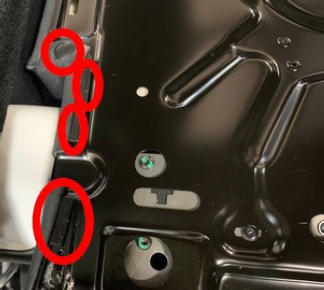
- Release the tabs (x4), fir tree clips (x2), and J hook that attach the lower section of the LH 3rd row seat upholstery to the seat.
NOTE:
Pull the tabs inward, and then upwards to release.
NOTE:
Use of the following tool(s) is recommended:
 Courtesy of TESLA, INC. Courtesy of TESLA, INC.
|
 Courtesy of TESLA, INC. Courtesy of TESLA, INC.
|
 Courtesy of TESLA, INC. Courtesy of TESLA, INC.
|
 Courtesy of TESLA, INC. Courtesy of TESLA, INC.
|
- Disconnect the LH 3rd row seat connectors (x2), and then re-route the connectors through the lower section of the upholstery.
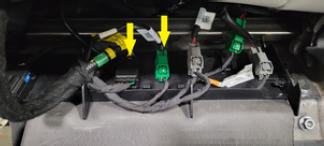 Courtesy of TESLA, INC. Courtesy of TESLA, INC.
|
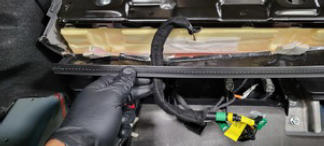 Courtesy of TESLA, INC. Courtesy of TESLA, INC.
|
- Route the LH 3rd row seat connectors (x2) around the lower section of the upholstery, and then connect the connectors.
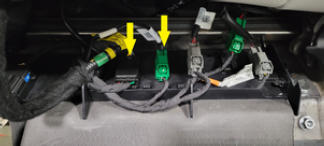 Courtesy of TESLA, INC. Courtesy of TESLA, INC.
|
- Unfold the LH 3rd row seat to original position.
NOTE:
Leave the seat headrest in the folded position.
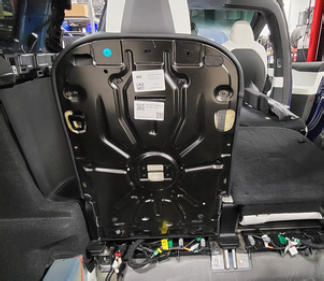 Courtesy of TESLA, INC. Courtesy of TESLA, INC.
|
- Release the J-hook clip that attaches the upper half of the LH 3rd row seat upholstery to the seat.
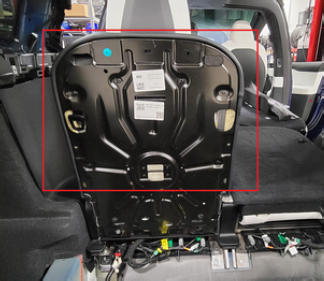 Courtesy of TESLA, INC. Courtesy of TESLA, INC.
|
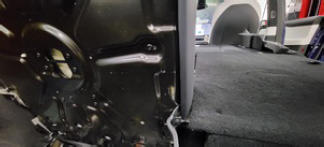 Courtesy of TESLA, INC. Courtesy of TESLA, INC.
|
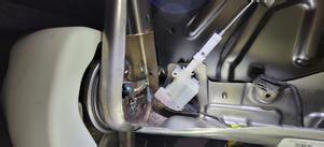
- From the 3rd row, pull the inner portion of the seat cover and foam outward to gain access to the LH 3rd row headrest actuator.
CAUTION:
Use caution to not snag the J-hooks. The actuator is located on the front side of the seat back under the upholstery and cushion assembly.
NOTE:
Use the fold function to feed the bottom of the seat upholstery forward.
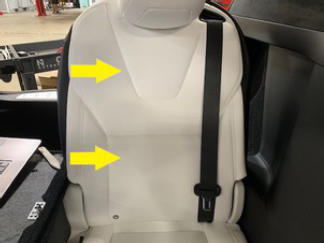 Courtesy of TESLA, INC. Courtesy of TESLA, INC.
|
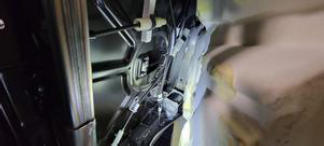 Courtesy of TESLA, INC. Courtesy of TESLA, INC.
|
 Courtesy of TESLA, INC. Courtesy of TESLA, INC.
|
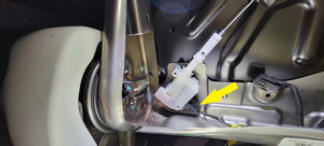
- Disconnect the LH 3rd row headrest actuator connector.
NOTE:
Depress both of the locking tabs on the side of the connector to release.
NOTE:
Use of the following tool(s) is recommended:
- 6 in 90 degree tip miniature soft grip pick
 Courtesy of TESLA, INC. Courtesy of TESLA, INC.
|
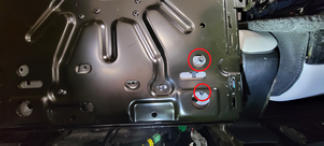
- Remove the screws (x2) that attach the LH 3rd row headrest actuator to the seat frame.
NOTE:
Use of the following tool(s) is recommended:
- 4 in extension
- Ratchet/torque wrench
- Torx T25 socket
 Courtesy of TESLA, INC. Courtesy of TESLA, INC.
|
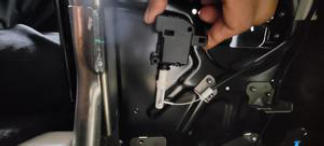
- Turn the LH 3rd row headrest actuator to gain access to the headrest release cable, and then slide the cable towards the base of the actuator.
 Courtesy of TESLA, INC. Courtesy of TESLA, INC.
|
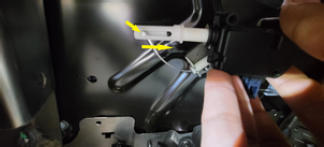 Courtesy of TESLA, INC. Courtesy of TESLA, INC.
|
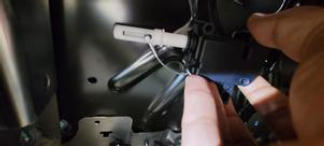 Courtesy of TESLA, INC. Courtesy of TESLA, INC.
|
- Rotate the LH 3rd row headrest actuator upwards, remove the actuator from the headrest release cable, and then remove the actuator from the vehicle.
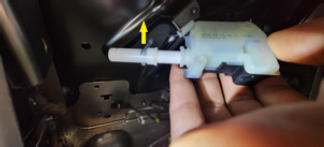 Courtesy of TESLA, INC. Courtesy of TESLA, INC.
|
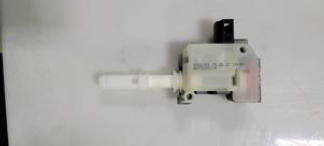 Courtesy of TESLA, INC. Courtesy of TESLA, INC.
|