Carpet - Trim - Trunk - LH - Remove And Replace: Remove
- Remove the rear trunk load floor. See TRUNK LOAD FLOOR - REAR (REMOVE AND REPLACE)
.
- Remove the LH trunk pocket load floor. See TRUNK LOAD FLOOR - SIDE (REMOVE AND REPLACE)
.
- Remove the trunk tub floor insulator.
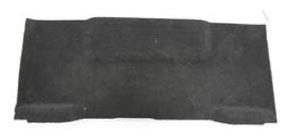 Courtesy of TESLA, INC. Courtesy of TESLA, INC.
|
- Slide the trunk carpet off of the anchors, and then remove the carpet from the vehicle.
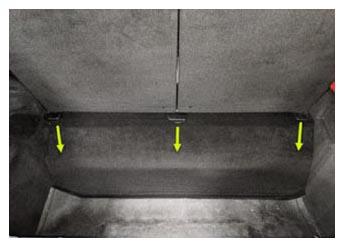 Courtesy of TESLA, INC. Courtesy of TESLA, INC.
|
- Remove the LH rear sill panel trim. See TRIM - SILL PANEL - REAR - LH (REMOVE AND REPLACE) .
- Remove the LH side rear trunk garnish. See GARNISH - REAR TRUNK - SIDE - LH (REMOVE AND REPLACE) .
- Remove the LH mid C-pillar trim. See TRIM - C-PILLAR - MID - LH (REMOVE AND REPLACE) .
- Remove the LH lower C-pillar trim. See TRIM - C-PILLAR - LOWER - LH (REMOVE AND REPLACE) .
- Repeat step 5 through step 8 for the RH side of the vehicle.
- Remove the trunk sill trim. See TRIM - SILL - TRUNK (REMOVE AND REPLACE) .
- Release the clips (x6) that attach the rear wall load support to the body, and then remove the support from the vehicle.
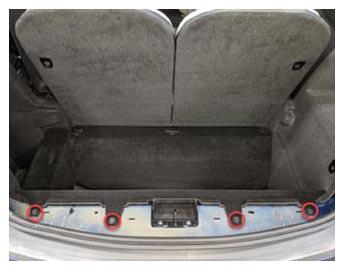 Courtesy of TESLA, INC. Courtesy of TESLA, INC.
|
- Remove the LH rear trunk crush can trim. See TRIM - CRUSH CAN - REAR TRUNK - LH (REMOVE AND REPLACE)
.
- Release the clip that attaches the LH soft trim pocket bracket to the LH frame rail, and then remove the pocket bracket from the vehicle.
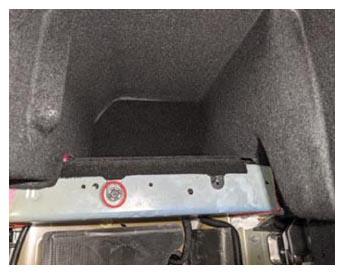 Courtesy of TESLA, INC. Courtesy of TESLA, INC.
|
- Fold the LH 3rd row seat back into the down position.
- Remove the LH upper C-pillar trim. See TRIM - C-PILLAR - UPPER - LH (REMOVE AND REPLACE) .
- Release the clips (x3) and remove the screws (x2) that attach the LH mid C-pillar zone bracket.
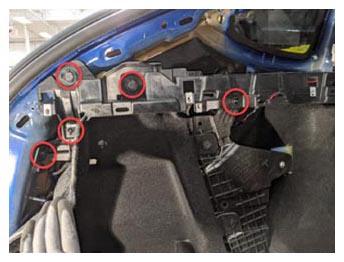 Courtesy of TESLA, INC. Courtesy of TESLA, INC.
|
- Disconnect the electrical harness from the 12V outlet connector, release the clips (x2) that attach the LH trunk side trim carpet to the LH trunk side trim bracket, and then remove the carpet from the vehicle.
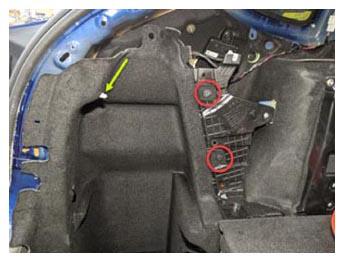 Courtesy of TESLA, INC. Courtesy of TESLA, INC.
|