Bracket - Tie Down - Rear Trunk - RH - Remove And Replace: Install
- Position the RH rear trunk tie down bracket on the vehicle, and then install the bolts (x2) that secure the bracket to the vehicle.
NOTE:
Use of the following tool(s) is recommended:
- 10 mm socket
- Flex head ratchet/flex head torque wrench
- Ratchet/torque wrench
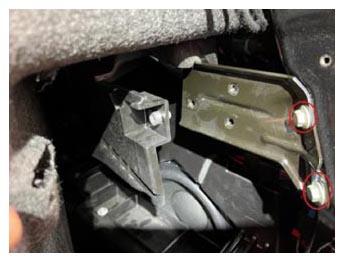 Courtesy of TESLA, INC. Courtesy of TESLA, INC.
|
- Install the bolt that secures the RH rear trunk side trim to the tie down bracket.
NOTE:
Use of the following tool(s) is recommended:
- Flex head ratchet/flex head torque wrench
- Torx T45 socket
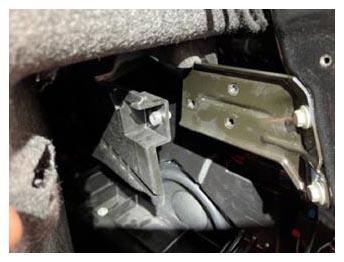 Courtesy of TESLA, INC. Courtesy of TESLA, INC.
|
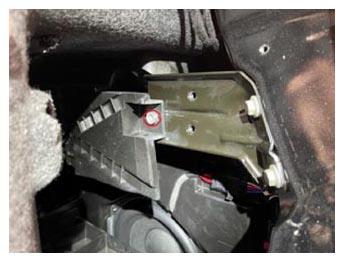 Courtesy of TESLA, INC. Courtesy of TESLA, INC.
|
- Install the bolts (x2) that secure the RH rear trunk tie down to the bracket.
NOTE:
Use of the following tool(s) is recommended:
- Flex head ratchet/flex head torque wrench
- Torx T45 socket
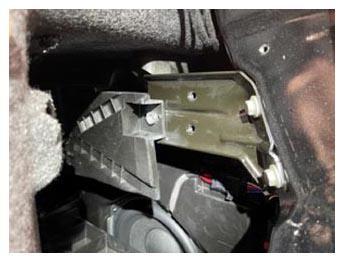 Courtesy of TESLA, INC. Courtesy of TESLA, INC.
|
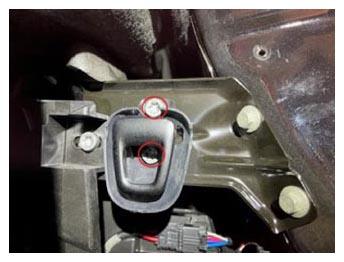 Courtesy of TESLA, INC. Courtesy of TESLA, INC.
|
- Install the RH rear trunk tie down ring that attaches the side trim carpet to the tie down.
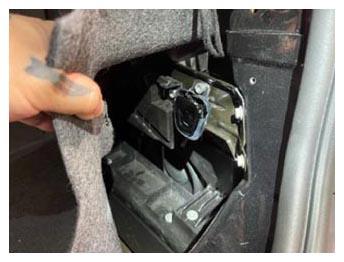 Courtesy of TESLA, INC. Courtesy of TESLA, INC.
|
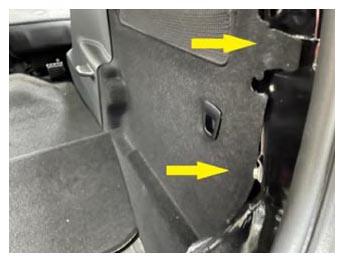 Courtesy of TESLA, INC. Courtesy of TESLA, INC.
|
- Install the push clips (x4) and clips (x2) that attach the rear wall load support to the vehicle.
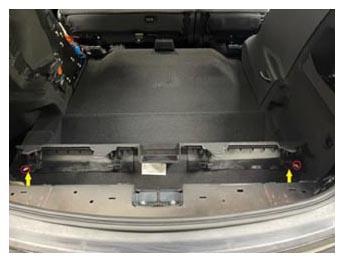 Courtesy of TESLA, INC. Courtesy of TESLA, INC.
|
 Courtesy of TESLA, INC. Courtesy of TESLA, INC.
|
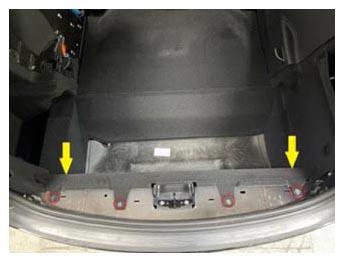
- Install the trunk sill trim. See TRIM - SILL - TRUNK (REMOVE AND REPLACE) .
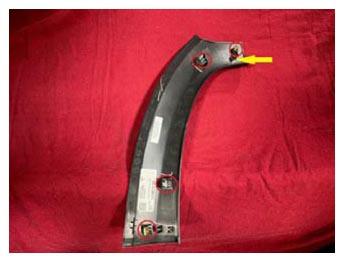
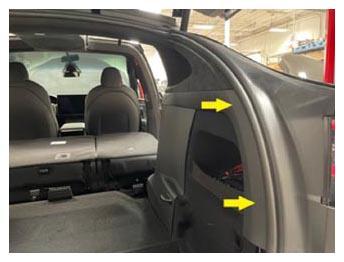
- Install the clips (x4) that attach the RH trunk sill side trim to the vehicle.
 Courtesy of TESLA, INC. Courtesy of TESLA, INC.
|
 Courtesy of TESLA, INC. Courtesy of TESLA, INC.
|
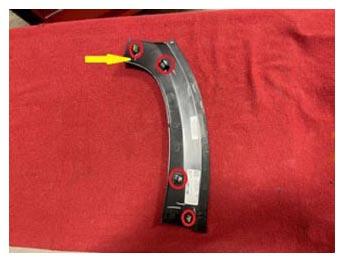
- Install the clips (x4) that attach the LH trunk sill side trim to the vehicle.
 Courtesy of TESLA, INC. Courtesy of TESLA, INC.
|
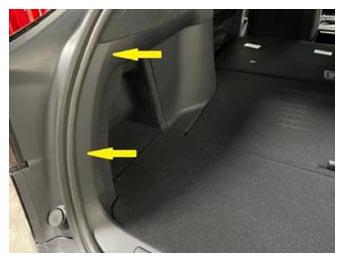 Courtesy of TESLA, INC. Courtesy of TESLA, INC.
|
- Install the rear trunk load floor. See TRUNK LOAD FLOOR - REAR (REMOVE AND REPLACE)
.
- Close the liftgate.