- Position the LH primary rear side body seal for installation.
NOTE:
Position flange in seal between the primary hinges.
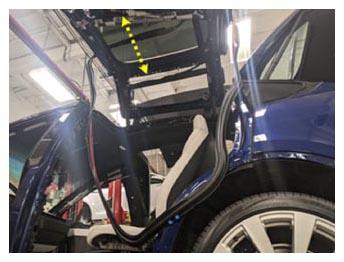 Courtesy of TESLA, INC. Courtesy of TESLA, INC.
|
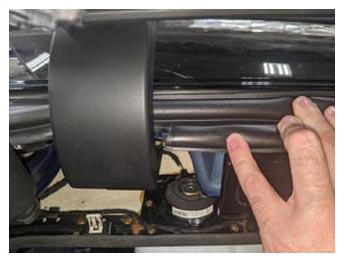 Courtesy of TESLA, INC. Courtesy of TESLA, INC.
|
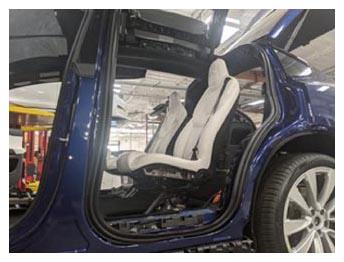 Courtesy of TESLA, INC. Courtesy of TESLA, INC.
|
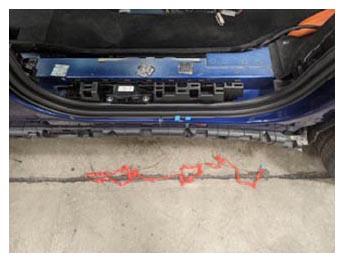
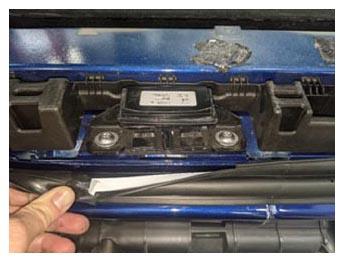
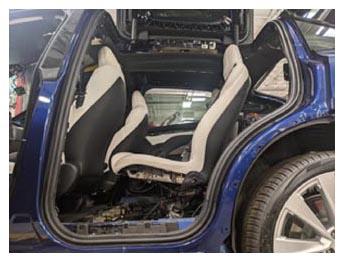
- Set the inner seal tape on the LH primary rear side body seal first, and then seat the outer seal tape and sill tape.
NOTE:
The inner tape should follow the body seam about 1 cm from the edge.
NOTE:
Wet out the adhesive applying pressure along the entirety of the seal once it is set in desired position.
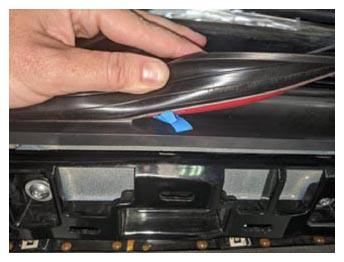 Courtesy of TESLA, INC. Courtesy of TESLA, INC.
|
 Courtesy of TESLA, INC. Courtesy of TESLA, INC.
|
 Courtesy of TESLA, INC. Courtesy of TESLA, INC.
|
 Courtesy of TESLA, INC. Courtesy of TESLA, INC.
|
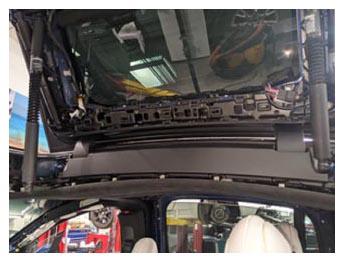
- Position the LH upper racetrack trim on the vehicle, and then install the clips (x8) that attach the trim to the vehicle.
 Courtesy of TESLA, INC. Courtesy of TESLA, INC.
|
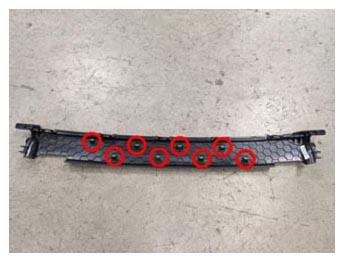 Courtesy of TESLA, INC. Courtesy of TESLA, INC.
|
- Ensure that the LH falcon wing door seal is seated behind the LH upper racetrack trim.
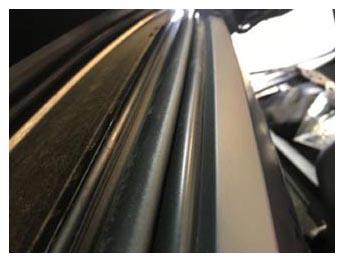 Courtesy of TESLA, INC. Courtesy of TESLA, INC.
|
- Install the LH falcon wing door primary strut covers (x2).
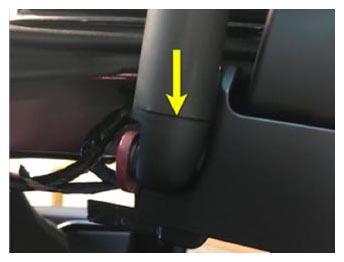 Courtesy of TESLA, INC. Courtesy of TESLA, INC.
|
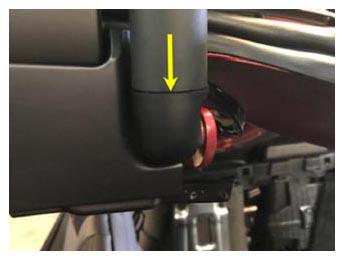 Courtesy of TESLA, INC. Courtesy of TESLA, INC.
|
- Position the LH lower racetrack trim on the vehicle, install the clips (x2) that attach the trim to the lower B-pillar racetrack bracket, and then rotate the trim downwards to install the clips (x6) that attach the trim to the vehicle.
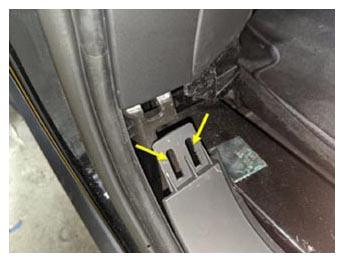 Courtesy of TESLA, INC. Courtesy of TESLA, INC.
|
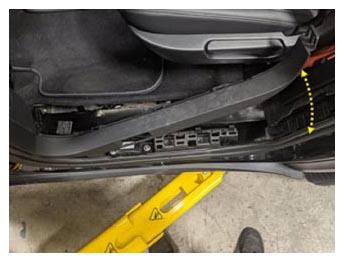 Courtesy of TESLA, INC. Courtesy of TESLA, INC.
|
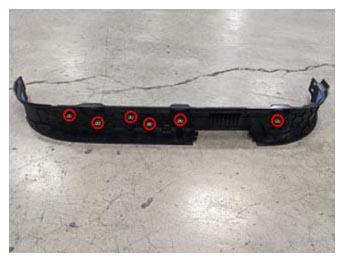 Courtesy of TESLA, INC. Courtesy of TESLA, INC.
|
- Install the LH rear racetrack trim. See Racetrack Trim - Rear - LH (Remove And Replace)
.
- Install the LH front racetrack trim. See Racetrack Trim - Front - LH (Remove And Replace)
.
- Install the clips (x11) that attach the LH headliner to the vehicle.
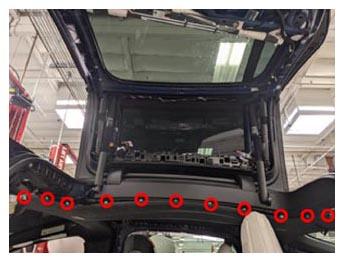 Courtesy of TESLA, INC. Courtesy of TESLA, INC.
|
- Install the screws (x2) that attach the LH and RH rear coat hooks to the vehicle.
 2.5 N.m (1.8 ft-lbs)
NOTE:
Use of the following tool(s) is recommended:
- Ratchet/torque wrench
- Torx T20 socket
NOTE:
LH shown; RH similar
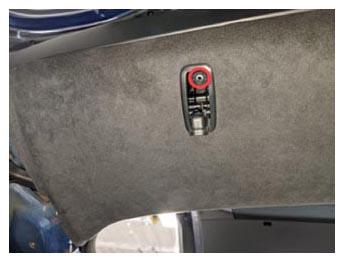 Courtesy of TESLA, INC. Courtesy of TESLA, INC.
|
- Close the LH and RH side rear coat hooks.
NOTE:
LH shown; RH similar
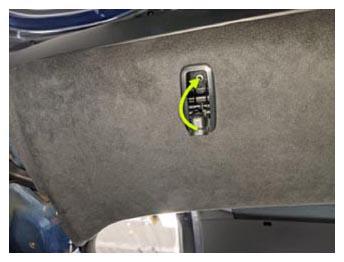 Courtesy of TESLA, INC. Courtesy of TESLA, INC.
|
- Install the LH upper C-pillar trim. See Trim - C-Pillar - Upper - LH (Remove And Replace)
.
- Install the LH mid C-pillar trim. See Trim - C-Pillar - Mid - LH (Remove And Replace)
.
- Install the LH side rear trunk garnish. See Garnish - Rear Trunk - Side - LH (Remove And Replace)
.
- Move the LH 3rd row seat to original position.
- Close the liftgate.
- Install the screw that attaches the LH front end of the headliner to the vehicle.
2 N.m (1.5 ft-lbs)
NOTE:
Use of the following tool(s) is recommended:
- 2 in extension
- Flex head ratchet/flex head torque wrench
- Ratchet/torque wrench
- Torx T20 socket
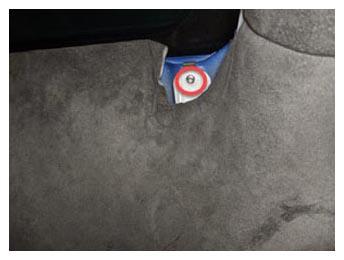 Courtesy of TESLA, INC. Courtesy of TESLA, INC.
|
- Connect the LH falcon wing door button electrical connector, and then install the clips (x3) and magnets (x2) that attach the LH upper B-pillar trim to the B-pillar.
NOTE:
Replace the clips if damaged.
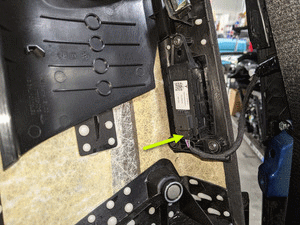 Courtesy of TESLA, INC. Courtesy of TESLA, INC.
|
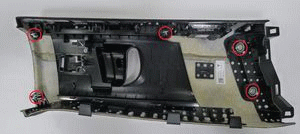 Courtesy of TESLA, INC. Courtesy of TESLA, INC.
|
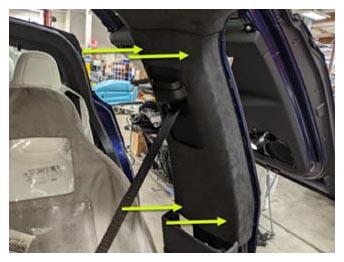 Courtesy of TESLA, INC. Courtesy of TESLA, INC.
|
- Install the LH lower B-pillar trim. See Trim - B-Pillar - Lower - LH (Remove and Replace)
.
- Install the LH rear sill panel trim. See Trim - Sill Panel - Rear - LH (Remove and Replace)
.
- Install the LH front sill panel trim. See Trim - Sill Panel - Front - LH (Remove And Replace)
.
- Fully seat the LH front door seal on the B-pillar trim.
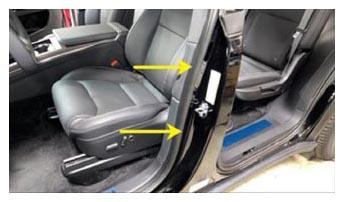 Courtesy of TESLA, INC. Courtesy of TESLA, INC.
|
- Move the LH front seat rearward.
- Position the LH upper A-pillar trim for installation.
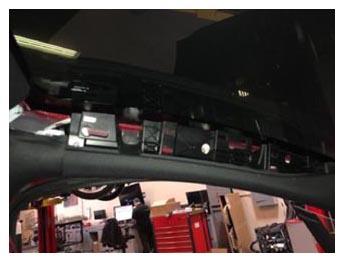 Courtesy of TESLA, INC. Courtesy of TESLA, INC.
|
- Install the bolts (x2) that attach the LH upper A-pillar trim to the vehicle.
5 N.m (3.7 ft-lbs)
NOTE:
Use of the following tool(s) is recommended:
- 2 in extension
- 10 mm hex
- Flex head ratchet/flex head torque wrench
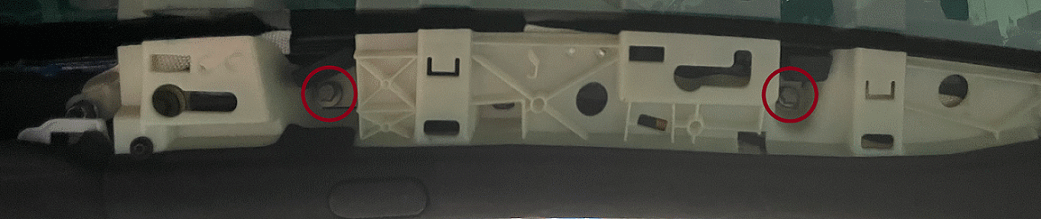 Courtesy of TESLA, INC. Courtesy of TESLA, INC.
|
- Install the screw that attaches the LH upper A-pillar trim to the vehicle.
2.5 N.m (1.8 ft-lbs)
NOTE:
Use of the following tool(s) is recommended:
- Flex head ratchet/flex head torque wrench
- Torx T20 socket
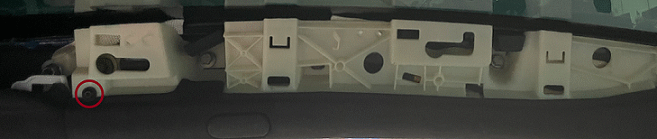 Courtesy of TESLA, INC. Courtesy of TESLA, INC.
|
- Install the nut that attaches the LH upper A-pillar trim to the vehicle.
5 N.m (3.7 ft-lbs)
NOTE:
Install a new nut.
NOTE:
Use of the following tool(s) is recommended:
- 2 in extension
- 13 mm hex
- Flex head ratchet/flex head torque wrench
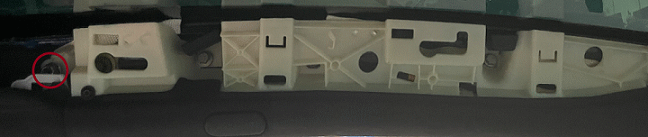 Courtesy of TESLA, INC. Courtesy of TESLA, INC.
|
- Install the LH sun visor bezel A-pillar trim. See Trim - A-Pillar - Sun Visor Bezel - LH (Remove And Replace)
.
- Move LH front seat to original position.
- Close the LH rear door.
- Install the LH upper rear door glass assembly. See DOOR GLASS ASSEMBLY - REAR - UPPER - LH (REMOVE AND REPLACE) .
- Raise the front windows and close all the doors.