Bracket - Racetrack - Header - Rear - LH - Remove And Replace: Install
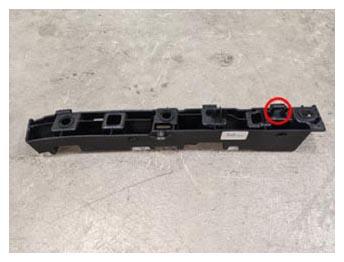
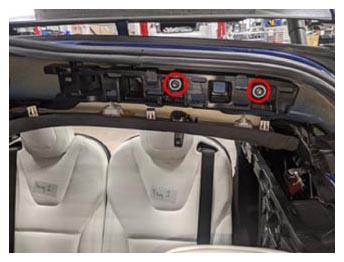
- Position the LH rear header racetrack bracket on the vehicle, and then install the bolts (x2) and clip that attach the bracket to the vehicle.
 5 N.m (3.7 ft-lbs)
NOTE:
Use of the following tool(s) is recommended:
- 1/4 in to 3/8 in adapter
- Flex head ratchet/flex head torque wrench
- Plastic trim tool
- Ratchet/torque wrench
- Torx T40 socket
 Courtesy of TESLA, INC. Courtesy of TESLA, INC.
|
 Courtesy of TESLA, INC. Courtesy of TESLA, INC.
|
- Install the LH rear racetrack trim. See RACETRACK TRIM - REAR - LH (REMOVE AND REPLACE) .
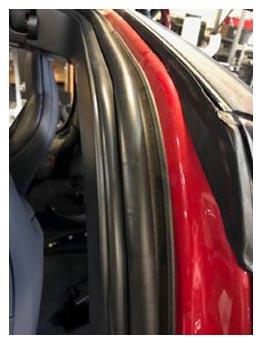
- Ensure that the falcon wing door seal is seated behind the LH rear racetrack trim.
 Courtesy of TESLA, INC. Courtesy of TESLA, INC.
|
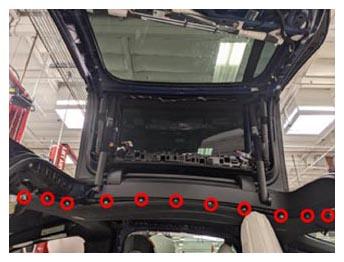
- Install the clips (x11) that attach the LH headliner to the vehicle.
 Courtesy of TESLA, INC. Courtesy of TESLA, INC.
|
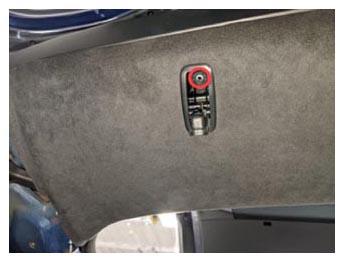
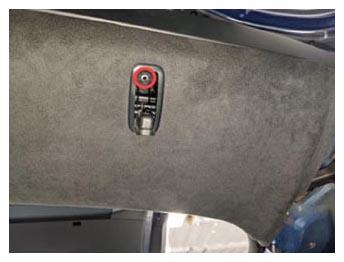
- Install the screws (x2) that secure the LH and RH rear coat hooks to the vehicle.
2.5 N.m (1.8 ft-lbs)
NOTE:
Use of the following tool(s) is recommended:
- Ratchet/torque wrench
- Torx T20 socket
- Wurth 1/4 in hexagon 1 N.m - 5 N.m torque wrench (installation only)
 Courtesy of TESLA, INC. Courtesy of TESLA, INC.
|
 Courtesy of TESLA, INC. Courtesy of TESLA, INC.
|
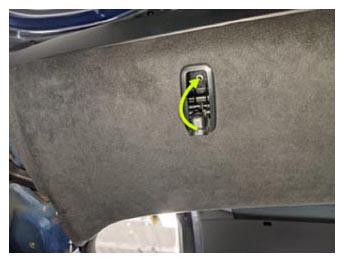
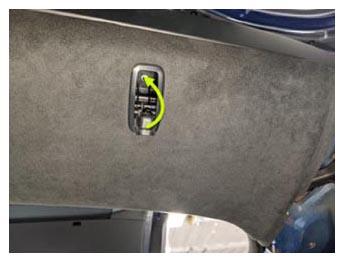
- Close the LH and RH side rear coat hooks.
 Courtesy of TESLA, INC. Courtesy of TESLA, INC.
|
 Courtesy of TESLA, INC. Courtesy of TESLA, INC.
|
- Install the LH upper C-pillar trim. See TRIM - C-PILLAR - UPPER - LH (REMOVE AND REPLACE) .
- Install the LH lower C-pillar trim. See TRIM - C-PILLAR - LOWER - LH (REMOVE AND REPLACE) .
- Install the LH mid C-pillar trim. See TRIM - C-PILLAR - MID - LH (REMOVE AND REPLACE) .
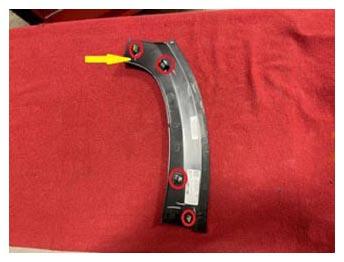
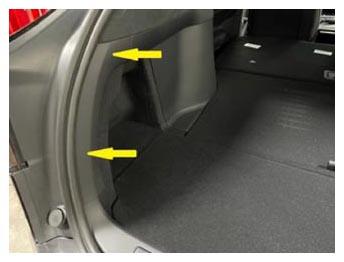
- Install the clips (x4) that attach the LH trunk sill side trim to the vehicle.
 Courtesy of TESLA, INC. Courtesy of TESLA, INC.
|
 Courtesy of TESLA, INC. Courtesy of TESLA, INC.
|
- Move the LH 3rd row seat to original position.
- Close the liftgate.
- Install the LH rear sill panel trim. See TRIM - SILL PANEL - REAR - LH (REMOVE AND REPLACE) .
- Close the LH and RH falcon wing doors.
- Raise the LH and RH front windows.
- Close the LH and RH front doors.