- Install 1st row podium seat riser carpet.
NOTE:
1x push clip.
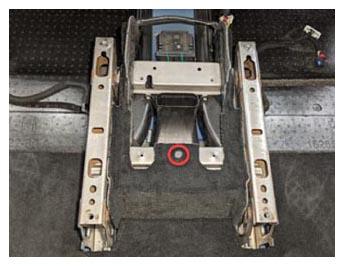 Courtesy of TESLA, INC. Courtesy of TESLA, INC.
|
- Install 1st row podium RH inner seat riser trim covers.
NOTE:
2x clips, Install inner inboard cover first then inner outboard cover, Be sure to route seat harness through inner outboard cover.
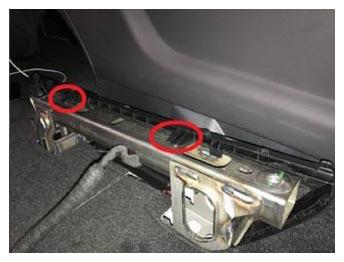 Courtesy of TESLA, INC. Courtesy of TESLA, INC.
|
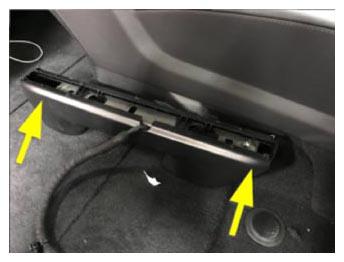 Courtesy of TESLA, INC. Courtesy of TESLA, INC.
|
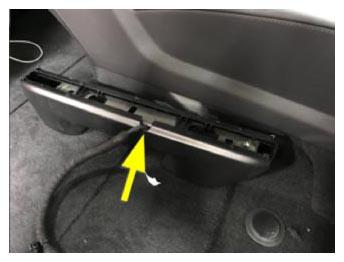 Courtesy of TESLA, INC. Courtesy of TESLA, INC.
|
- Install 1st row podium LH inner seat riser trim covers.
NOTE:
2x clips, Install inner inboard cover first then inner outboard cover, Be sure to route seat harness through inner outboard cover.
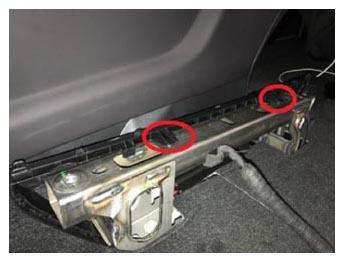 Courtesy of TESLA, INC. Courtesy of TESLA, INC.
|
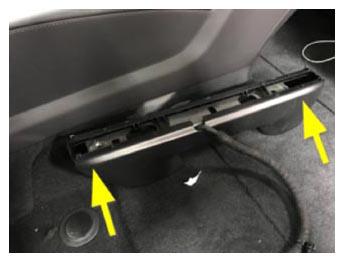 Courtesy of TESLA, INC. Courtesy of TESLA, INC.
|
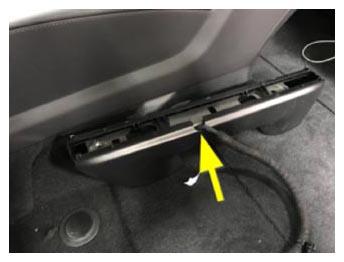 Courtesy of TESLA, INC. Courtesy of TESLA, INC.
|
- Install the center console assembly. See CENTER CONSOLE ASSEMBLY - 1ST ROW (REMOVE AND INSTALL)
.
- Install LH front seat into vehicle.
NOTE:
Recommend Assistance, Take care not to damage surrounding components while lifting the seat into the vehicle.
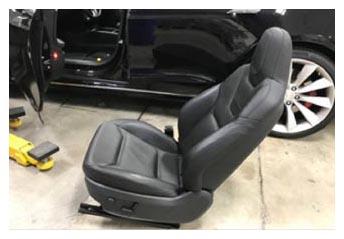 Courtesy of TESLA, INC. Courtesy of TESLA, INC.
|
- Position chair to gain access below seat bottom and connect LH side body harness to seat controller.
NOTE:
2x connectors, 1x clip, Engage red locking tab on black connector, Recommend assistance.
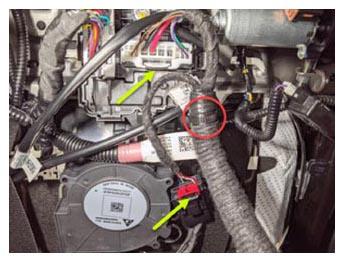 Courtesy of TESLA, INC. Courtesy of TESLA, INC.
|
- Position LH front seat upright for bolt installation.
NOTE:
Recommend assistance.
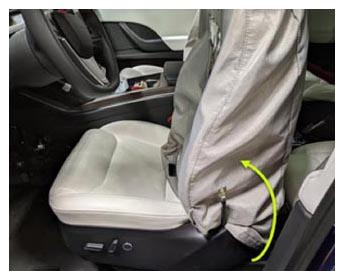 Courtesy of TESLA, INC. Courtesy of TESLA, INC.
|
- Install RH front seat into vehicle.
NOTE:
Recommend Assistance, Take care not to damage surrounding components while lifting the seat into the vehicle.
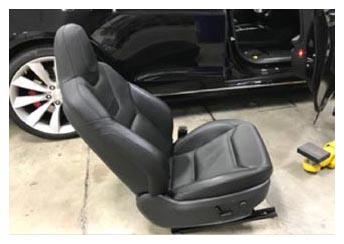 Courtesy of TESLA, INC. Courtesy of TESLA, INC.
|
- Position chair to gain access below seat bottom and connect RH side body harness to seat controller.
NOTE:
2x connectors, 1x clip, Engage red locking tab on black connector, Recommend assistance.
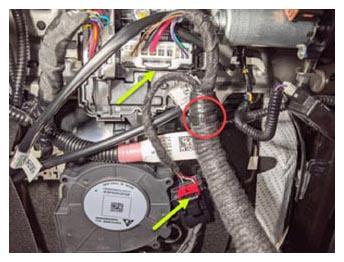 Courtesy of TESLA, INC. Courtesy of TESLA, INC.
|
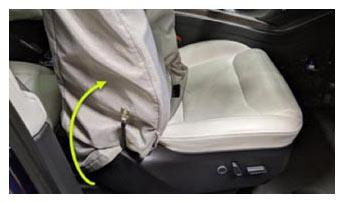
- Position RH front seat upright for bolt installation.
NOTE:
Recommend assistance.
 Courtesy of TESLA, INC. Courtesy of TESLA, INC.
|
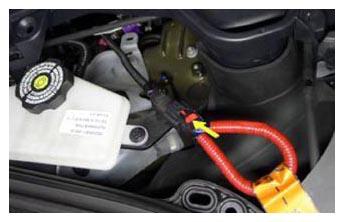
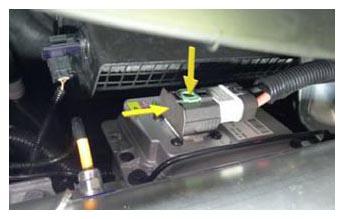
- Connect First Responder Loop and LV battery connector.
NOTE:
2x connectors, Secure FRL first, Seat LV battery connection and push black connector lock inwards to secure, Engage upper locking tab when fully seated.
 Courtesy of TESLA, INC. Courtesy of TESLA, INC.
|
 Courtesy of TESLA, INC. Courtesy of TESLA, INC.
|
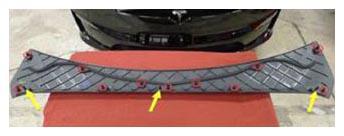
- Install rear underhood apron.
NOTE:
11x clips, 2x datums.
 Courtesy of TESLA, INC. Courtesy of TESLA, INC.
|
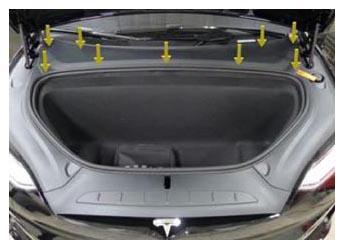 Courtesy of TESLA, INC. Courtesy of TESLA, INC.
|
- Close hood.
- Move RH front seat forward.
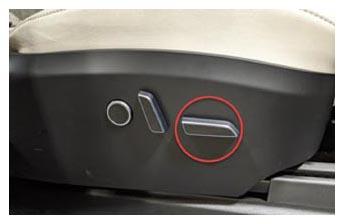 Courtesy of TESLA, INC. Courtesy of TESLA, INC.
|
- Secure RH front seat belt.
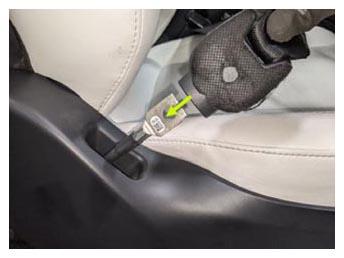 Courtesy of TESLA, INC. Courtesy of TESLA, INC.
|
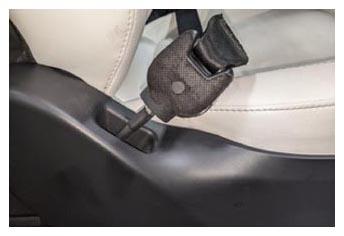 Courtesy of TESLA, INC. Courtesy of TESLA, INC.
|
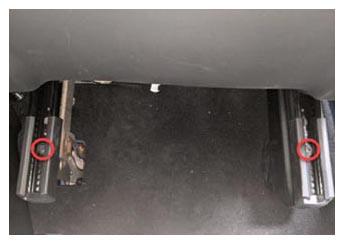
- Install bolts securing RH front seat rear tracks to vehicle.
NOTE:
2x patch bolts, T45P, 34 N.m, Install new bolts.
 Courtesy of TESLA, INC. Courtesy of TESLA, INC.
|
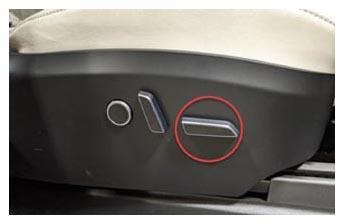
- Move RH front seat backward.
 Courtesy of TESLA, INC. Courtesy of TESLA, INC.
|
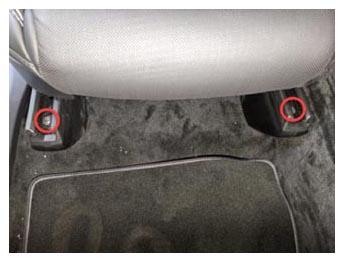
- Install bolts securing both RH front seat front tracks to vehicle.
NOTE:
2x patch bolts, T45P, 34 N.m, Install new bolts.
 Courtesy of TESLA, INC. Courtesy of TESLA, INC.
|
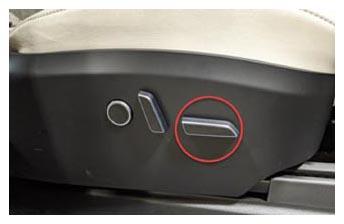
- Move RH front seat to original position.
 Courtesy of TESLA, INC. Courtesy of TESLA, INC.
|
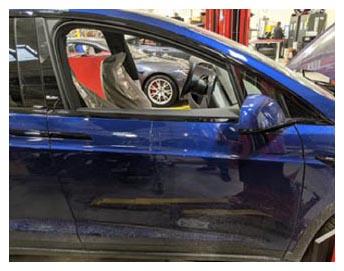
- Close RH front door.
 Courtesy of TESLA, INC. Courtesy of TESLA, INC.
|
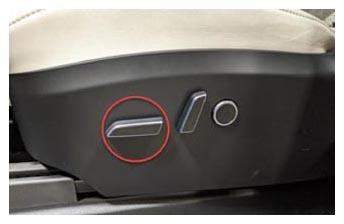
- Move LH front seat forward.
 Courtesy of TESLA, INC. Courtesy of TESLA, INC.
|
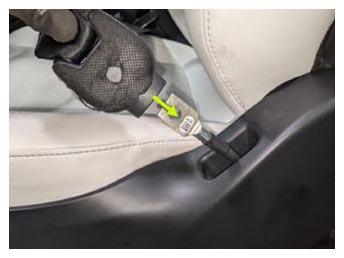
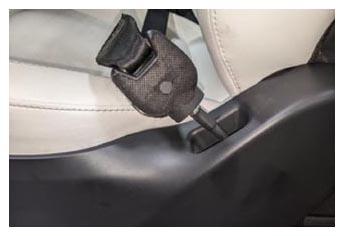
- Secure LH front seat belt.
NOTE:
Engage buckle onto lap pretensioner and perform push pull test to confirm buckle is locked onto pretensioner.
 Courtesy of TESLA, INC. Courtesy of TESLA, INC.
|
 Courtesy of TESLA, INC. Courtesy of TESLA, INC.
|
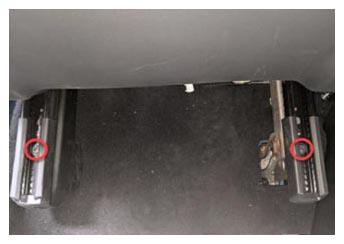
- Install bolts securing LH front seat rear tracks to vehicle.
NOTE:
2x patch bolts, T45P, 34 N.m, Install new bolts.
 Courtesy of TESLA, INC. Courtesy of TESLA, INC.
|
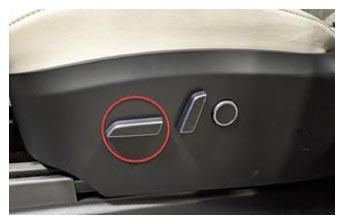
- Move LH front seat backward.
 Courtesy of TESLA, INC. Courtesy of TESLA, INC.
|
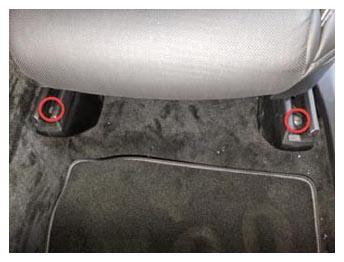
- Install bolts securing both LH front seat front tracks to vehicle.
NOTE:
2x patch bolts, T45P, 34 N.m, Install new bolts.
 Courtesy of TESLA, INC. Courtesy of TESLA, INC.
|
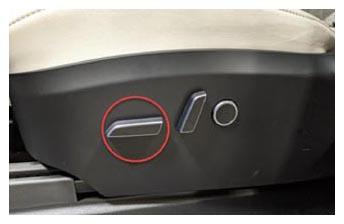
- Move LH front seat to original position.
 Courtesy of TESLA, INC. Courtesy of TESLA, INC.
|
- Calibrate the rear doors.
NOTE:
If the "Calibration Needed" message appears on the vehicle touchscreen, touch and hold Calibrate
to calibrate the rear doors.