- Position the LH front outer parking distance sensor into the front fascia assembly, and then secure the tabs (x2).
NOTE:
Verify the sensor is seated flush against the front fascia.
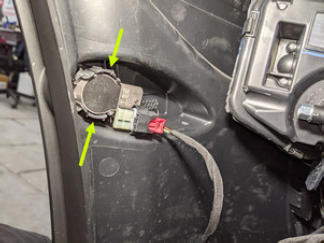 Courtesy of TESLA, INC. Courtesy of TESLA, INC.
|
- Connect the LH front outer parking distance sensor electrical connector, and then engage the locking tab.
CAUTION:
Push the red locking tab into the connector to engage the locking mechanism. DO NOT push down or pull up on the red locking tab.
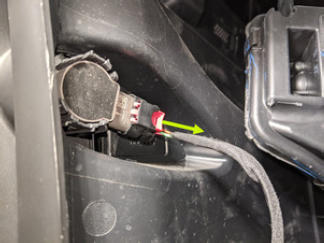 Courtesy of TESLA, INC. Courtesy of TESLA, INC.
|
- Move the front lower portion of the LH front wheel arch liner into the original position.
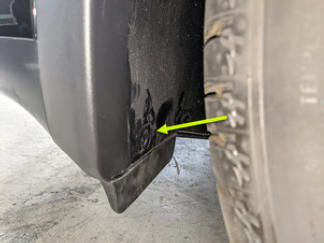 Courtesy of TESLA, INC. Courtesy of TESLA, INC.
|
- If servicing sensors S2 or S5:
Install the clips (x6) and push nut that attach the front portion of the LH front wheel arch liner to the vehicle.
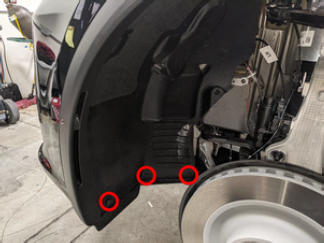 Courtesy of TESLA, INC. Courtesy of TESLA, INC.
|
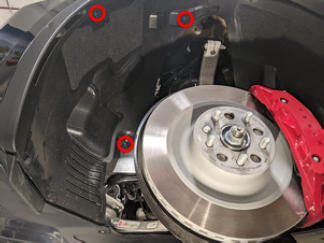 Courtesy of TESLA, INC. Courtesy of TESLA, INC.
|
- Install the LH front fender garnish. See Garnish - Fender - Front - LH (Remove and Replace)
.
- Connect LV power. See LV POWER (DISCONNECT AND CONNECT)
.
NOTE:
After connecting LV power, do not shift the vehicle to Drive until the Toolbox routine (further below) is performed. Failure to do so can trigger vehicle alerts.
- On the vehicle touchscreen, touch Controls > Service > Jack Mode
to deactivate Jack Mode.
- On the vehicle touchscreen, touch Controls > Suspension > Standard
.
- Connect a laptop with Toolbox 3 to the vehicle. See Toolbox 3 (Connect and Disconnect)
.
- In Toolbox, click the Actions
tab, type "TEST-RESET_PARK" into the search field, click TEST-RESET_PARK
, click Run
, and then allow the routine to complete.
- In Toolbox, click the Actions
tab, type "USS Addresses" into the search field, click PROC_USM_FRONT_PROGRAM-USS-ADDRESSES
, click Run
, and then allow the routine to complete.
- Disconnect the laptop with Toolbox 3 from the vehicle. See Toolbox 3 (Connect and Disconnect)
.