- Position the LH upper rear door seal into the LH rear door.
NOTE:
Slide the seal over the lower door assembly to the cavity between the upper and lower door.
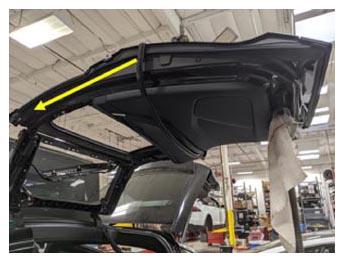 Courtesy of TESLA, INC. Courtesy of TESLA, INC.
|
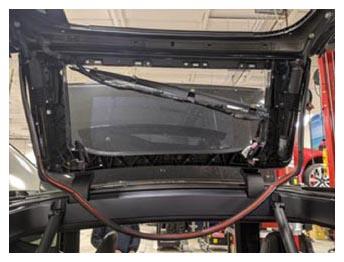 Courtesy of TESLA, INC. Courtesy of TESLA, INC.
|
- Use IPA wipes to clean the LH upper rear door seal area.
NOTE:
Allow 1 minute of dry time.
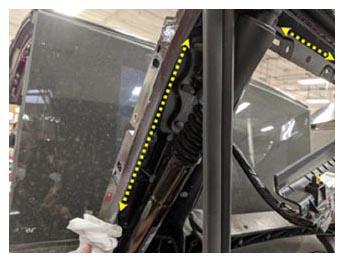 Courtesy of TESLA, INC. Courtesy of TESLA, INC.
|
- Position the LH upper rear door seal around the perimeter of the upper door frame, and then use masking tape to tape the seal in position.
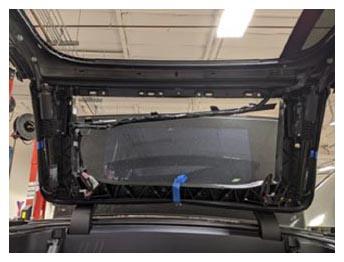 Courtesy of TESLA, INC. Courtesy of TESLA, INC.
|
- Remove the double sided tape from the LH upper rear door seal sections while installing, seat the inner corners first, press firmly to wet-out the seal, and then finish installing the edges.
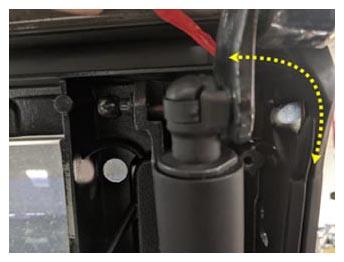 Courtesy of TESLA, INC. Courtesy of TESLA, INC.
|
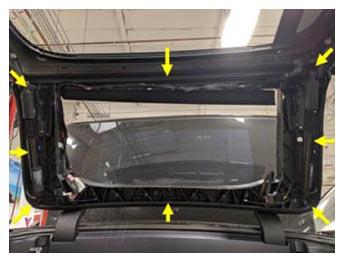 Courtesy of TESLA, INC. Courtesy of TESLA, INC.
|
- Position the front bump stop to the LH rear door assembly, and then install the bolts (x2) and screw that attach the bump stop to the door assembly. Repeat this step for the rear bump stop.
 8 N.m (5.9 ft-lbs)
5 N.m (3.7 ft-lbs)
NOTE:
The 10 mm bolts are torqued to 8 N.m. The T30 screw is torqued to 5 N.m.
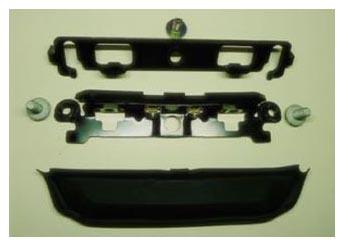 Courtesy of TESLA, INC. Courtesy of TESLA, INC.
|
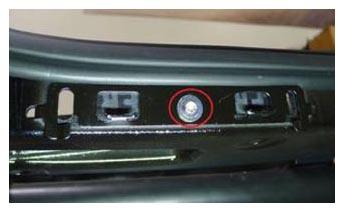 Courtesy of TESLA, INC. Courtesy of TESLA, INC.
|
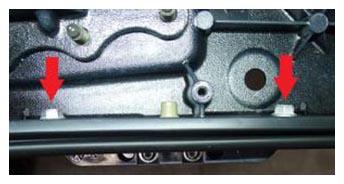 Courtesy of TESLA, INC. Courtesy of TESLA, INC.
|
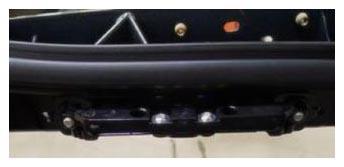 Courtesy of TESLA, INC. Courtesy of TESLA, INC.
|
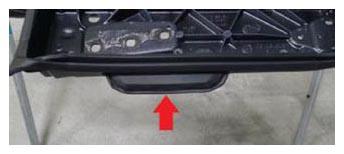 Courtesy of TESLA, INC. Courtesy of TESLA, INC.
|
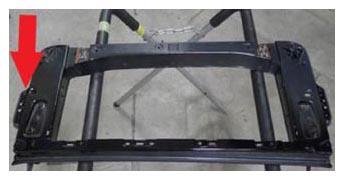 Courtesy of TESLA, INC. Courtesy of TESLA, INC.
|
- With assistance, install the LH rear door rear primary strut to the upper door, install the C-clip, and then secure the harness clip.
NOTE:
The door may need to be lifted to align the strut.
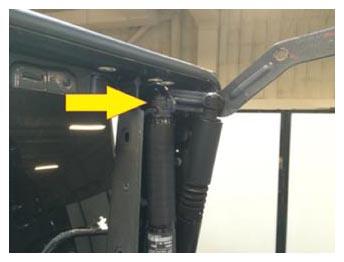 Courtesy of TESLA, INC. Courtesy of TESLA, INC.
|
- With assistance, install the LH rear door front primary strut to the upper door, install the C-clip, and then secure the harness clip.
NOTE:
The door may need to be lifted to align the strut.
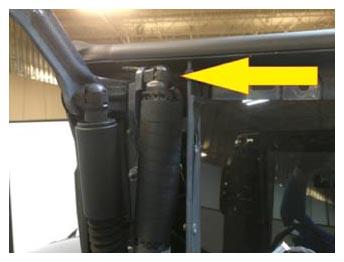 Courtesy of TESLA, INC. Courtesy of TESLA, INC.
|
- Connect the LH rear door front primary strut connector.
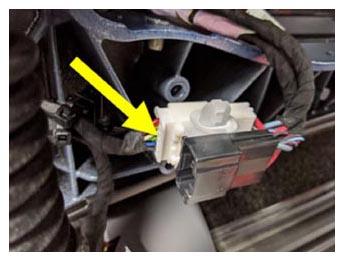 Courtesy of TESLA, INC. Courtesy of TESLA, INC.
|
- Connect LH rear door front secondary strut connector.
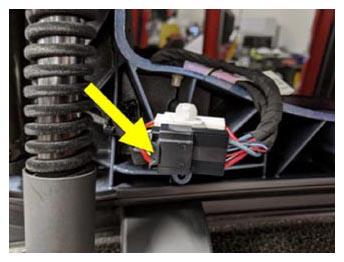 Courtesy of TESLA, INC. Courtesy of TESLA, INC.
|
- Connect the LH rear door rear primary strut connector.
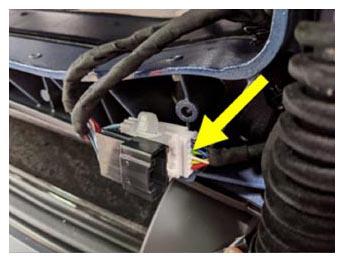 Courtesy of TESLA, INC. Courtesy of TESLA, INC.
|
- Connect the LH rear door rear secondary strut connector.
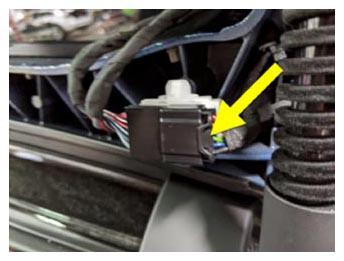 Courtesy of TESLA, INC. Courtesy of TESLA, INC.
|
- Remove the door support stand.
- Connect LV power. See LV Power (Disconnect and Connect)
.
- Install the rear underhood apron. See Underhood Apron - Rear (Remove and Replace)
.
- Install the LH upper rear door glass assembly. See DOOR GLASS ASSEMBLY - REAR - UPPER - LH (REMOVE AND REPLACE) .
- Calibrate the rear doors.
NOTE:
If the "Calibration Needed" message appears on the vehicle touchscreen, touch and hold Calibrate
to calibrate the rear doors.