- Install LH liftgate hinge.
NOTE:
Recommend assistance with liftgate.
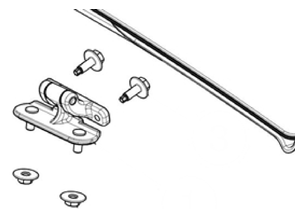 Courtesy of TESLA, INC. Courtesy of TESLA, INC.
|
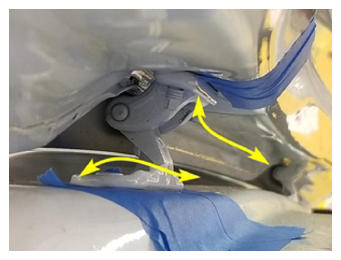 Courtesy of TESLA, INC. Courtesy of TESLA, INC.
|
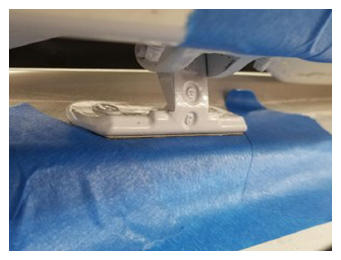 Courtesy of TESLA, INC. Courtesy of TESLA, INC.
|
- Install nuts on hinge to body LH.
NOTE:
2x nuts, 10 mm, 16 N.m, Leave butyl patch down until all adjustments have been made. Once complete re-secure butyl patch to body..
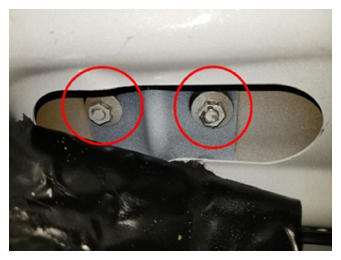 Courtesy of TESLA, INC. Courtesy of TESLA, INC.
|
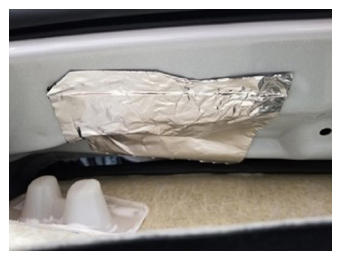 Courtesy of TESLA, INC. Courtesy of TESLA, INC.
|
- Install fasteners securing LH hinge to liftgate.
NOTE:
2x bolts, 10 mm, 11 N.m.
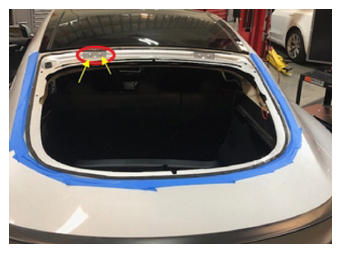 Courtesy of TESLA, INC. Courtesy of TESLA, INC.
|
- Close trunk to check for gap/flush and that trunk closes as expected.
NOTE:
Adjust hinge if necessary and open the trunk when done.
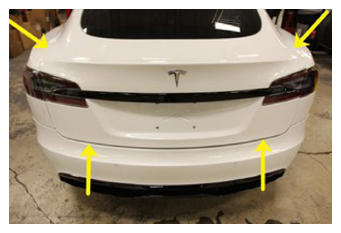 Courtesy of TESLA, INC. Courtesy of TESLA, INC.
|
- Secure Butyl Patch to original location.
NOTE:
Once all adjustments have been made with liftgate hinge, secure butyl patch to body..
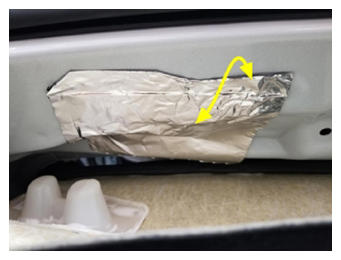 Courtesy of TESLA, INC. Courtesy of TESLA, INC.
|
- Install LH liftgate gas strut onto ball stud at liftgate.
NOTE:
1x clip.
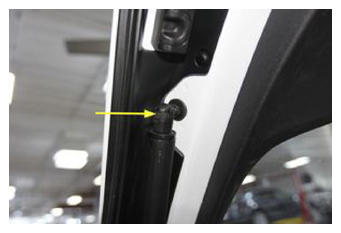 Courtesy of TESLA, INC. Courtesy of TESLA, INC.
|
- Remove hood prop.
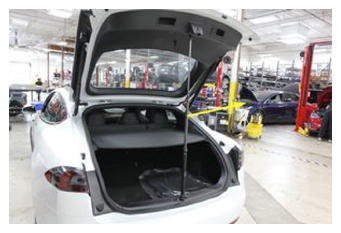 Courtesy of TESLA, INC. Courtesy of TESLA, INC.
|
- Inspect backlite assembly for mutilations.
NOTE:
Inspect backlite assembly for mutilations, Replace backlite assembly if damaged.
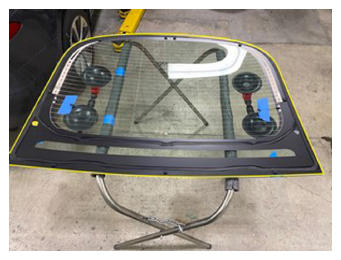 Courtesy of TESLA, INC. Courtesy of TESLA, INC.
|
- Use IPA wipe to clean Chimsel mounting location on backlite assembly.
NOTE:
Allow IPA to dry for at least one minute.
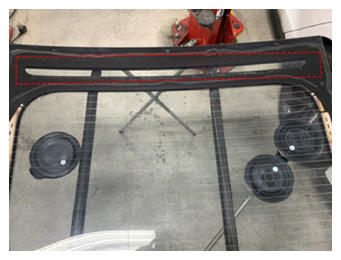 Courtesy of TESLA, INC. Courtesy of TESLA, INC.
|
- Use IPA wipe to clean urethane path on backlite assembly.
NOTE:
Allow IPA to dry for at least one minute.
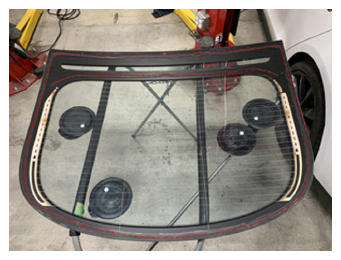 Courtesy of TESLA, INC. Courtesy of TESLA, INC.
|
- Use IPA wipe to clean urethane path on liftgate assembly.
NOTE:
Allow IPA to dry for at least one minute.
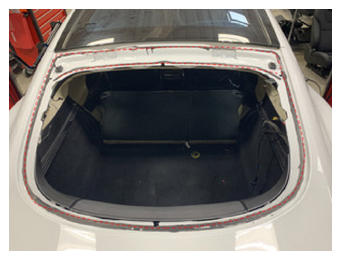 Courtesy of TESLA, INC. Courtesy of TESLA, INC.
|
- Print out Chimsel template and cut it out.
NOTE:
http://toolbox.teslamotors.com/media/attachments/shared/7741afaa-ded3-4e7b-b003-209c5678960a.pdf.
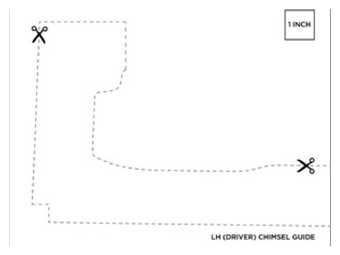 Courtesy of TESLA, INC. Courtesy of TESLA, INC.
|
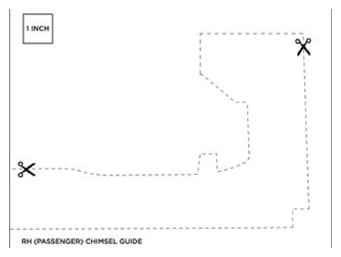 Courtesy of TESLA, INC. Courtesy of TESLA, INC.
|
- Place Chimsel templates on backlite assembly in upper corner of glass and secure template with tape.
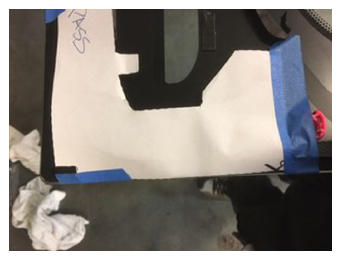 Courtesy of TESLA, INC. Courtesy of TESLA, INC.
|
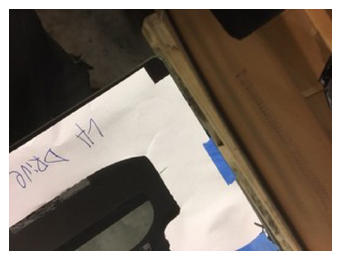 Courtesy of TESLA, INC. Courtesy of TESLA, INC.
|
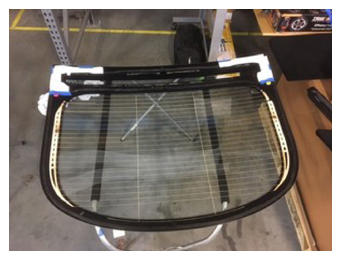 Courtesy of TESLA, INC. Courtesy of TESLA, INC.
|
- Remove red tape covers from Chimsel.
NOTE:
Double sided tape Usually shop supply.
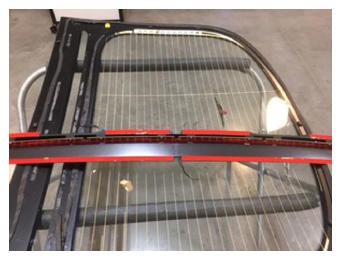 Courtesy of TESLA, INC. Courtesy of TESLA, INC.
|
- Secure Chimsel to backlite assembly.
NOTE:
Place in upper corners of template, Apply pressure to adhere 3M tape to backlite assembly.
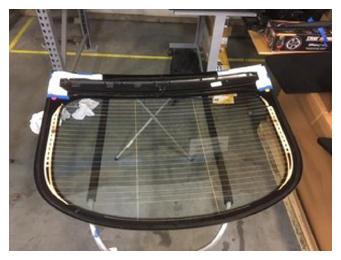 Courtesy of TESLA, INC. Courtesy of TESLA, INC.
|
- Remove Chimsel templates from backlite assembly.
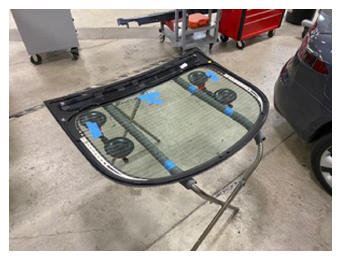 Courtesy of TESLA, INC. Courtesy of TESLA, INC.
|
- Secure Chimsel harness to backlite assembly.
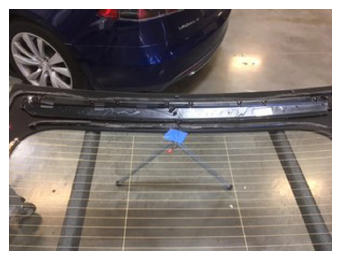 Courtesy of TESLA, INC. Courtesy of TESLA, INC.
|
- Flip over backlite assembly and install onto vehicle for dry fit.
NOTE:
Recommend assistance, 2x double suction cup handles, 1 on each side of glass.
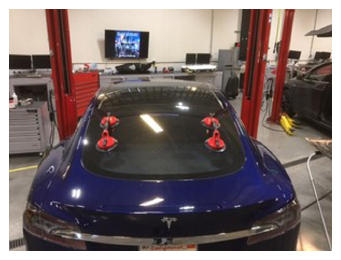 Courtesy of TESLA, INC. Courtesy of TESLA, INC.
|
- Check gap and flush of backlite assembly.
NOTE:
Make notes of any needed adjustments.
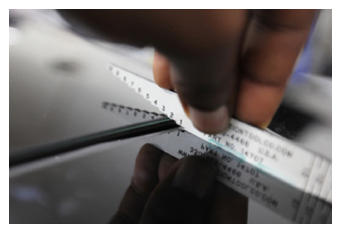 Courtesy of TESLA, INC. Courtesy of TESLA, INC.
|
- Remove backlite assembly.
NOTE:
Recommend assistance, 2x double suction cup handles, 1 on each side of glass.
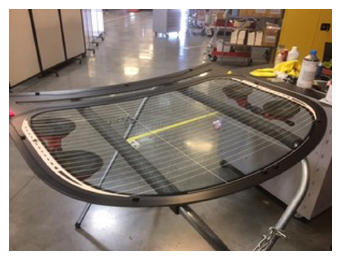 Courtesy of TESLA, INC. Courtesy of TESLA, INC.
|
- Apply urethane primer to backlite assembly along urethane path.
NOTE:
Allow primer to dry for 2 minutes before applying urethane.
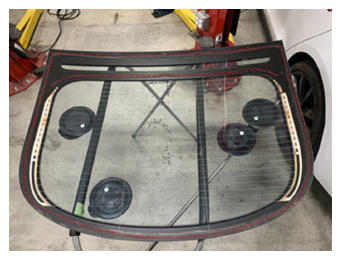 Courtesy of TESLA, INC. Courtesy of TESLA, INC.
|
- Apply urethane primer to liftgate body along urethane path.
NOTE:
Allow primer to dry for 2 minutes before applying urethane.
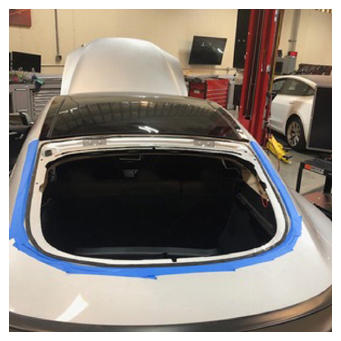 Courtesy of TESLA, INC. Courtesy of TESLA, INC.
|
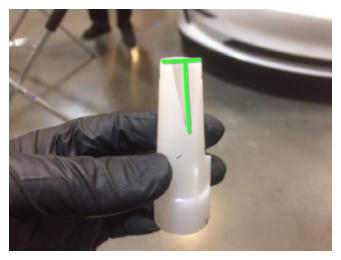
- Prepare caulking gun and urethane.
NOTE:
Opening must be 8 mm wide and 14 mm tall.
 Courtesy of TESLA, INC. Courtesy of TESLA, INC.
|
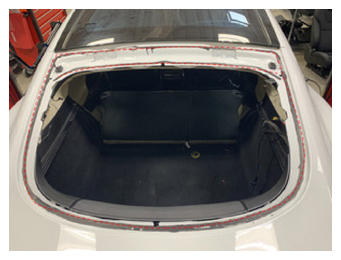
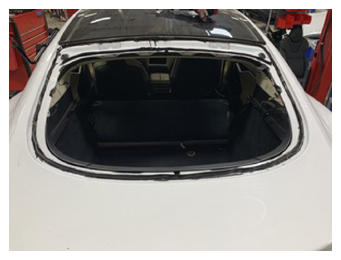
- Apply urethane to liftgate body following primer patch.
NOTE:
Fill any gaps in urethane to ensure consistent bead.
 Courtesy of TESLA, INC. Courtesy of TESLA, INC.
|
 Courtesy of TESLA, INC. Courtesy of TESLA, INC.
|
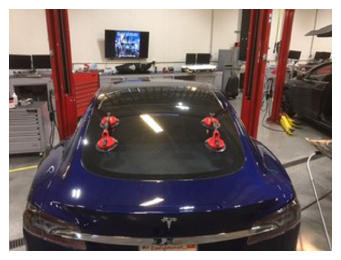
- Flip over backlite assembly and install onto vehicle.
NOTE:
Recommend assistance, 2x double suction cup handles, 1 on each side of glass.
 Courtesy of TESLA, INC. Courtesy of TESLA, INC.
|
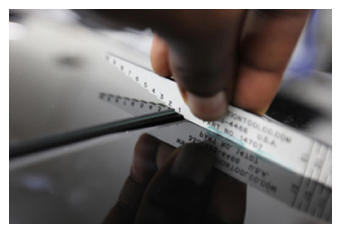
- Check gap and flush of backlite assembly.
NOTE:
Use tape to hold glass in place, allow glass 10 minutes of dry time before opening liftgate.
 Courtesy of TESLA, INC. Courtesy of TESLA, INC.
|
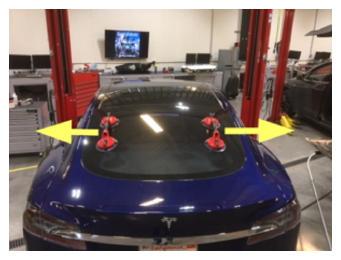
- Remove suction cups from backlite assembly.
NOTE:
2x double suction cup handles, 1 on each side of glass.
 Courtesy of TESLA, INC. Courtesy of TESLA, INC.
|
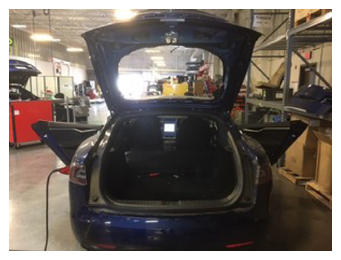
- Open liftgate.
NOTE:
Allow for dry time.
 Courtesy of TESLA, INC. Courtesy of TESLA, INC.
|
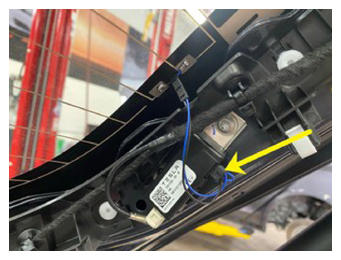
- Connect +12V noise filter antenna to RH side of liftgate glass.
NOTE:
1x connector.
- Connect RH antenna amplifier.
NOTE:
1x connector.
 Courtesy of TESLA, INC. Courtesy of TESLA, INC.
|
- Connect Chimsel connector.
NOTE:
1x connector.
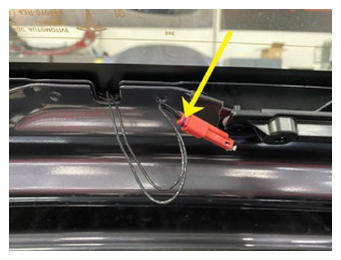 Courtesy of TESLA, INC. Courtesy of TESLA, INC.
|
- Connect LH antenna RF filter.
NOTE:
1x connector.
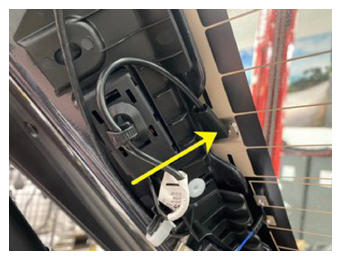 Courtesy of TESLA, INC. Courtesy of TESLA, INC.
|
- Connect LH antenna amplifier.
NOTE:
1x connector.
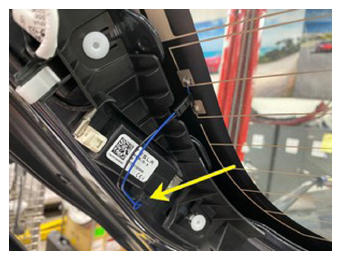 Courtesy of TESLA, INC. Courtesy of TESLA, INC.
|
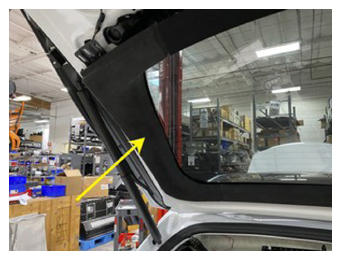
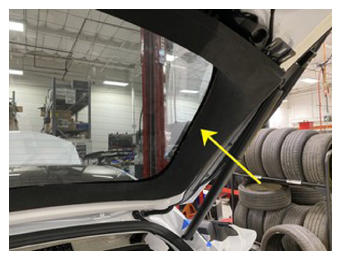
- Install liftgate upper trim.
NOTE:
10x clips.
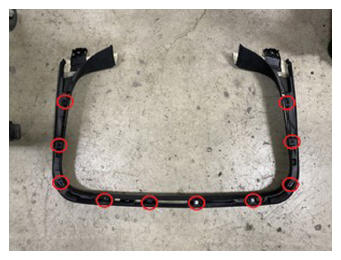 Courtesy of TESLA, INC. Courtesy of TESLA, INC.
|
 Courtesy of TESLA, INC. Courtesy of TESLA, INC.
|
 Courtesy of TESLA, INC. Courtesy of TESLA, INC.
|
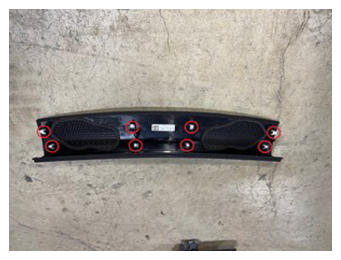
- Install speaker grill trim.
NOTE:
8x clips, 2x datums.
 Courtesy of TESLA, INC. Courtesy of TESLA, INC.
|
 Courtesy of TESLA, INC. Courtesy of TESLA, INC.
|
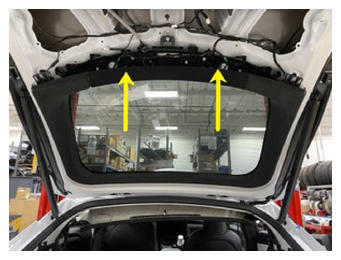
- Install lower liftgate trim.
NOTE:
8x clips, 2x connectors.
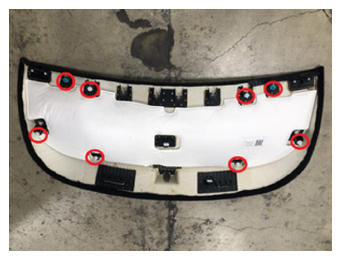 Courtesy of TESLA, INC. Courtesy of TESLA, INC.
|
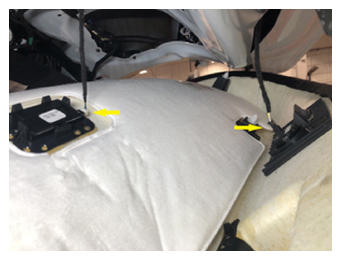 Courtesy of TESLA, INC. Courtesy of TESLA, INC.
|
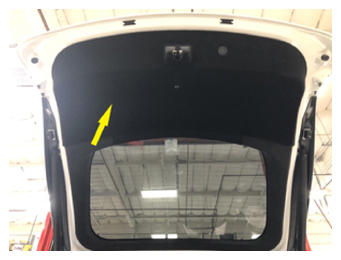 Courtesy of TESLA, INC. Courtesy of TESLA, INC.
|
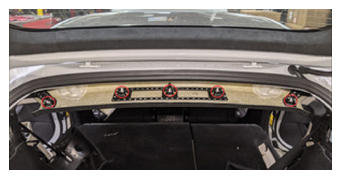
- Secure headliner along rear end of vehicle.
NOTE:
5x clips, Verify clips are properly seated prior to installation, Replace any damaged or missing clips.
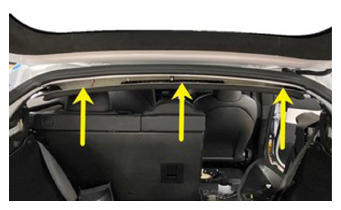 Courtesy of TESLA, INC. Courtesy of TESLA, INC.
|
 Courtesy of TESLA, INC. Courtesy of TESLA, INC.
|
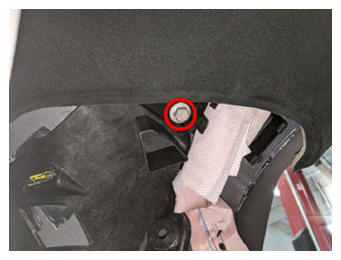
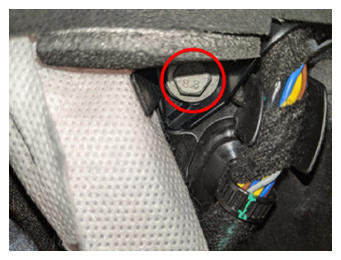
- Install bolts securing rear of headliner to body.
NOTE:
2x bolts, 10 mm, 3 N.m, Bolt located on LH & RH side of headliner.
 Courtesy of TESLA, INC. Courtesy of TESLA, INC.
|
 Courtesy of TESLA, INC. Courtesy of TESLA, INC.
|
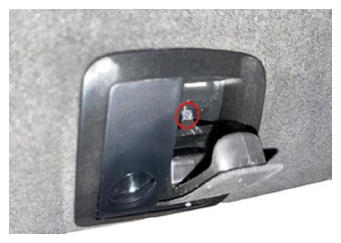
- Install RH coat hook screw.
NOTE:
1x screw, T25, 2.5 N.m.
 Courtesy of TESLA, INC. Courtesy of TESLA, INC.
|
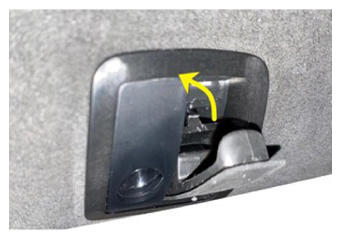
- Close RH coat hook screw cover.
NOTE:
2x tabs.
 Courtesy of TESLA, INC. Courtesy of TESLA, INC.
|
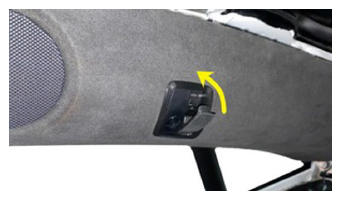
- Push RH coat hook closed.
 Courtesy of TESLA, INC. Courtesy of TESLA, INC.
|
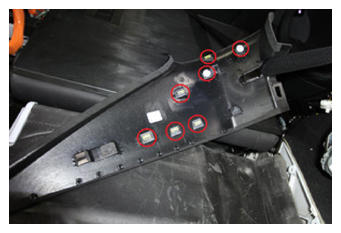
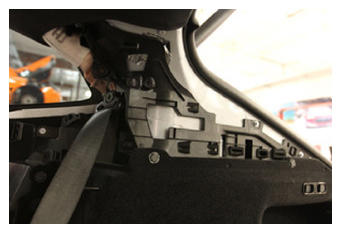
- Install RH upper C-pillar trim.
NOTE:
7x clips, Replace any damaged clips.
 Courtesy of TESLA, INC. Courtesy of TESLA, INC.
|
 Courtesy of TESLA, INC. Courtesy of TESLA, INC.
|
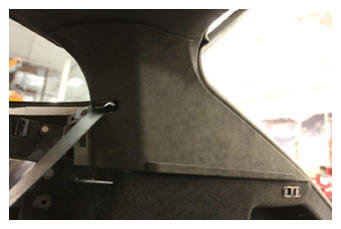 Courtesy of TESLA, INC. Courtesy of TESLA, INC.
|
- Install RH mid C-pillar trim.
NOTE:
3x clips, Replace any damaged clips.
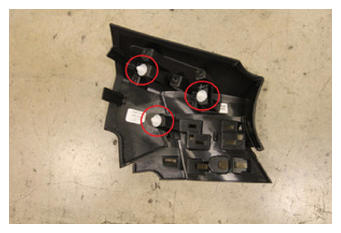 Courtesy of TESLA, INC. Courtesy of TESLA, INC.
|
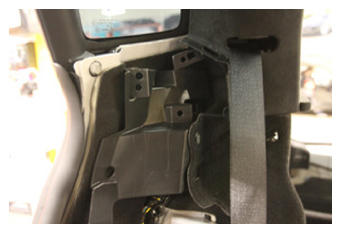 Courtesy of TESLA, INC. Courtesy of TESLA, INC.
|
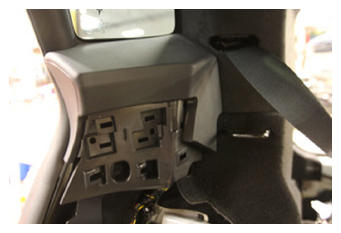 Courtesy of TESLA, INC. Courtesy of TESLA, INC.
|
- Secure RH lower C-pillar trim onto RH mid C-pillar trim.
NOTE:
4x clips.
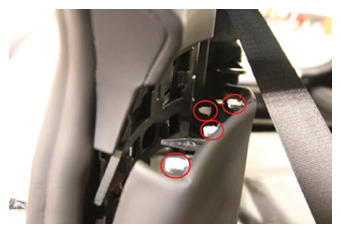 Courtesy of TESLA, INC. Courtesy of TESLA, INC.
|
- Fold 40 seat into vertical position.
NOTE:
Remove seat cushion protection.
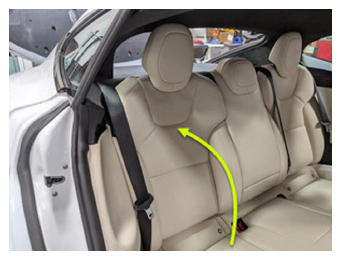 Courtesy of TESLA, INC. Courtesy of TESLA, INC.
|
- Install RH side bolster trim.
NOTE:
1x clip, 1x tab, Replace clip if damaged, Hook bottom portion and then secure the top.
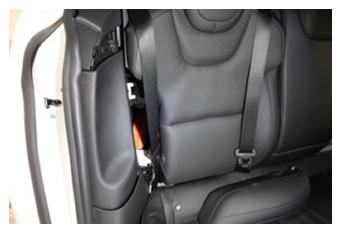 Courtesy of TESLA, INC. Courtesy of TESLA, INC.
|
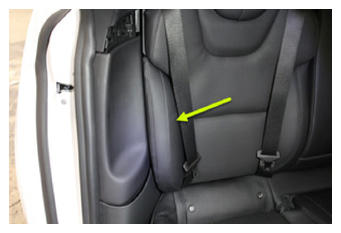 Courtesy of TESLA, INC. Courtesy of TESLA, INC.
|
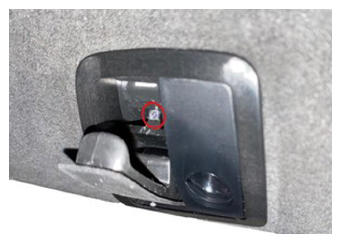
- Install LH coat hook screw.
NOTE:
1x screw, T25, 2.5 N.m.
 Courtesy of TESLA, INC. Courtesy of TESLA, INC.
|
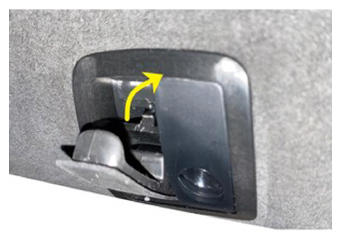
- Close LH coat hook screw cover.
NOTE:
2x tabs.
 Courtesy of TESLA, INC. Courtesy of TESLA, INC.
|
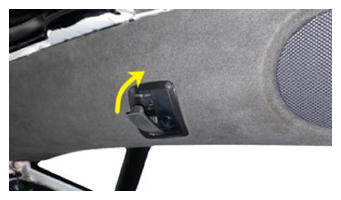
- Push LH coat hook closed.
 Courtesy of TESLA, INC. Courtesy of TESLA, INC.
|
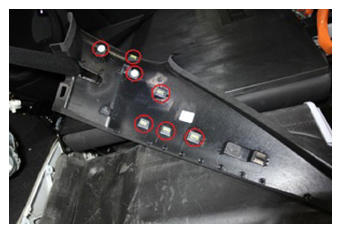
- Install LH upper C-pillar trim.
NOTE:
7x clips, Replace any damaged clips.
 Courtesy of TESLA, INC. Courtesy of TESLA, INC.
|
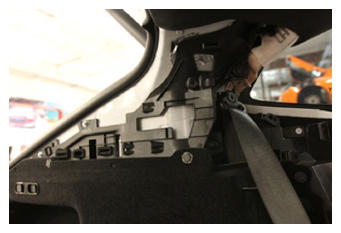 Courtesy of TESLA, INC. Courtesy of TESLA, INC.
|
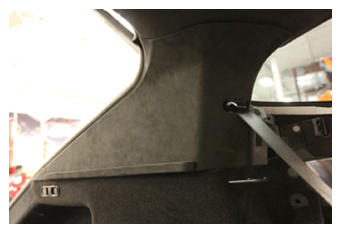 Courtesy of TESLA, INC. Courtesy of TESLA, INC.
|
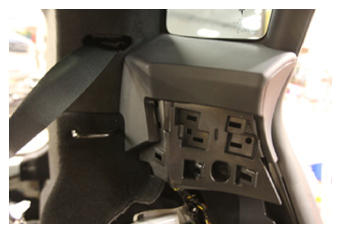
- Install LH mid C-pillar trim.
NOTE:
3x clips, Replace any damaged clips.
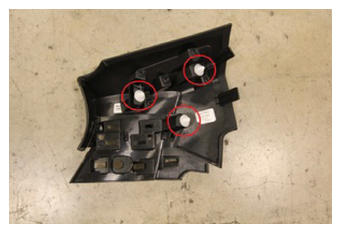 Courtesy of TESLA, INC. Courtesy of TESLA, INC.
|
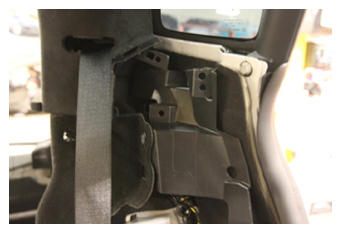 Courtesy of TESLA, INC. Courtesy of TESLA, INC.
|
 Courtesy of TESLA, INC. Courtesy of TESLA, INC.
|
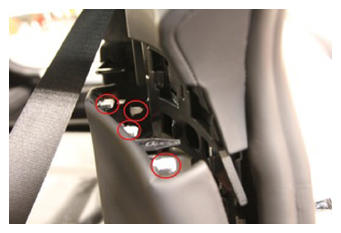
- Secure LH lower C-pillar trim onto LH mid C-pillar trim.
NOTE:
4x clips.
 Courtesy of TESLA, INC. Courtesy of TESLA, INC.
|
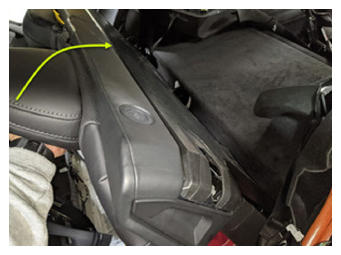
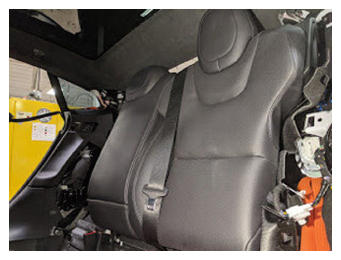
- Fold 60 seat into vertical position.
NOTE:
Remove seat cushion protection.
 Courtesy of TESLA, INC. Courtesy of TESLA, INC.
|
 Courtesy of TESLA, INC. Courtesy of TESLA, INC.
|
- Install LH side bolster trim.
NOTE:
1x clip, 1x tab, Replace clip if damaged, Hook bottom portion and then secure the top.
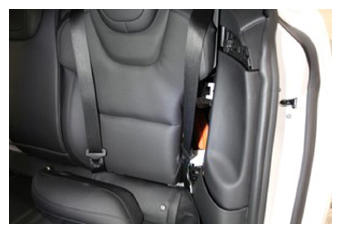 Courtesy of TESLA, INC. Courtesy of TESLA, INC.
|
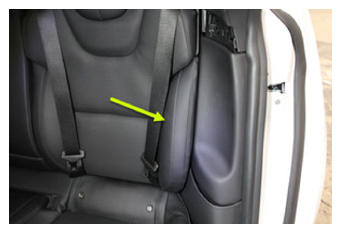 Courtesy of TESLA, INC. Courtesy of TESLA, INC.
|
- Install parcel shelf.
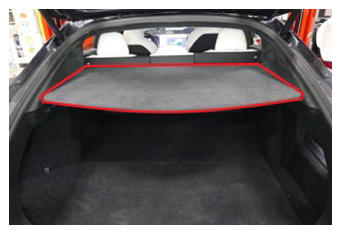 Courtesy of TESLA, INC. Courtesy of TESLA, INC.
|
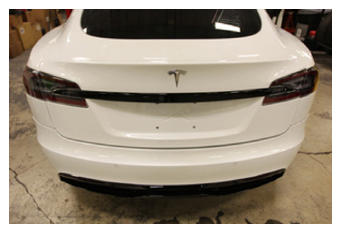
- Close liftgate.
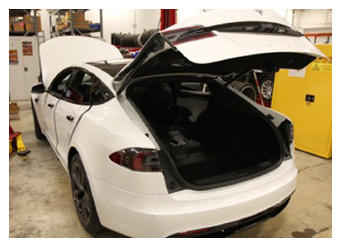 Courtesy of TESLA, INC. Courtesy of TESLA, INC.
|
 Courtesy of TESLA, INC. Courtesy of TESLA, INC.
|
- Raise all four windows.
- Close all four doors.