- Open the liftgate and remove the rear parcel shelf and trunk load floor.
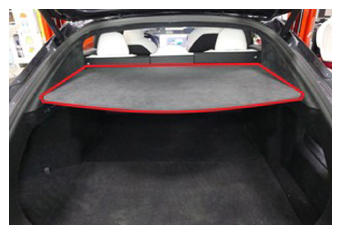 Courtesy of TESLA, INC. Courtesy of TESLA, INC.
|
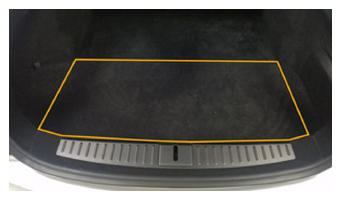 Courtesy of TESLA, INC. Courtesy of TESLA, INC.
|
- Release the clips (x6) that attach the trunk sill panel to the vehicle.
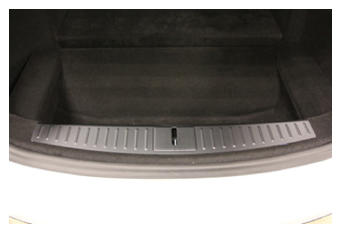 Courtesy of TESLA, INC. Courtesy of TESLA, INC.
|
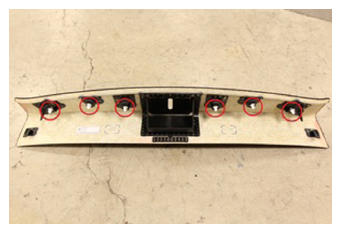 Courtesy of TESLA, INC. Courtesy of TESLA, INC.
|
- Open the charge port door.
- Disconnect LV power. See LV Power (Disconnect And Connect)
.
- Set a multimeter to DC voltage and confirm operation.
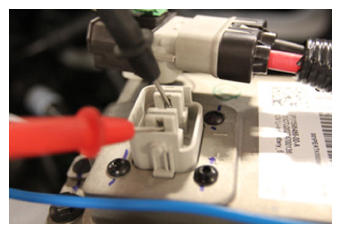 Courtesy of TESLA, INC. Courtesy of TESLA, INC.
|
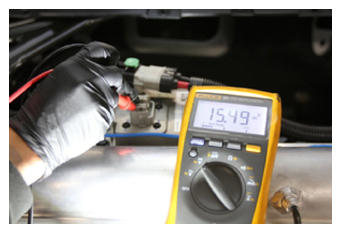 Courtesy of TESLA, INC. Courtesy of TESLA, INC.
|
- Remove all items from pockets and ensure not wearing metal items.
- Inspect HV insulating gloves.
- Put on HV insulating gloves and leather over gloves.
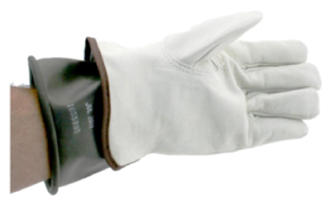 Courtesy of TESLA, INC. Courtesy of TESLA, INC.
|
- Verify there is no high voltage present at the charge port.
WARNING:
Make sure to wear PPE (HV gloves, safety glasses) when working on high voltage component, Verify you are using a proper ground, Measure B+ to B-, B- to ground, and B+ to Ground, If voltage is greater than 10V then contactors are not open or are welded closed, Stop work and reach out to Service Engineering,
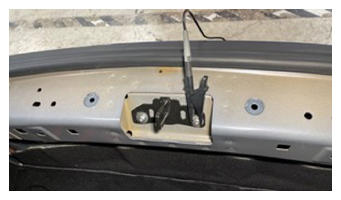 Courtesy of TESLA, INC. Courtesy of TESLA, INC.
|
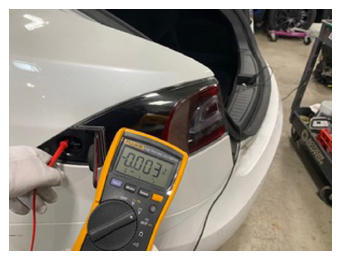 Courtesy of TESLA, INC. Courtesy of TESLA, INC.
|
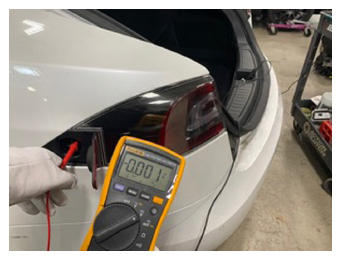 Courtesy of TESLA, INC. Courtesy of TESLA, INC.
|
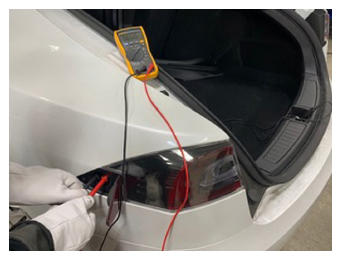 Courtesy of TESLA, INC. Courtesy of TESLA, INC.
|
- Remove the leather glove protectors and HV insulating gloves.
- Remove the clips (x4) that attach the rear wall trim to the vehicle.
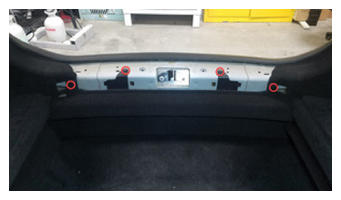 Courtesy of TESLA, INC. Courtesy of TESLA, INC.
|
- Remove the LH side load floor trim.
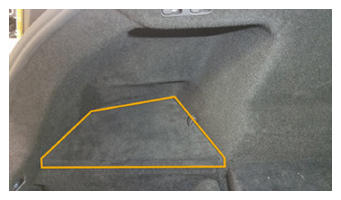 Courtesy of TESLA, INC. Courtesy of TESLA, INC.
|
- Remove the clips (x4) that attach the LH trunk bracket assembly to the vehicle.
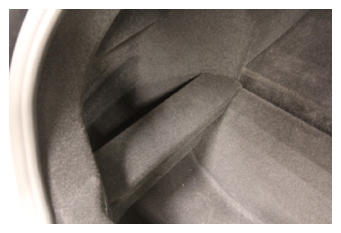 Courtesy of TESLA, INC. Courtesy of TESLA, INC.
|
- Remove the rear trunk floor.
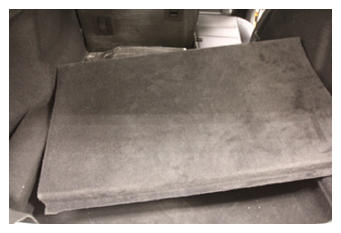 Courtesy of TESLA, INC. Courtesy of TESLA, INC.
|
- Remove the clip that attaches the LH side bolster trim to the vehicle.
NOTE:
Start by releasing upper portion.
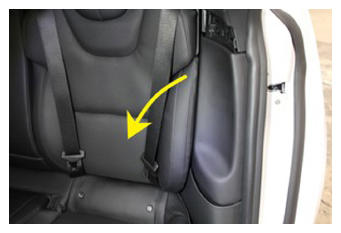 Courtesy of TESLA, INC. Courtesy of TESLA, INC.
|
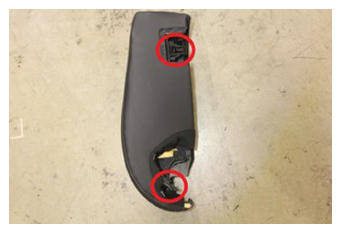 Courtesy of TESLA, INC. Courtesy of TESLA, INC.
|
- Remove the clips (x4) that attach the LH lower C-pillar trim to the LH mid C-pillar trim.
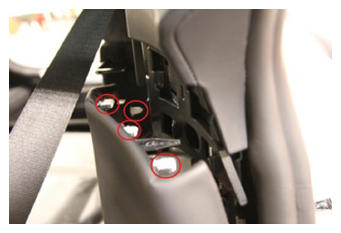 Courtesy of TESLA, INC. Courtesy of TESLA, INC.
|
- Remove the clips (x3) that attach the LH mid C-pillar trim to the vehicle.
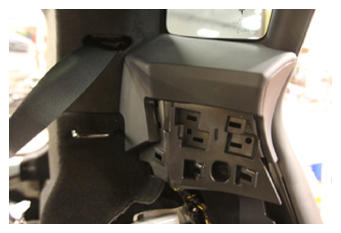 Courtesy of TESLA, INC. Courtesy of TESLA, INC.
|
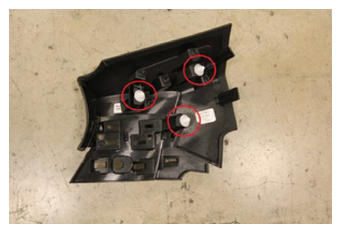 Courtesy of TESLA, INC. Courtesy of TESLA, INC.
|
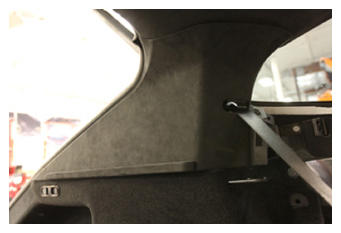
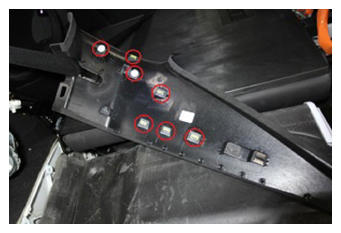
- Release the clips (x7) that attach the LH upper C-pillar trim to the vehicle and move it aside.
NOTE:
7x clips
 Courtesy of TESLA, INC. Courtesy of TESLA, INC.
|
 Courtesy of TESLA, INC. Courtesy of TESLA, INC.
|
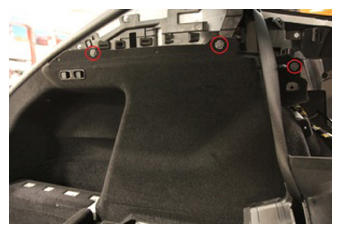
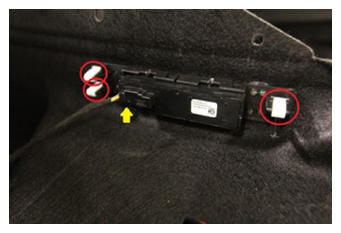
- Release the clips (x3) that attach the LH trunk side trim and remove the trim from the vehicle.
 Courtesy of TESLA, INC. Courtesy of TESLA, INC.
|
 Courtesy of TESLA, INC. Courtesy of TESLA, INC.
|
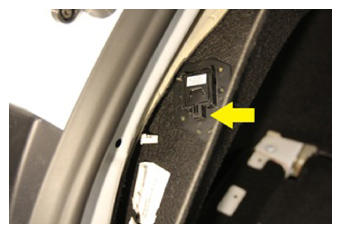 Courtesy of TESLA, INC. Courtesy of TESLA, INC.
|
- Remove the bolt that attaches the charge port safety cover to the vehicle.
NOTE:
Discard the bold after removal.
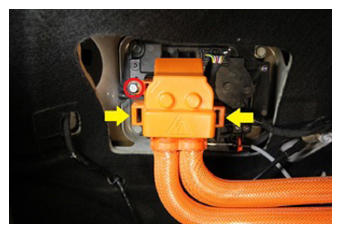 Courtesy of TESLA, INC. Courtesy of TESLA, INC.
|
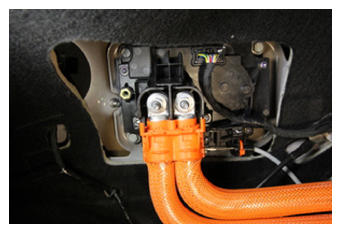 Courtesy of TESLA, INC. Courtesy of TESLA, INC.
|
- Remove the two nuts that attach the charge port busbar to the charge port and remove the busbar leads from the studs.
NOTE:
2x nuts, 11 mm, 9 N.m, Nuts have captured washers
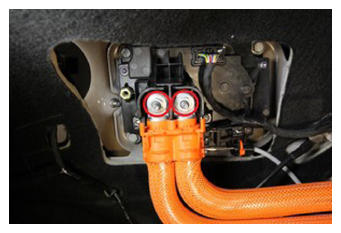 Courtesy of TESLA, INC. Courtesy of TESLA, INC.
|
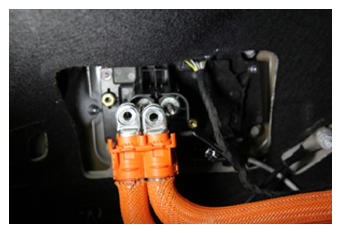 Courtesy of TESLA, INC. Courtesy of TESLA, INC.
|
- Release the clip that attaches the manual liftgate release cable to the vehicle.
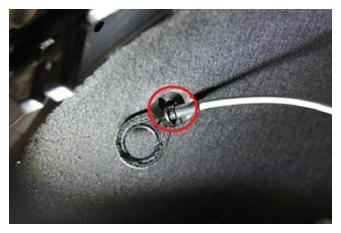 Courtesy of TESLA, INC. Courtesy of TESLA, INC.
|
- Remove the nut that attaches the charge port ground harness to the vehicle.
NOTE:
1x nut, 13 mm, 9 N.m
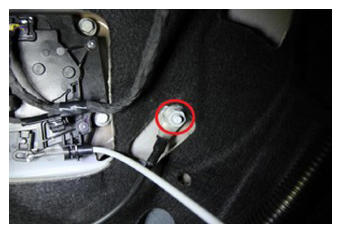 Courtesy of TESLA, INC. Courtesy of TESLA, INC.
|
- Disconnect the electrical connectors from the chargeport ECU.
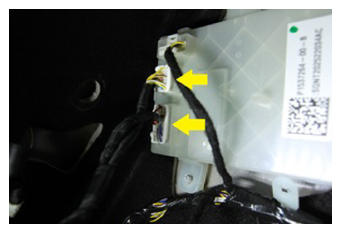 Courtesy of TESLA, INC. Courtesy of TESLA, INC.
|
- Remove the bolts (x4) that attach the chargeport assembly to the vehicle.
NOTE:
4x bolts, 10 mm, 6 N.m, Discard after removal
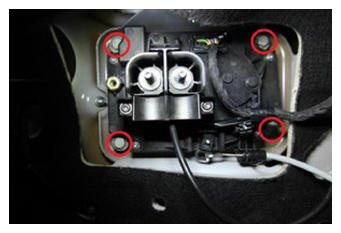 Courtesy of TESLA, INC. Courtesy of TESLA, INC.
|
- Disconnect the charge port door connector from charge port and remove the charge port from the vehicle.
CAUTION:
DO NOT push down on the red locking tab. Pull the tab away from the connector until the connector is unlocked, and then continue pulling to release the connector.
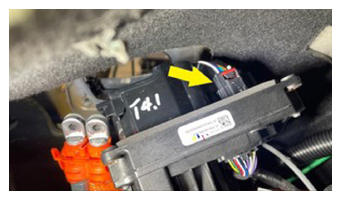 Courtesy of TESLA, INC. Courtesy of TESLA, INC.
|
- Disconnect the electrical connector from the LH taillight.
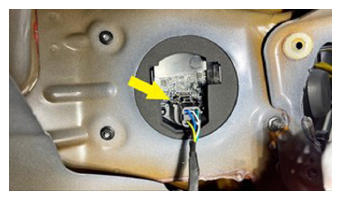 Courtesy of TESLA, INC. Courtesy of TESLA, INC.
|
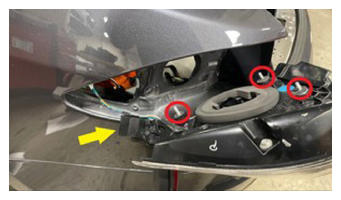
- Remove the nuts (x3) that attach the LH taillight to the vehicle.
NOTE:
3x nuts, 8 mm, 4 N.m
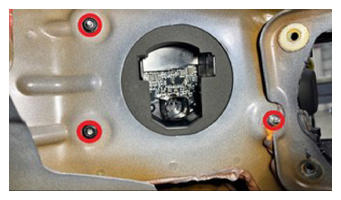 Courtesy of TESLA, INC. Courtesy of TESLA, INC.
|
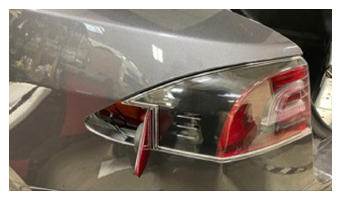
- Remove the LH taillight from the vehicle.
CAUTION:
Carefully remove the taillight from the vehicle to avoid damage to painted surfaces.
 Courtesy of TESLA, INC. Courtesy of TESLA, INC.
|
 Courtesy of TESLA, INC. Courtesy of TESLA, INC.
|
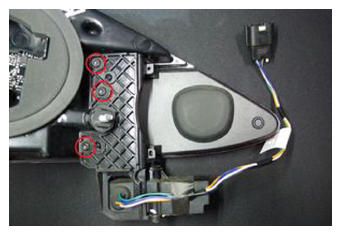
- Remove the screws (x3) that attach the charge port door to the taillight.
NOTE:
3x screws, T20, 2.5 N.m
 Courtesy of TESLA, INC. Courtesy of TESLA, INC.
|