- Position the datums of the charge port door to the taillight, and then install screws (x3) that attach the charge port door to the taillight.
NOTE:
3x screws, T20, 2.5 N.m
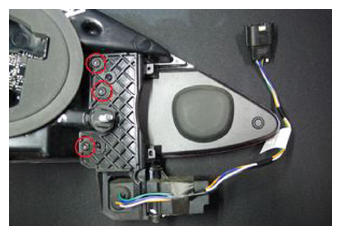 Courtesy of TESLA, INC. Courtesy of TESLA, INC.
|
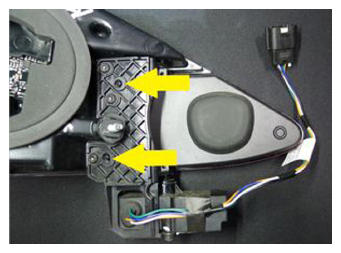 Courtesy of TESLA, INC. Courtesy of TESLA, INC.
|
- Position the LH tail lamp studs to the vehicle.
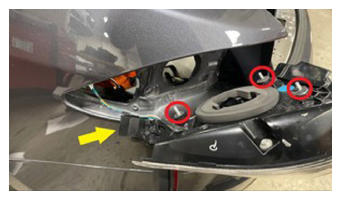 Courtesy of TESLA, INC. Courtesy of TESLA, INC.
|
- Install the nuts (x3) that attach the LH taillight to the vehicle.
NOTE:
3x nuts, 8 mm, 4 N.m
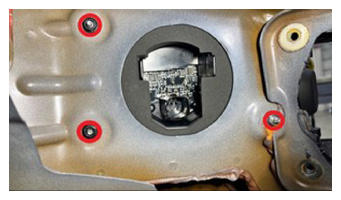 Courtesy of TESLA, INC. Courtesy of TESLA, INC.
|
- Connect the electrical connector to the LH taillight.
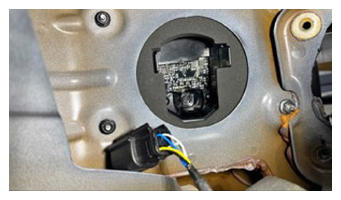 Courtesy of TESLA, INC. Courtesy of TESLA, INC.
|
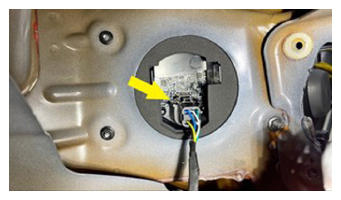 Courtesy of TESLA, INC. Courtesy of TESLA, INC.
|
- Connect the electrical connector to the charge port door and position the assembly for installation.
CAUTION:
Push the red locking tab into the connector to engage the locking mechanism. DO NOT push down or pull up on the red locking tab.
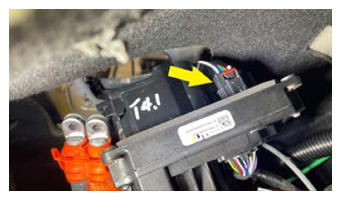 Courtesy of TESLA, INC. Courtesy of TESLA, INC.
|
- Using new fasteners, install the bolts (x4) that attach the charge port to the vehicle.
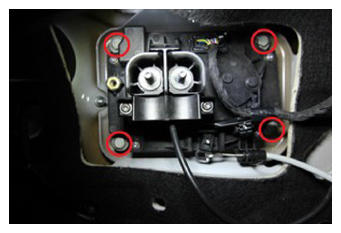 Courtesy of TESLA, INC. Courtesy of TESLA, INC.
|
- Verify the charge port studs are torqued to specification: 2 N.m.
NOTE:
T10, 2 N.m
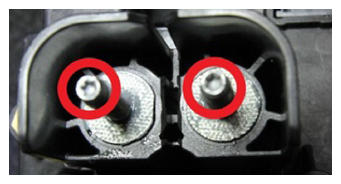 Courtesy of TESLA, INC. Courtesy of TESLA, INC.
|
- Install the clip that attaches the manual release cable to the vehicle.
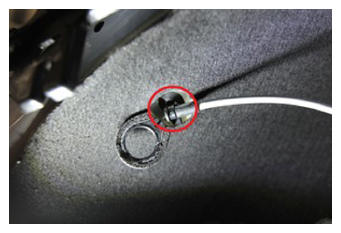 Courtesy of TESLA, INC. Courtesy of TESLA, INC.
|
- Install the nut that attaches the charge port ground harness to the vehicle.
NOTE:
1x nut, 13 mm, 9 N.m
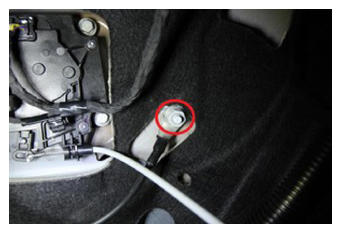 Courtesy of TESLA, INC. Courtesy of TESLA, INC.
|
- Connect the charge port ECU electrical connectors.
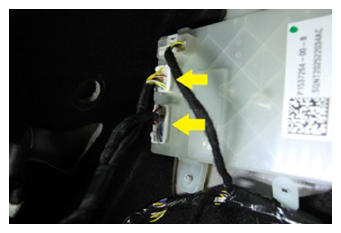 Courtesy of TESLA, INC. Courtesy of TESLA, INC.
|
- Clean the charge port assembly busbar contact surface of residual penetrox using IPA wipes.
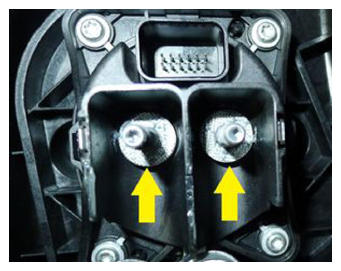 Courtesy of TESLA, INC. Courtesy of TESLA, INC.
|
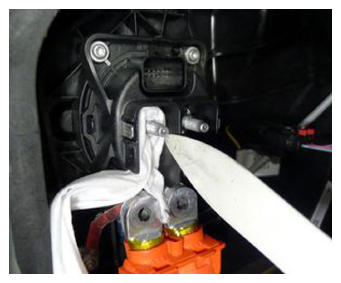 Courtesy of TESLA, INC. Courtesy of TESLA, INC.
|
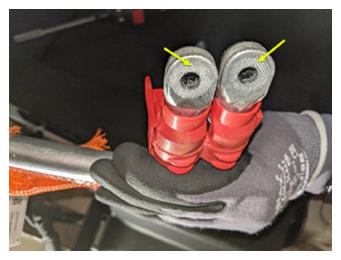 Courtesy of TESLA, INC. Courtesy of TESLA, INC.
|
- Apply Penetrox to the backside of busbar leads.
NOTE:
Apply 2 drops of Penetrox A-13 about 5 mm in diameter to either side of the hole on both leads. Spread evenly to verify the contact surface is fully covered.
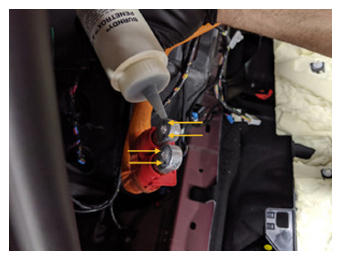 Courtesy of TESLA, INC. Courtesy of TESLA, INC.
|
- Install the charge port busbar leads to the charge port assembly.
NOTE:
2x nuts, 11 mm, 9 N.m
CAUTION:
If excessive force is required to seat busbars, they may have been bent. Inspect the busbars for damage and replace if necessary.
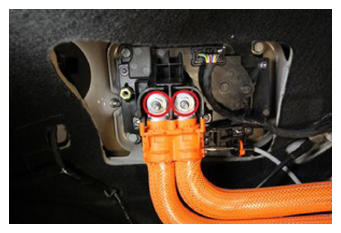 Courtesy of TESLA, INC. Courtesy of TESLA, INC.
|
- Inspect HV insulating gloves.
- Put on HV insulating gloves and leather over gloves.
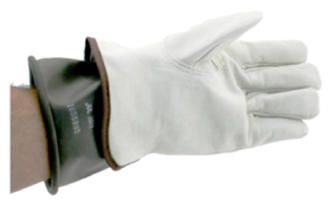 Courtesy of TESLA, INC. Courtesy of TESLA, INC.
|
- Perform Hioki resistance test at each HV joint from the HV busbar lead to the charge port stud.
NOTE:
2x HV joints, When using Hioki tester, verify the meter has been properly adjusted and set prior to usage The acceptable resistance is between 0.050 mΩ (50 Ω) and 0.270 mΩ (270 Ω). If the resistance is greater than 0.270 mΩ (270 Ω), stop work and escalate the Toolbox session. If the resistance is lower than 0.050 mΩ (50 Ω), reposition the probes and measure again. If the resistance is repeatedly between 0.00 mΩ and 0.050 mΩ (50 Ω), hioki test passed, proceed to next step.
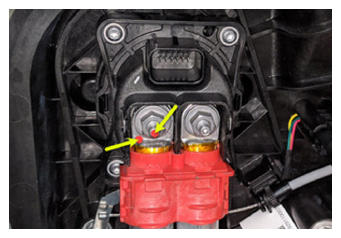 Courtesy of TESLA, INC. Courtesy of TESLA, INC.
|
- Remove the leather glove protectors and HV insulating gloves.
- Using a new fastener, install the bolt that attaches the charge port safety cover to the vehicle.
NOTE:
1x bolt, 8 mm, 6 N.m
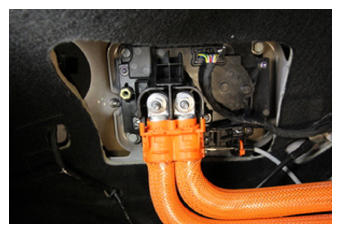 Courtesy of TESLA, INC. Courtesy of TESLA, INC.
|
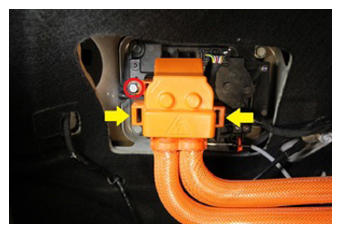 Courtesy of TESLA, INC. Courtesy of TESLA, INC.
|
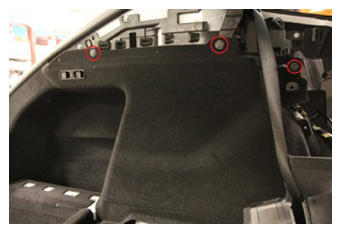
- Install the clips (x3) that attach the LH trunk side trim to the vehicle.
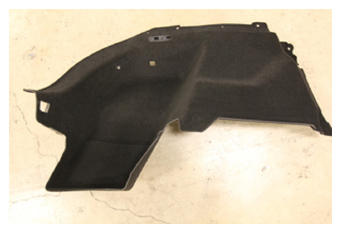 Courtesy of TESLA, INC. Courtesy of TESLA, INC.
|
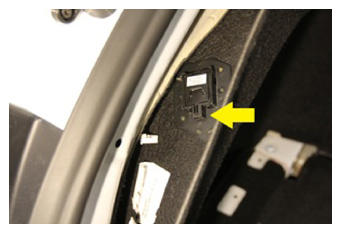 Courtesy of TESLA, INC. Courtesy of TESLA, INC.
|
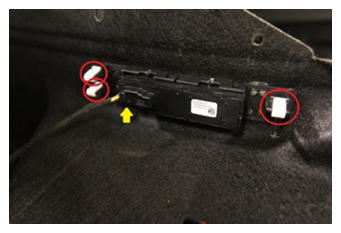 Courtesy of TESLA, INC. Courtesy of TESLA, INC.
|
 Courtesy of TESLA, INC. Courtesy of TESLA, INC.
|
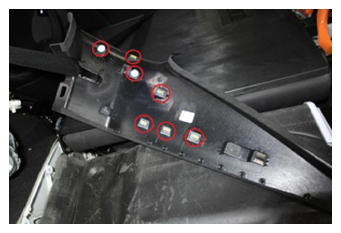
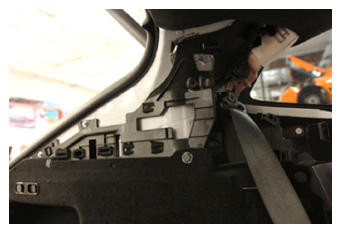
- Install the clips (x7) that attach the LH upper C-pillar trim to the vehicle.
 Courtesy of TESLA, INC. Courtesy of TESLA, INC.
|
 Courtesy of TESLA, INC. Courtesy of TESLA, INC.
|
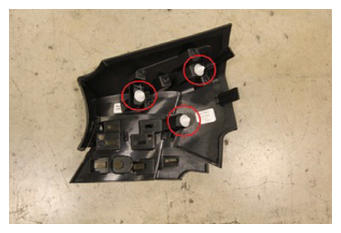
- Install the clips (x3) that attach the LH mid C-pillar trim to the vehicle.
 Courtesy of TESLA, INC. Courtesy of TESLA, INC.
|
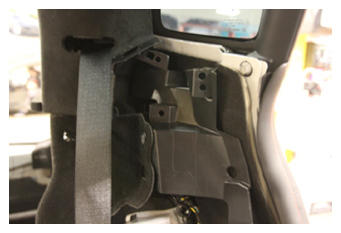 Courtesy of TESLA, INC. Courtesy of TESLA, INC.
|
- Install the clips (x4) that attach the LH lower C-pillar trim to the LH mid C-pillar trim.
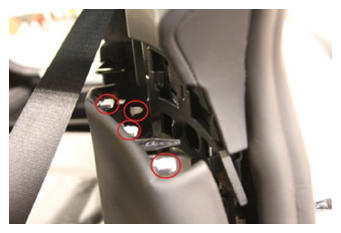 Courtesy of TESLA, INC. Courtesy of TESLA, INC.
|
- Install the clip that attaches the LH side bolster trim to the vehicle.
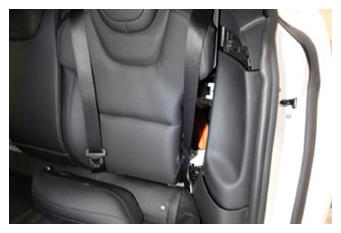 Courtesy of TESLA, INC. Courtesy of TESLA, INC.
|
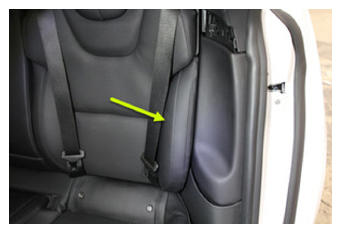 Courtesy of TESLA, INC. Courtesy of TESLA, INC.
|
- Install the rear trunk floor.
- Install the clips (x4) that attach the LH trunk bracket assembly to the vehicle.
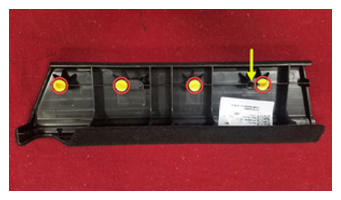 Courtesy of TESLA, INC. Courtesy of TESLA, INC.
|
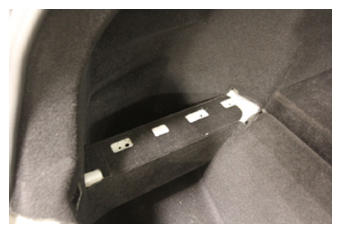 Courtesy of TESLA, INC. Courtesy of TESLA, INC.
|
- Install the clips (x4) that attach the rear wall trim to the vehicle.
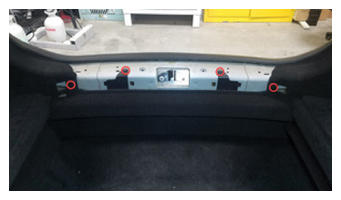 Courtesy of TESLA, INC. Courtesy of TESLA, INC.
|
- Install the trunk sill panel to the vehicle.
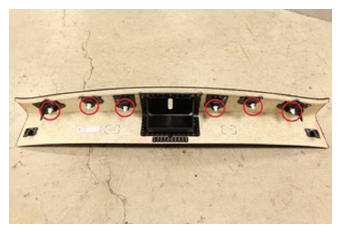 Courtesy of TESLA, INC. Courtesy of TESLA, INC.
|
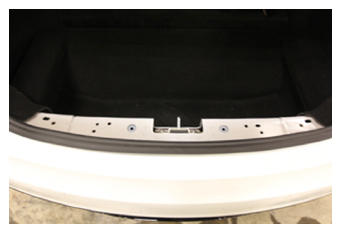 Courtesy of TESLA, INC. Courtesy of TESLA, INC.
|
- Install the side load floor to the vehicle.
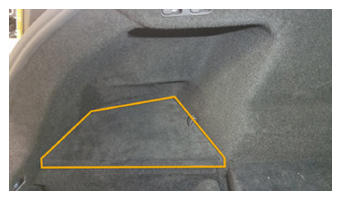 Courtesy of TESLA, INC. Courtesy of TESLA, INC.
|
- Install the rear parcel shelf and trunk load floor.
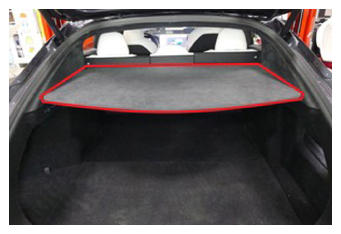 Courtesy of TESLA, INC. Courtesy of TESLA, INC.
|
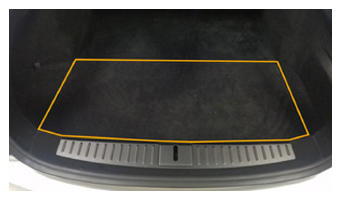 Courtesy of TESLA, INC. Courtesy of TESLA, INC.
|
- Connect LV power. See LV Power (Disconnect And Connect)
.
- Verify operation of the vehicle charging system.
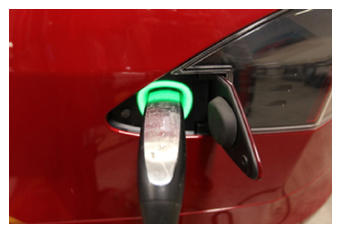 Courtesy of TESLA, INC. Courtesy of TESLA, INC.
|