- Connect glove box assembly connectors
NOTE:
3x connectors, New puddle lamp harness routing prevent blocking movement of pawls, Make sure harness is routed properly above passenger footwell air duct before connecting
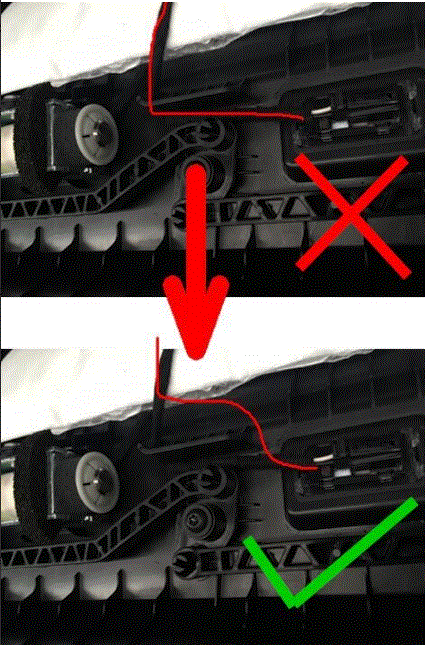 Courtesy of TESLA, INC. Courtesy of TESLA, INC.
|
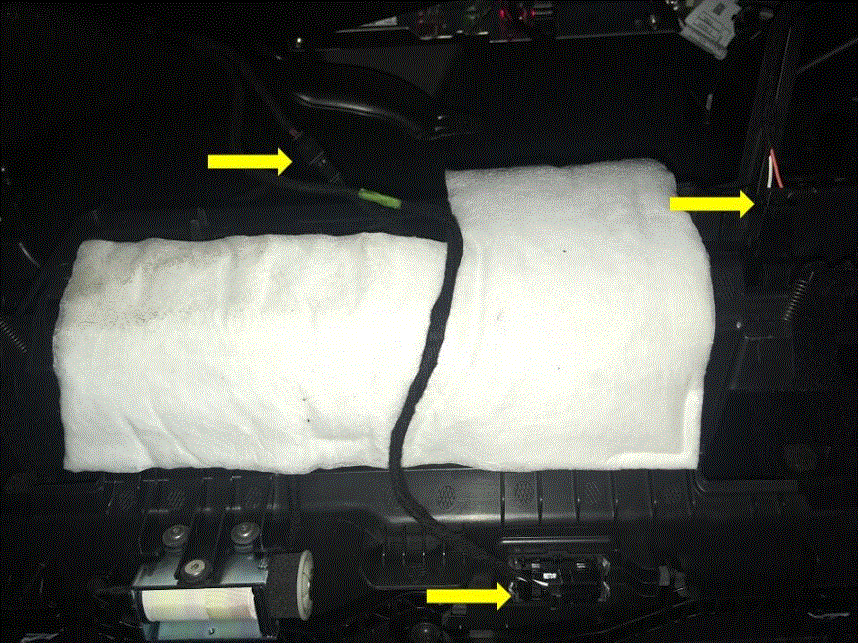 Courtesy of TESLA, INC. Courtesy of TESLA, INC.
|
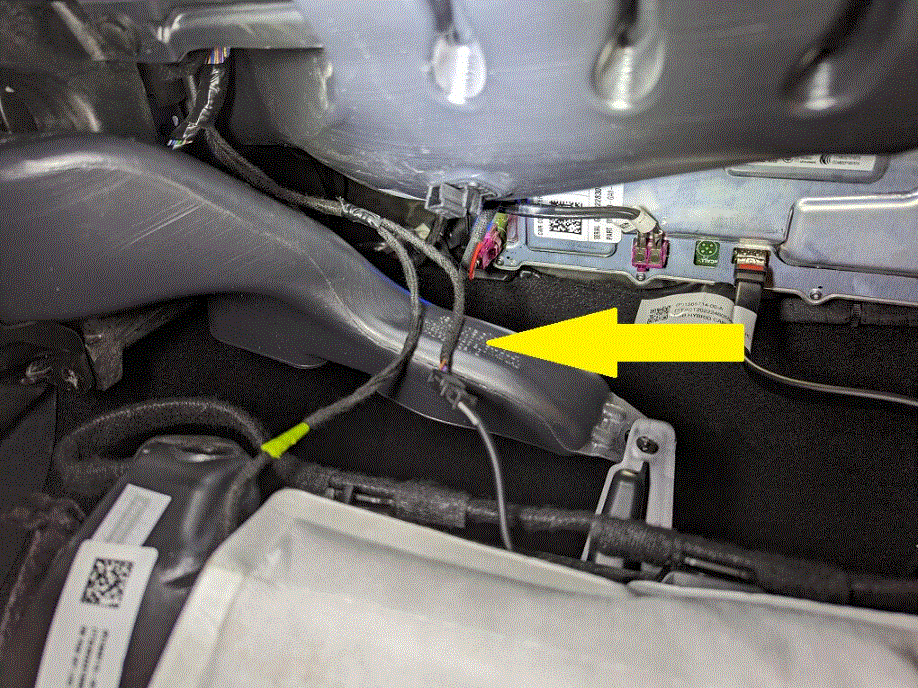 Courtesy of TESLA, INC. Courtesy of TESLA, INC.
|
- Install glove box into IP carrier
NOTE:
3x clips
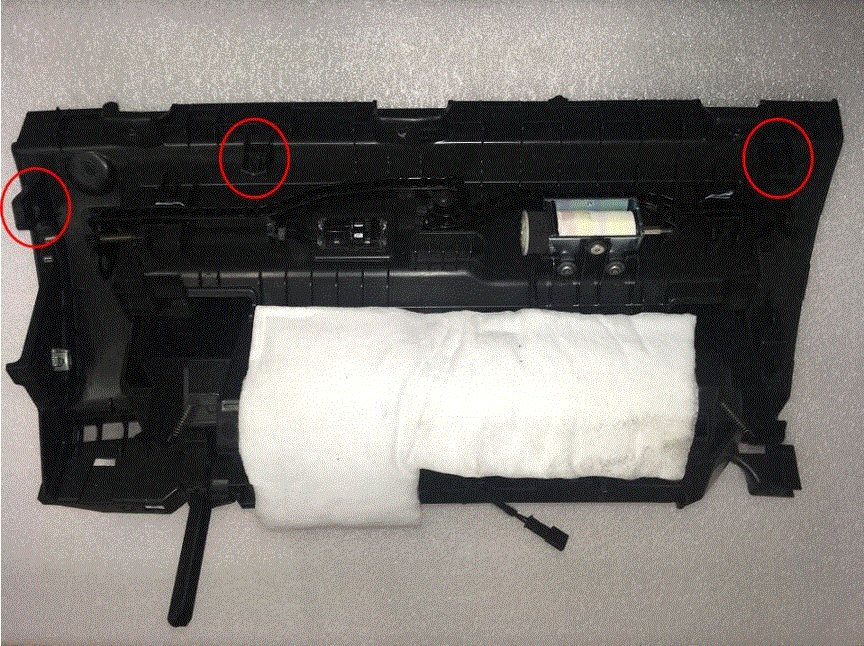 Courtesy of TESLA, INC. Courtesy of TESLA, INC.
|
- Install screws securing glove box assembly to IP carrier
NOTE:
6x screws, T20, 2.3 N.m
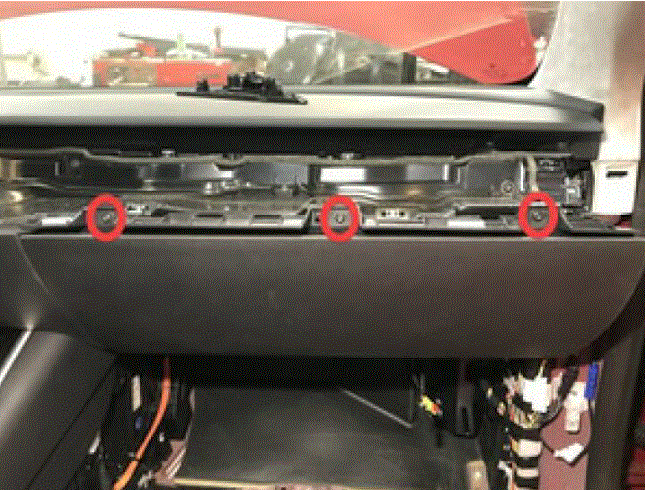 Courtesy of TESLA, INC. Courtesy of TESLA, INC.
|
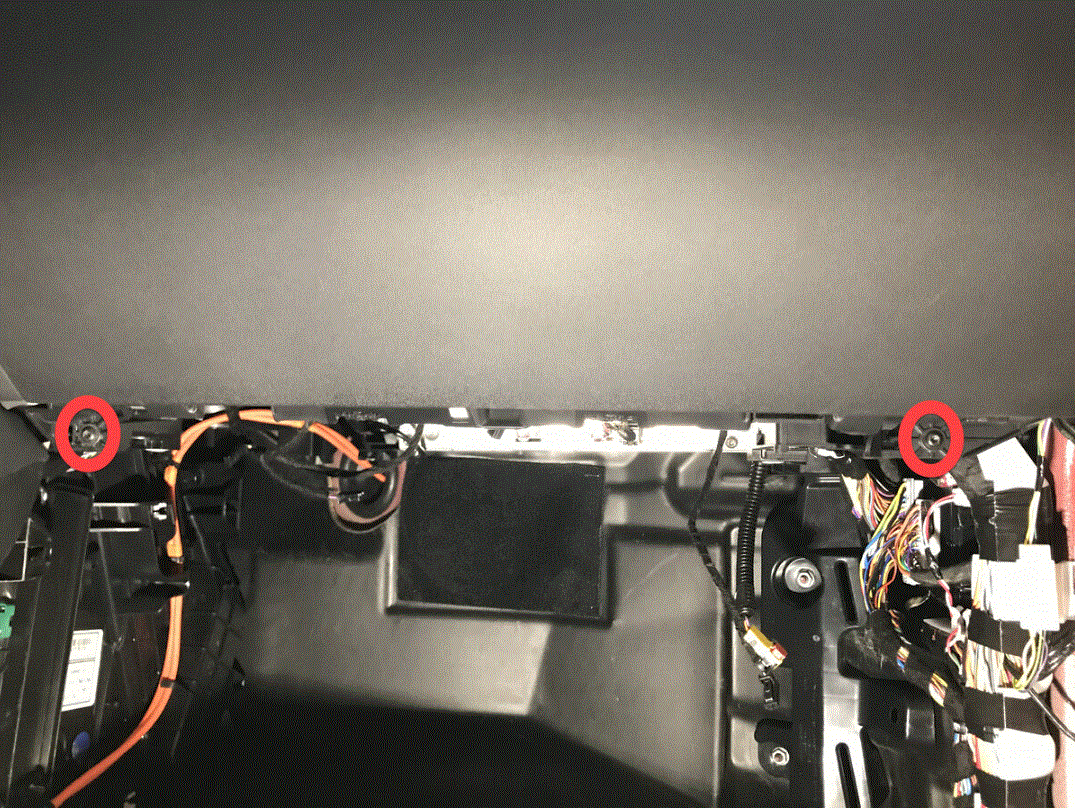 Courtesy of TESLA, INC. Courtesy of TESLA, INC.
|
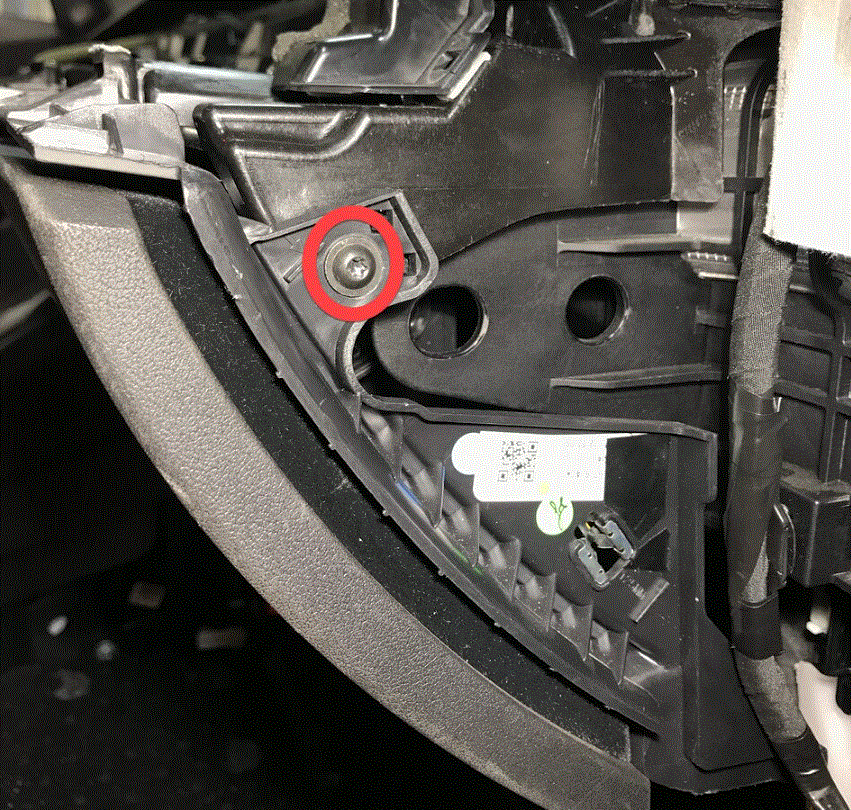 Courtesy of TESLA, INC. Courtesy of TESLA, INC.
|
- Connect glove box USB cable to car computer
NOTE:
1x connector
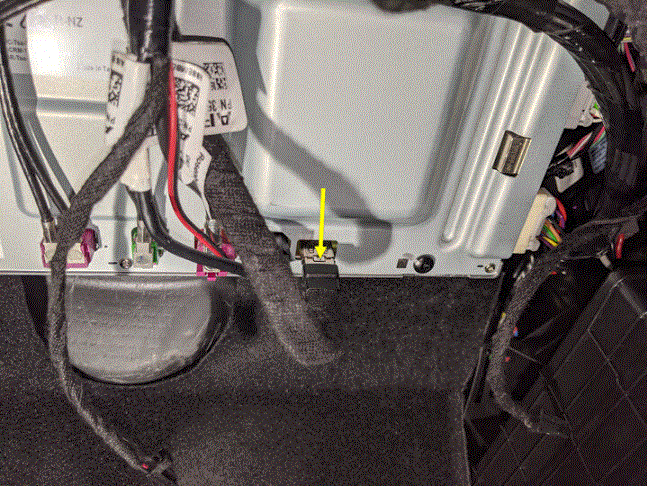 Courtesy of TESLA, INC. Courtesy of TESLA, INC.
|
- Install passenger knee air bag onto vehicle
NOTE:
1x connector, Use caution not to damage connector and harness, Support knee air bag while connecting connector
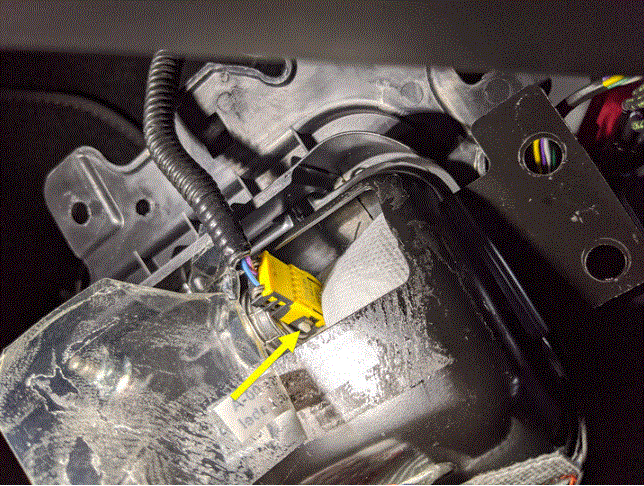 Courtesy of TESLA, INC. Courtesy of TESLA, INC.
|
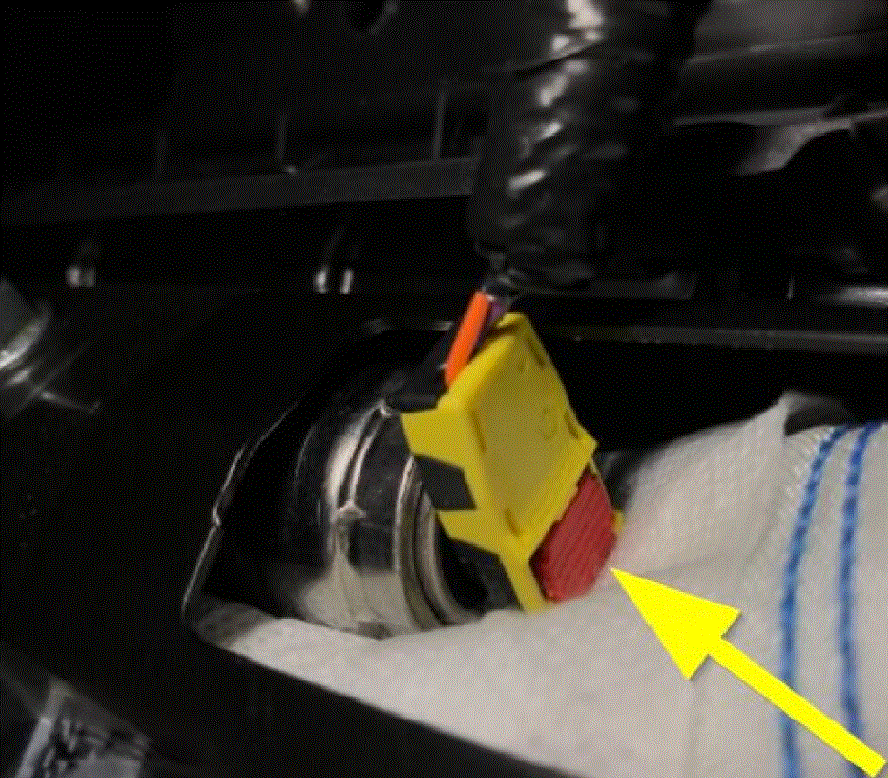 Courtesy of TESLA, INC. Courtesy of TESLA, INC.
|
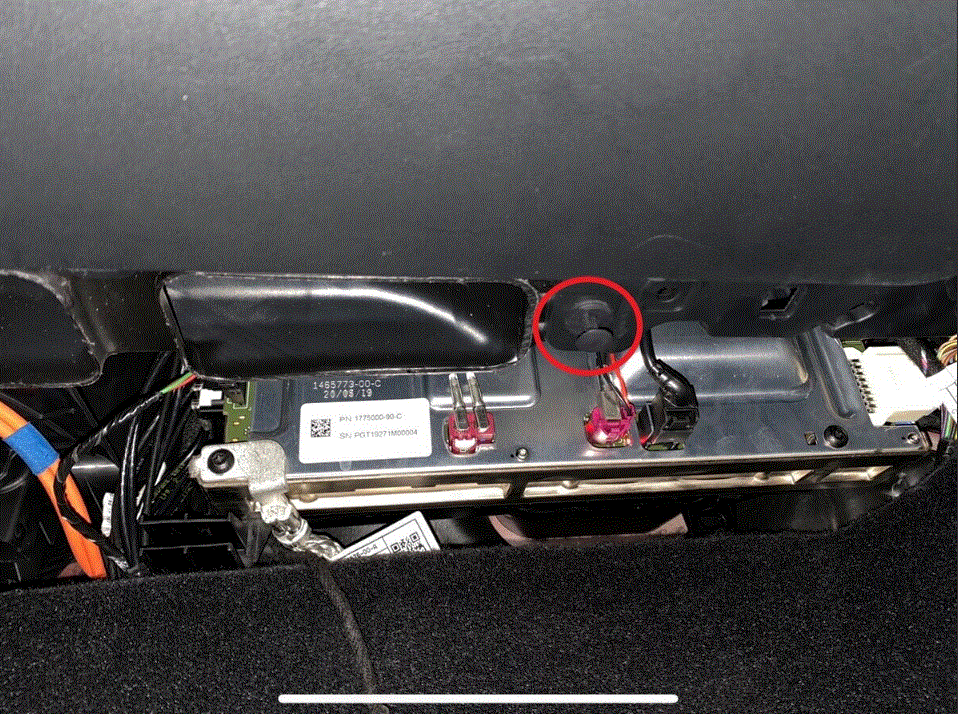
- Install bolts securing passenger knee air bag to vehicle
NOTE:
4x patch bolts, E10, 8 N.m, Install new patch bolts, 2x screws, T20, 2 N.m, 1x push clip, If vehicle equipped with T30 bolts update to E10
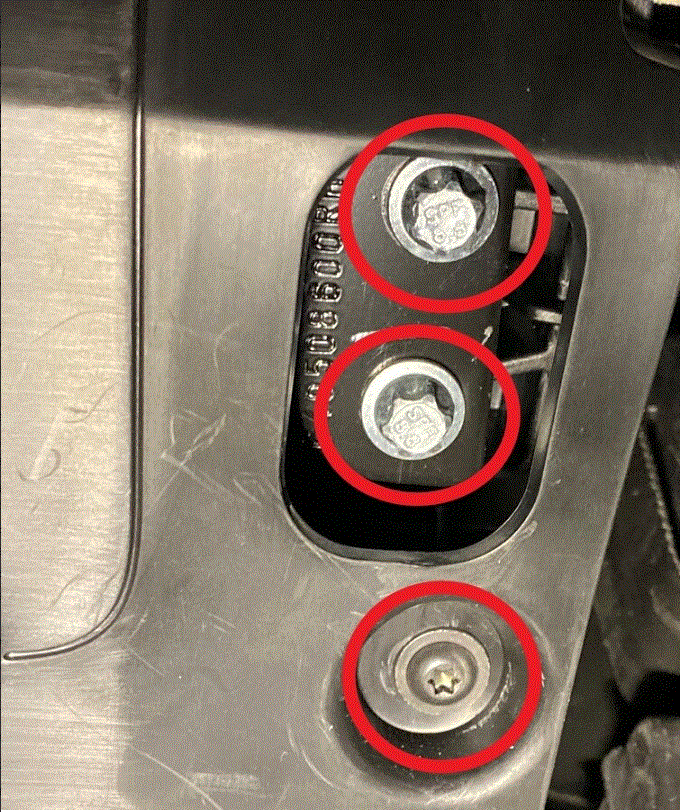 Courtesy of TESLA, INC. Courtesy of TESLA, INC.
|
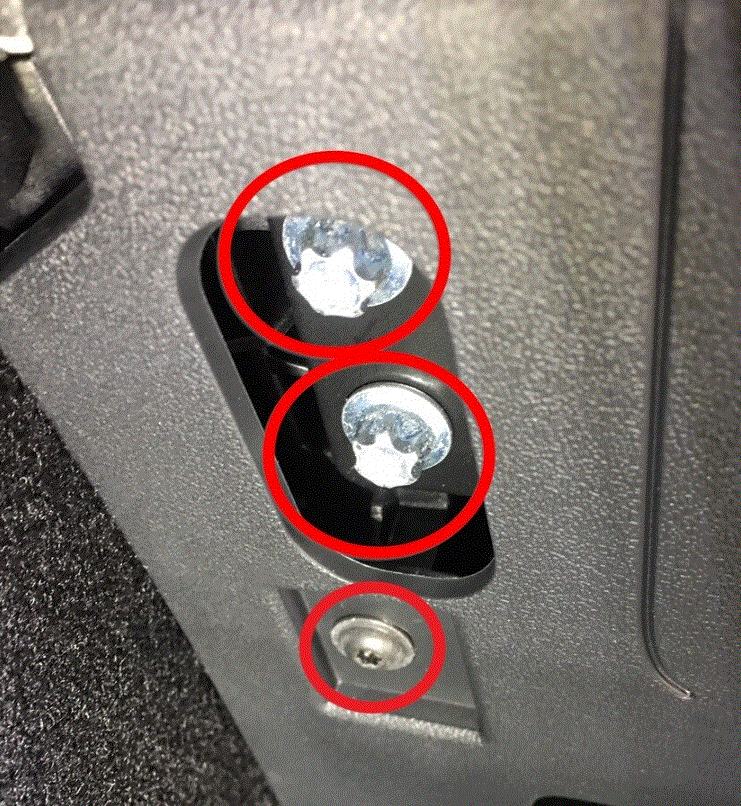 Courtesy of TESLA, INC. Courtesy of TESLA, INC.
|
 Courtesy of TESLA, INC. Courtesy of TESLA, INC.
|
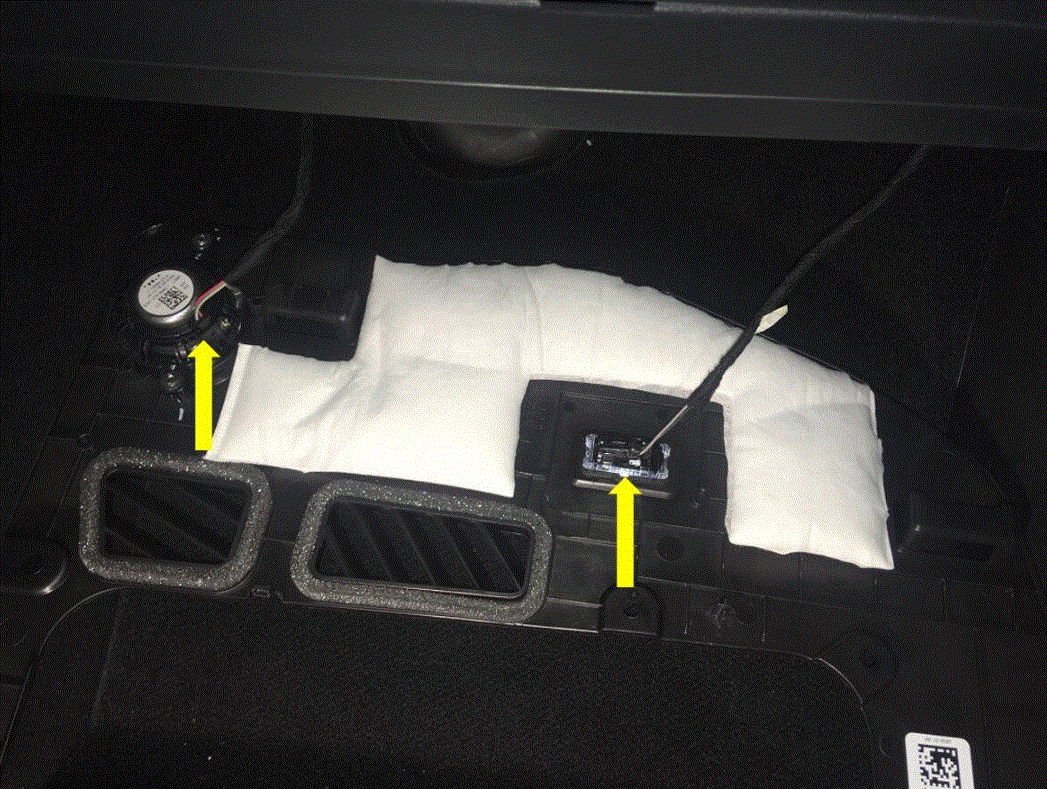
- Position RH footwell assembly
NOTE:
2x connectors
 Courtesy of TESLA, INC. Courtesy of TESLA, INC.
|
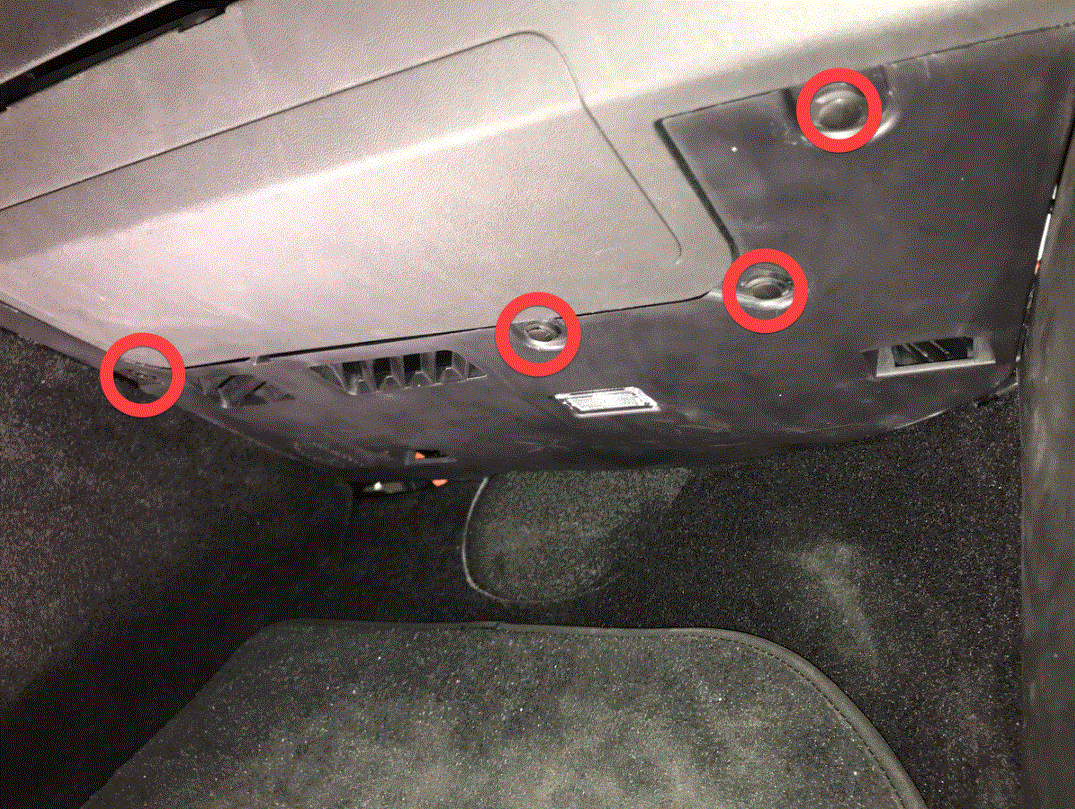
- Install RH footwell assembly onto IP
NOTE:
4x push clips
 Courtesy of TESLA, INC. Courtesy of TESLA, INC.
|
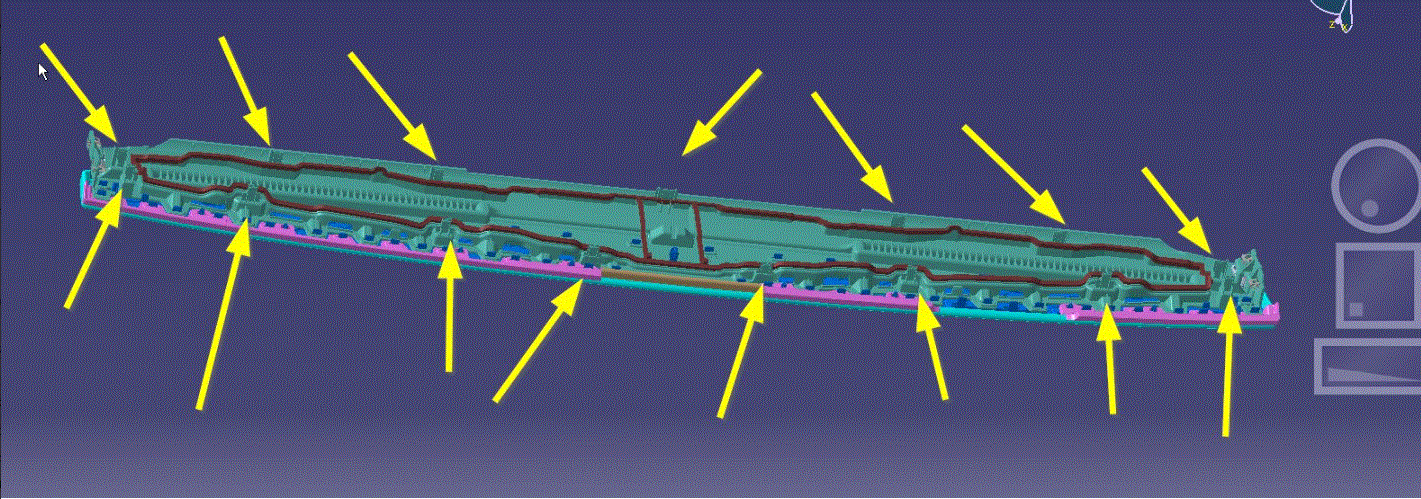
- Install main decor assembly
NOTE:
15x clips, 1x center clip
 Courtesy of TESLA, INC. Courtesy of TESLA, INC.
|
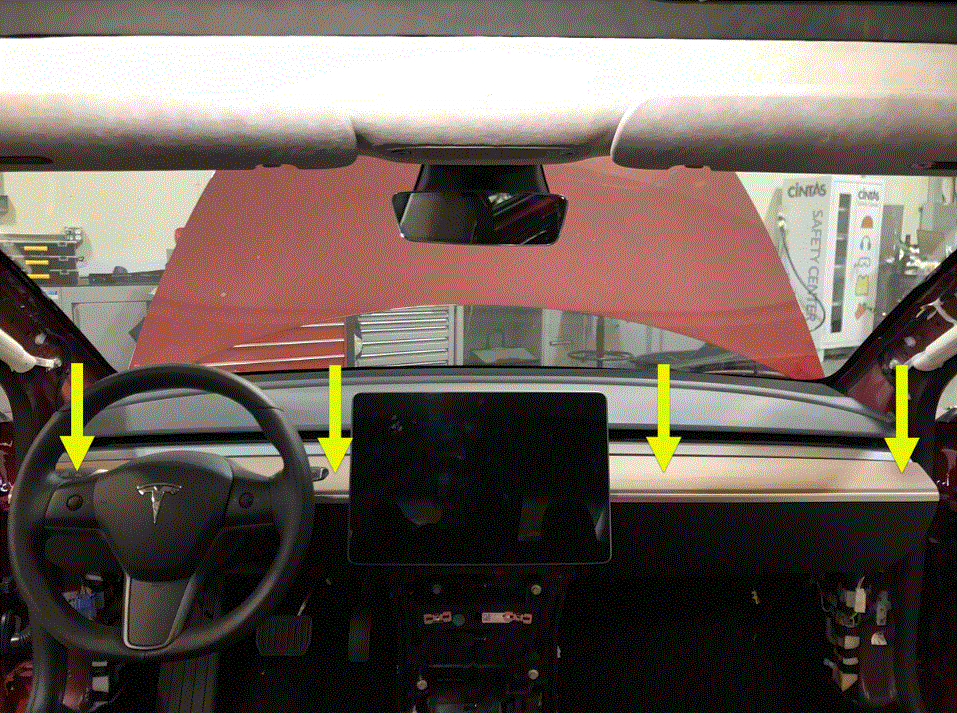 Courtesy of TESLA, INC. Courtesy of TESLA, INC.
|
- Install RH air wave bezel cap to main decor assembly
NOTE:
2x clips, Newer vehicles are equipped with solid bezel.
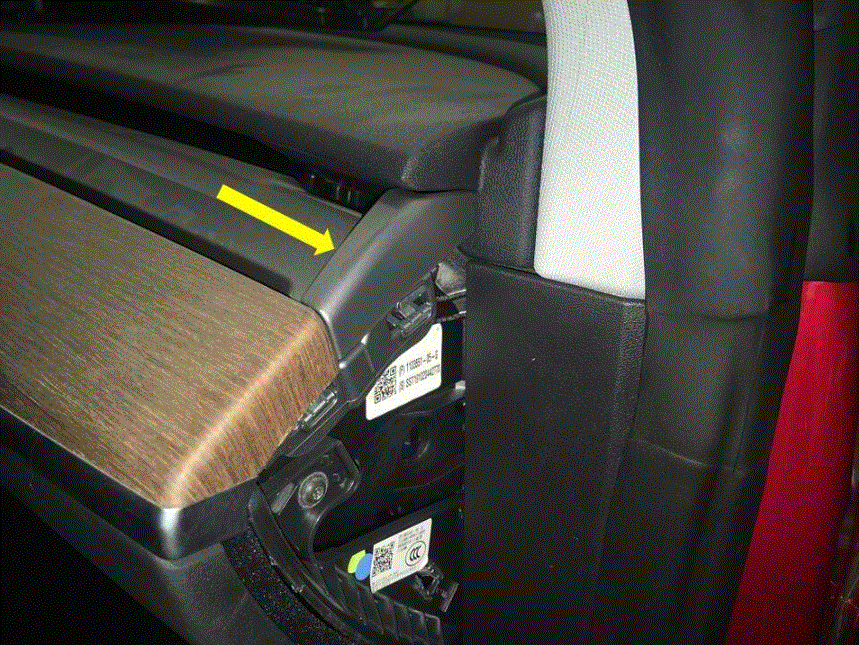 Courtesy of TESLA, INC. Courtesy of TESLA, INC.
|
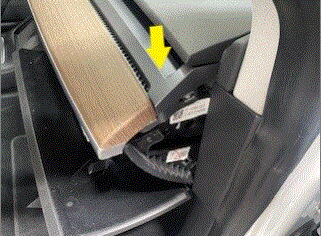 Courtesy of TESLA, INC. Courtesy of TESLA, INC.
|
- Install RH IP end cap
NOTE:
3x clips
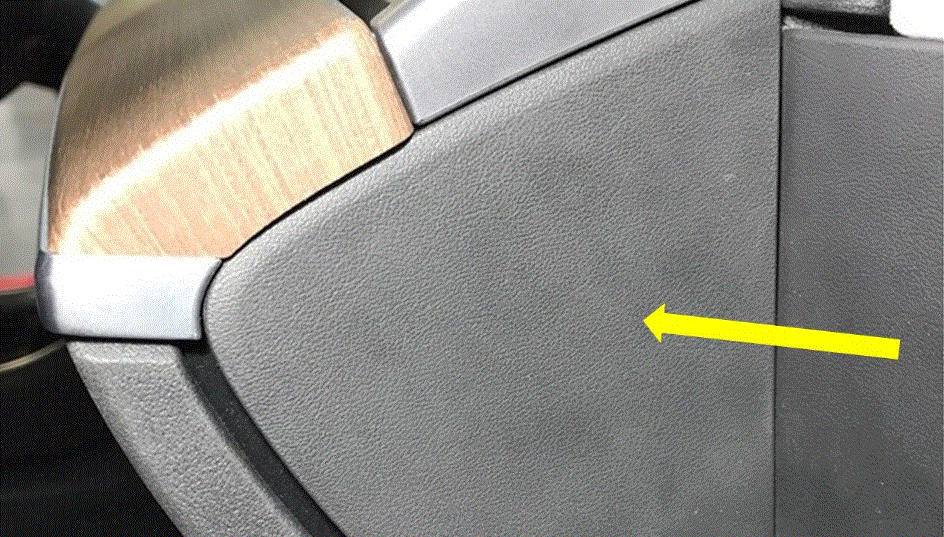 Courtesy of TESLA, INC. Courtesy of TESLA, INC.
|
- Install LH air wave bezel cap to main decor assembly
NOTE:
2x clips, Newer vehicles are equipped with solid bezel.
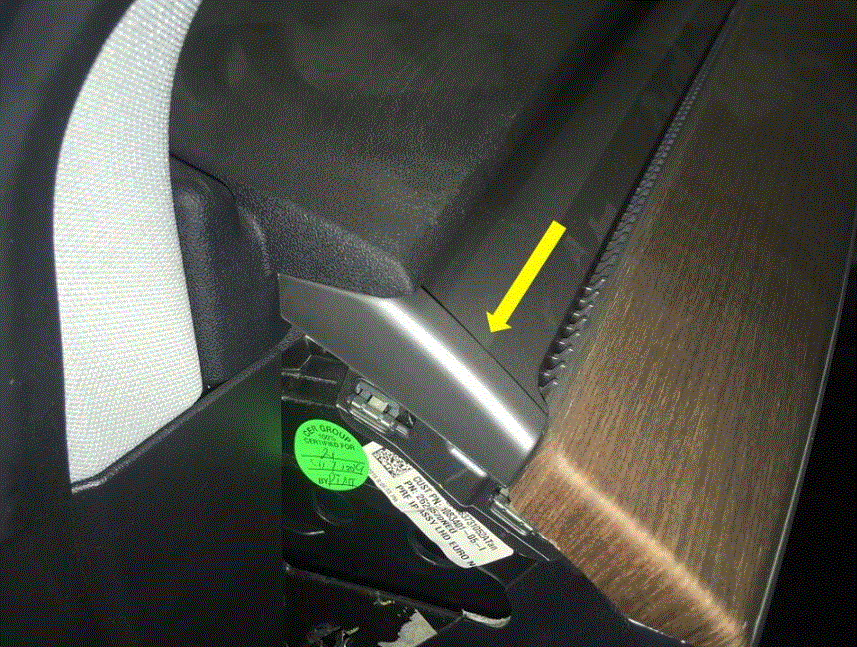 Courtesy of TESLA, INC. Courtesy of TESLA, INC.
|
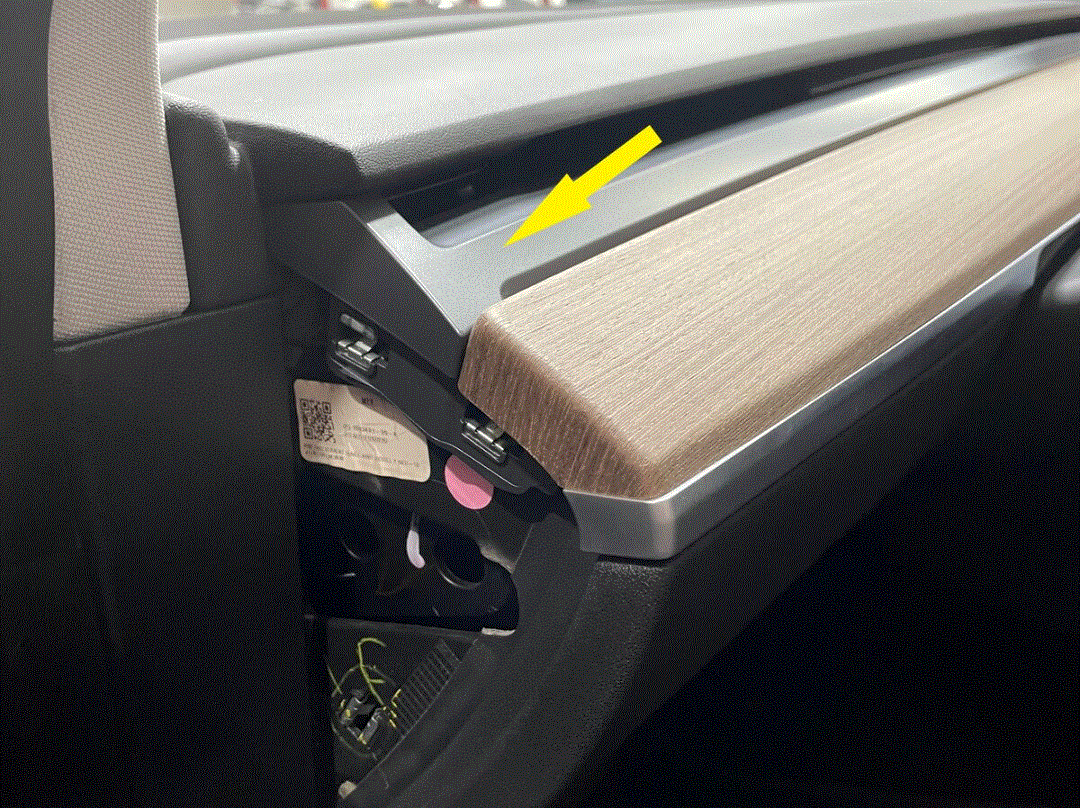 Courtesy of TESLA, INC. Courtesy of TESLA, INC.
|
- Install LH IP end cap
NOTE:
3x clips
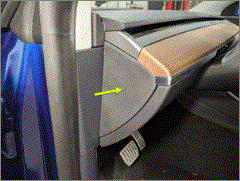 Courtesy of TESLA, INC. Courtesy of TESLA, INC.
|
- Connect first responder loop
NOTE:
1x connector, Engage locking tab, Connect FRL before connecting 12V to avoid damage to car computer
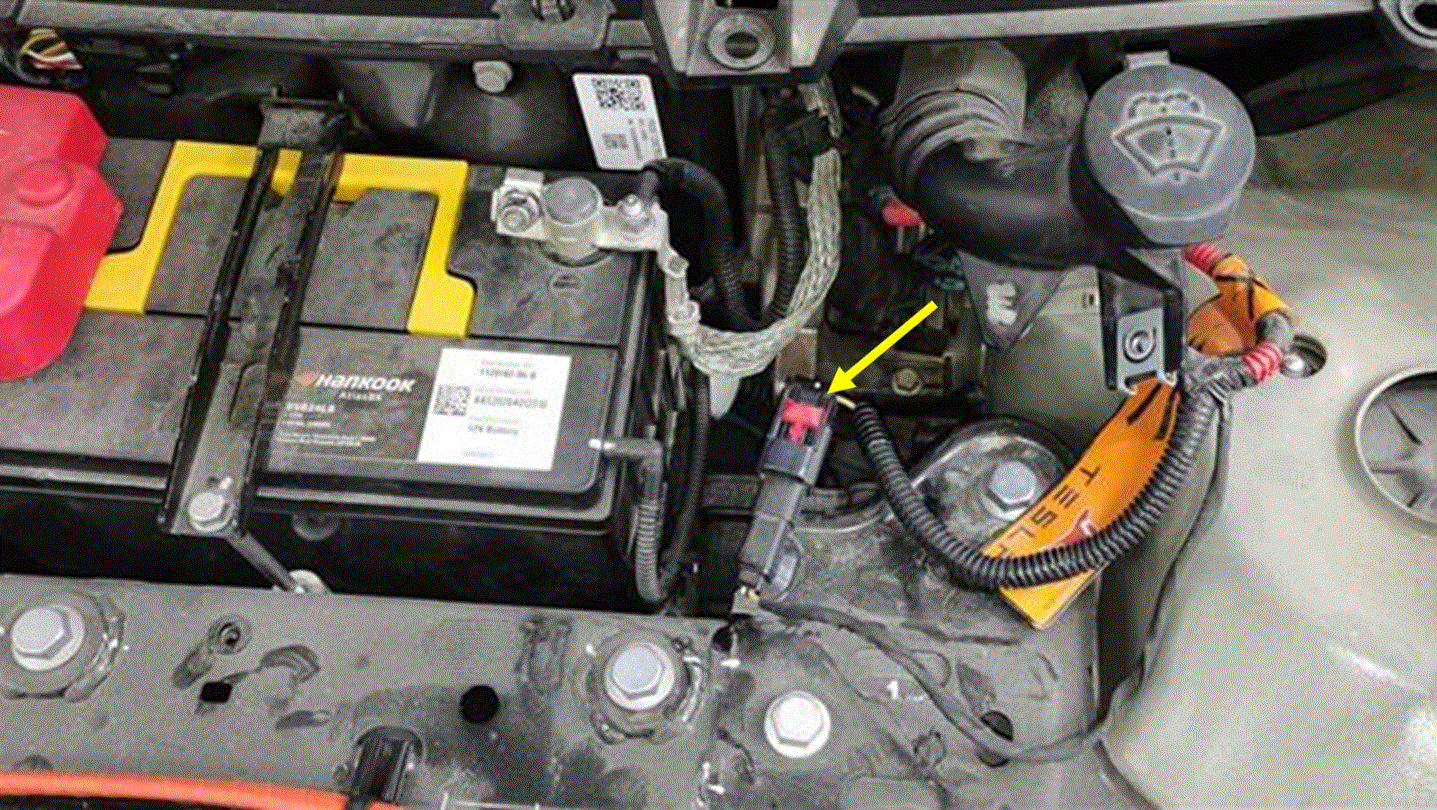 Courtesy of TESLA, INC. Courtesy of TESLA, INC.
|
- Connect 12V negative terminal
NOTE:
1x nut, 10mm, 6 N.m
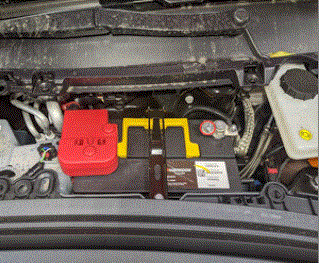 Courtesy of TESLA, INC. Courtesy of TESLA, INC.
|
- Install rear apron
NOTE:
12x clips
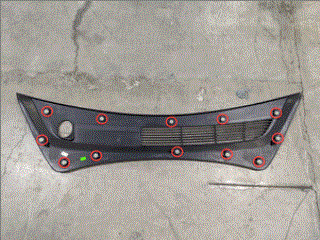 Courtesy of TESLA, INC. Courtesy of TESLA, INC.
|
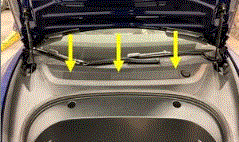 Courtesy of TESLA, INC. Courtesy of TESLA, INC.
|
- Close hood
 Courtesy of TESLA, INC. Courtesy of TESLA, INC.
|
- Move RH front seat to original position
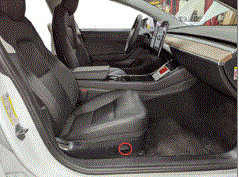 Courtesy of TESLA, INC. Courtesy of TESLA, INC.
|
- Raise LF and RF windows
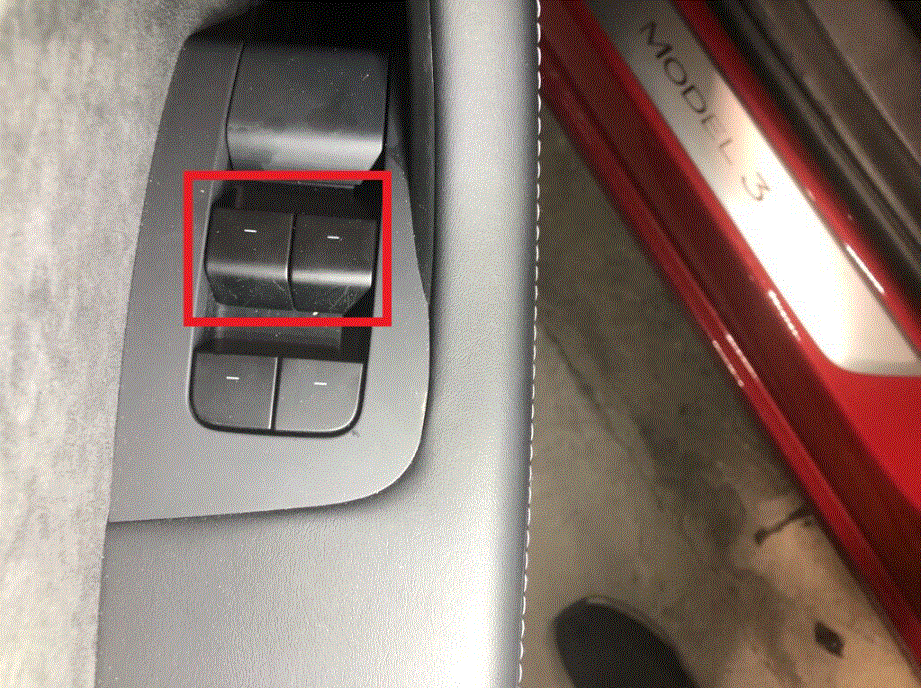 Courtesy of TESLA, INC. Courtesy of TESLA, INC.
|
- Close both front doors
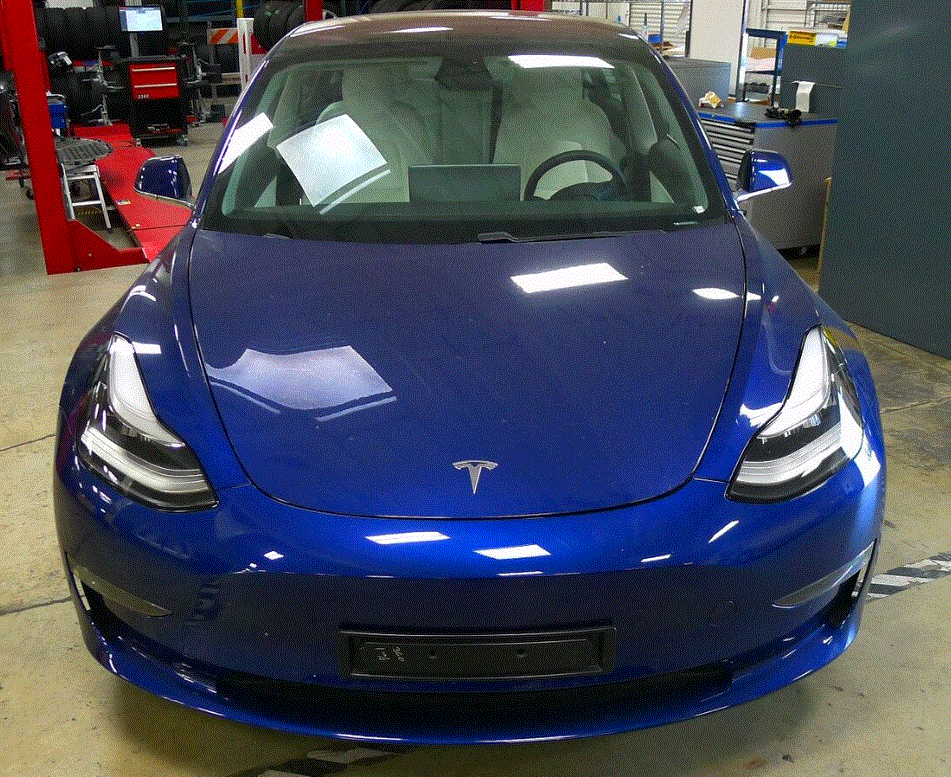 Courtesy of TESLA, INC. Courtesy of TESLA, INC.
|