- Using MCU, set suspension to very high and press, open hood.
- Exit vehicle and open hood.
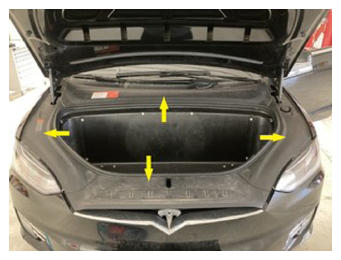
- Remove underhood aprons.
NOTE:
4x aprons.
 Courtesy of TESLA, INC. Courtesy of TESLA, INC.
|
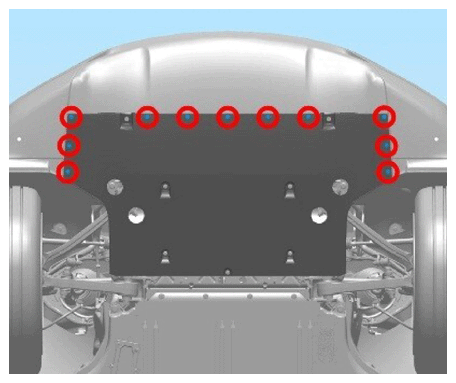
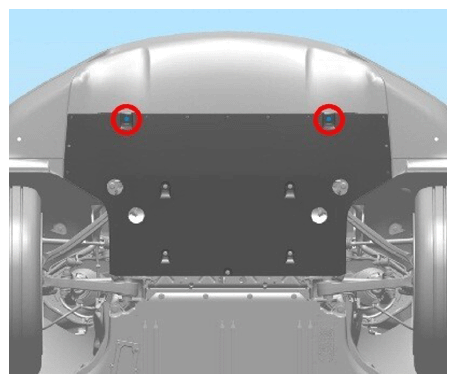
- Release fascia to lower front aero shield.
NOTE:
11x Push clips, 2x bolts, 10 mm, 3 N.m.
 Courtesy of TESLA, INC. Courtesy of TESLA, INC.
|
 Courtesy of TESLA, INC. Courtesy of TESLA, INC.
|
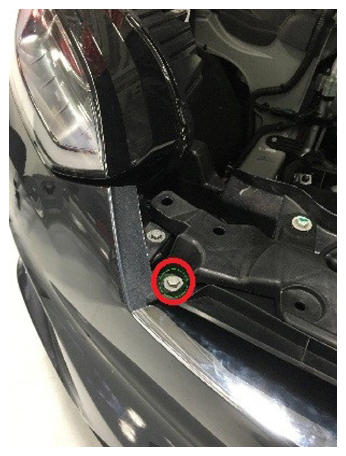
- Remove bolts securing fascia to upper grill.
NOTE:
2x bolts, 10 mm, 4 N.m.
 Courtesy of TESLA, INC. Courtesy of TESLA, INC.
|
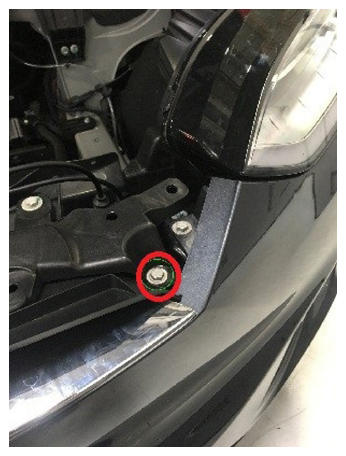 Courtesy of TESLA, INC. Courtesy of TESLA, INC.
|
- Remove the front T badge.
NOTE:
2x bolts, T25, 5 N.m, Done to prevent scratching of the front fascia chrome trim.
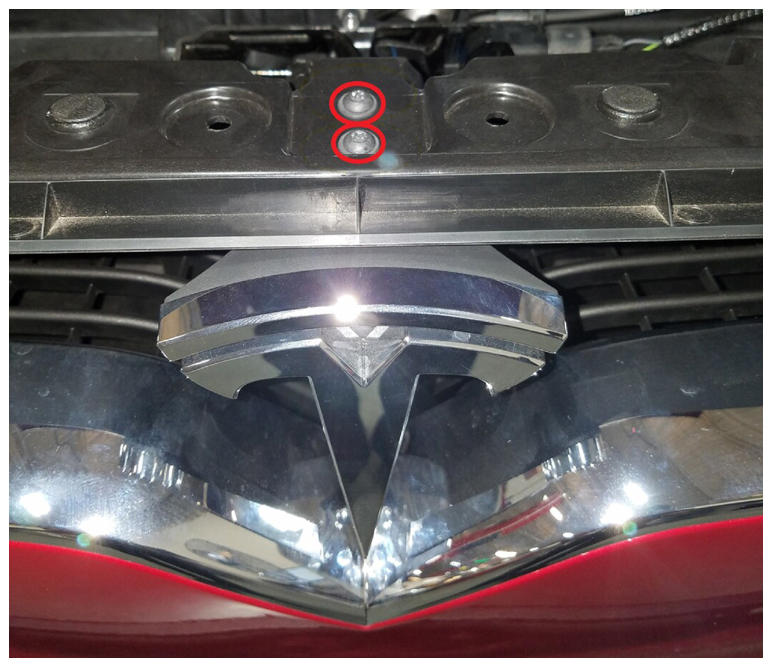 Courtesy of TESLA, INC. Courtesy of TESLA, INC.
|
- Turn wheel fully to the right, to gain access to LF wheel liner clips.
- Remove front side of wheel liner to gain access to garnish bolts.
NOTE:
4x Push clips.
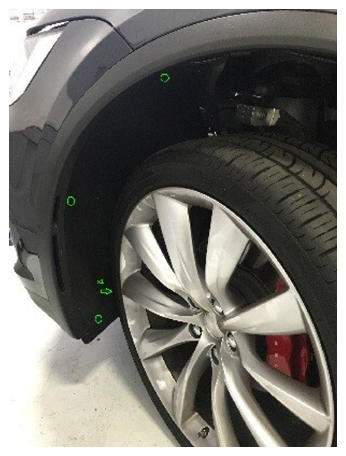 Courtesy of TESLA, INC. Courtesy of TESLA, INC.
|
- Release the LH lower front of fender garnish.
NOTE:
1x Push clips, 2x bolts, 10 mm, 1.5 N.m.
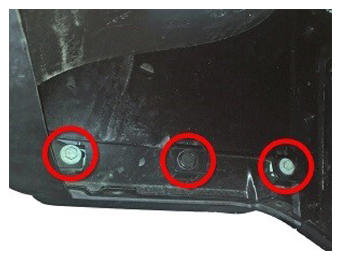 Courtesy of TESLA, INC. Courtesy of TESLA, INC.
|
- Starting from the rear, carefully pull the LH fender garnish away from the vehicle.
NOTE:
5x Heart flex clips, 1x connector.
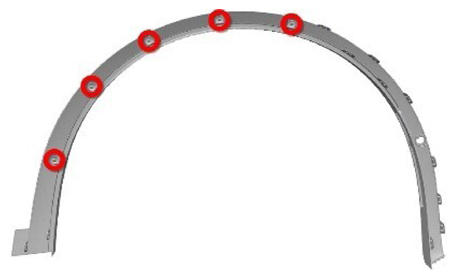 Courtesy of TESLA, INC. Courtesy of TESLA, INC.
|
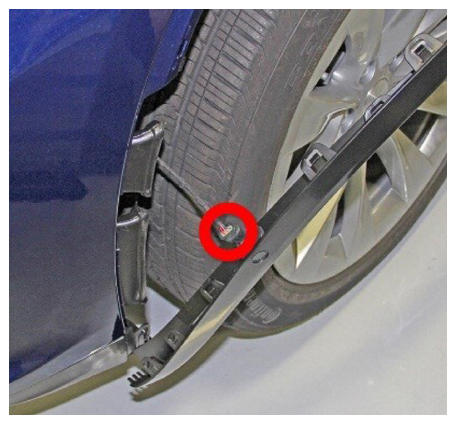 Courtesy of TESLA, INC. Courtesy of TESLA, INC.
|
- Remove the screw that secures fascia to LF fender.
NOTE:
1x screw, T25, 1.5 N.m.
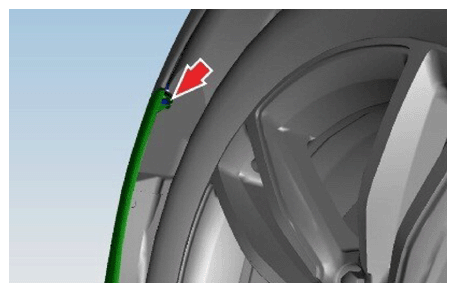 Courtesy of TESLA, INC. Courtesy of TESLA, INC.
|
- Pull LH fascia away from fender.
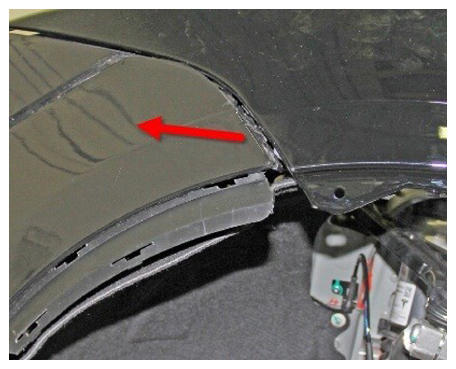 Courtesy of TESLA, INC. Courtesy of TESLA, INC.
|
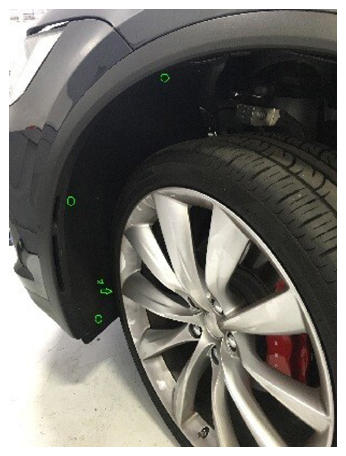
- Turn wheel fully to the left, to gain access to RF wheel liner clips.
- Remove front side of RF wheel liner to access garnish bolts.
NOTE:
4x Push clip.
 Courtesy of TESLA, INC. Courtesy of TESLA, INC.
|
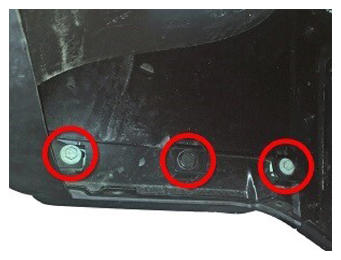
- Release the RH lower front of fender garnish.
NOTE:
1x Push clips, 2x bolts, 10 mm, 1.5 N.m.
 Courtesy of TESLA, INC. Courtesy of TESLA, INC.
|
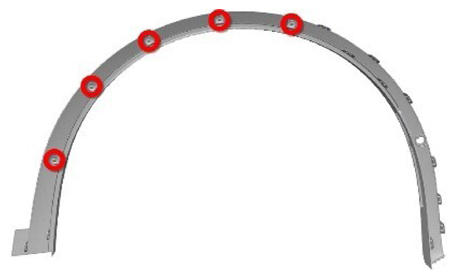
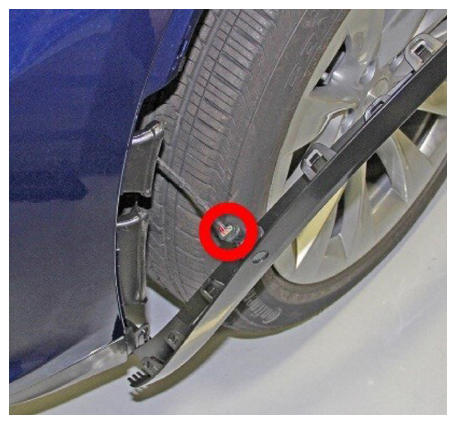
- Starting from the rear, carefully pull the RH fender garnish away from the vehicle to release.
NOTE:
5x Heart flex clips, 1x locking connection.
 Courtesy of TESLA, INC. Courtesy of TESLA, INC.
|
 Courtesy of TESLA, INC. Courtesy of TESLA, INC.
|
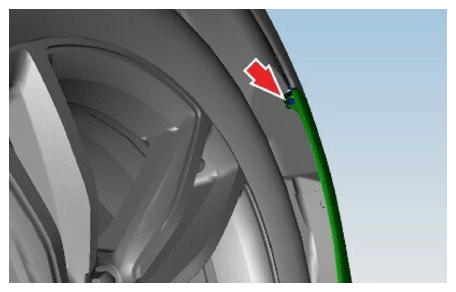
- Remove the screw that secures fascia to RF fender.
NOTE:
1x screw, T25, 1.5 N.m.
 Courtesy of TESLA, INC. Courtesy of TESLA, INC.
|
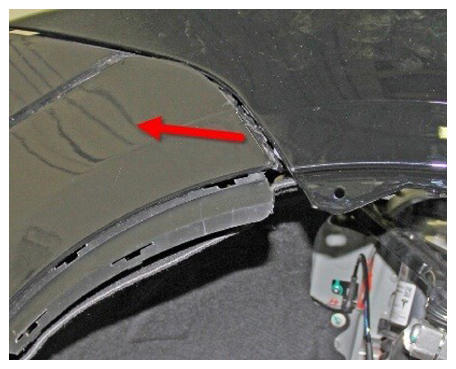
- Pull RH fascia away from fender.
 Courtesy of TESLA, INC. Courtesy of TESLA, INC.
|
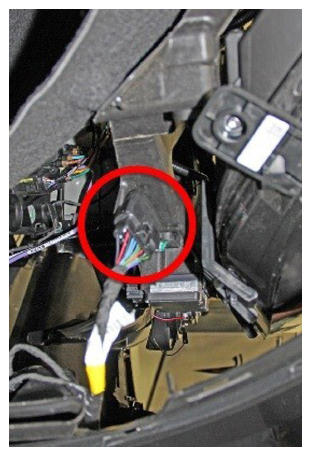
- Remove fascia by starting on the LH side of the vehicle, release the clips that secure the front fascia by pulling the fascia up and away from the vehicle.
NOTE:
1x Fascia harness connection, Recommend assistance to hold fascia in place while releasing connection to prevent damage.
 Courtesy of TESLA, INC. Courtesy of TESLA, INC.
|
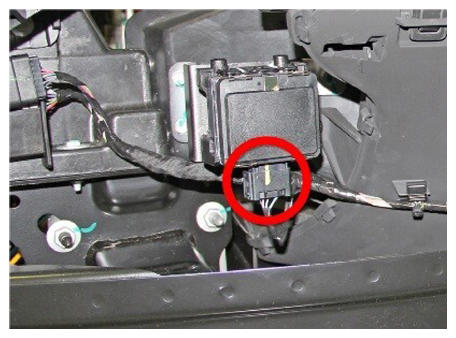
- Disconnect the radar sensor.
NOTE:
1x connector, squeeze lock tabs on both sides of the connector and pull straight down.
 Courtesy of TESLA, INC. Courtesy of TESLA, INC.
|
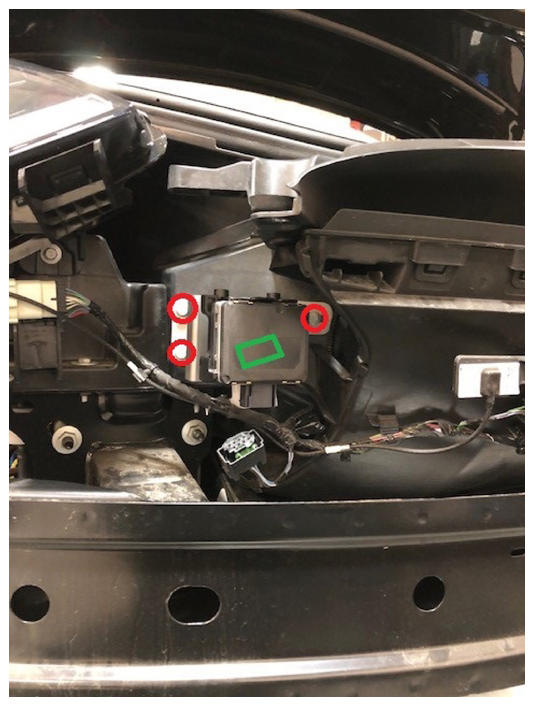
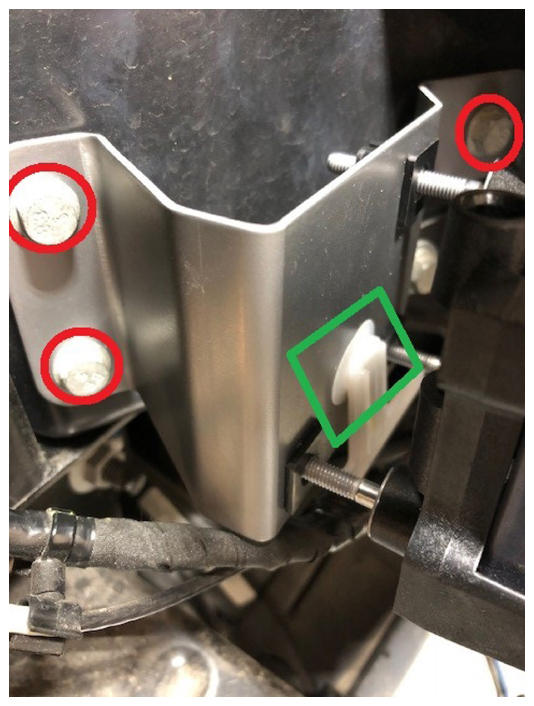
- Remove the radar support bracket from the front of the vehicle.
NOTE:
1x Wire harness attachment clip, 3x bolts, 10 mm, 6.5 N.m.
 Courtesy of TESLA, INC. Courtesy of TESLA, INC.
|
 Courtesy of TESLA, INC. Courtesy of TESLA, INC.
|
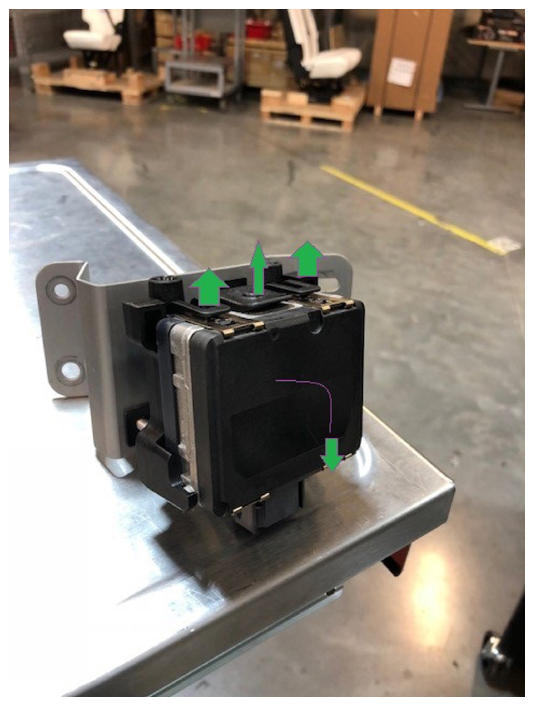
- Gently pry up the tabs on the top of the radar bracket. Gently release the radar sensor forward from the bracket.
 Courtesy of TESLA, INC. Courtesy of TESLA, INC.
|