- Open the LH front door and lower the LH front window.
- Use the touchscreen to clear DAS Calibration. Wait for the prompt to automatically disappear before continuing.
NOTE:
Controls > Service > Camera Calibration > Clear Calibration
NOTE:
Verify the calibration was cleared successfully.
NOTE:
"Calibration in Progress" message and progress icon will appear during the next drive cycle.
- Remove the lower quad camera cover. See QUAD CAMERA COVER - LOWER - REMOVE AND REPLACE
.
- Remove the rear view mirror. See MIRROR - REAR VIEW - REMOVE AND REPLACE
- Remove the triple camera hood. See HOOD - TRIPLE CAMERA (REMOVE AND REPLACE)
- Disconnect the electrical harness from the occupant camera on the inside of the upper quad camera cover, and then remove the camera cover from the vehicle..
- Remove the screws (x4) that attach the triple camera assembly to the windshield bracket, and then release the assembly from the bracket.
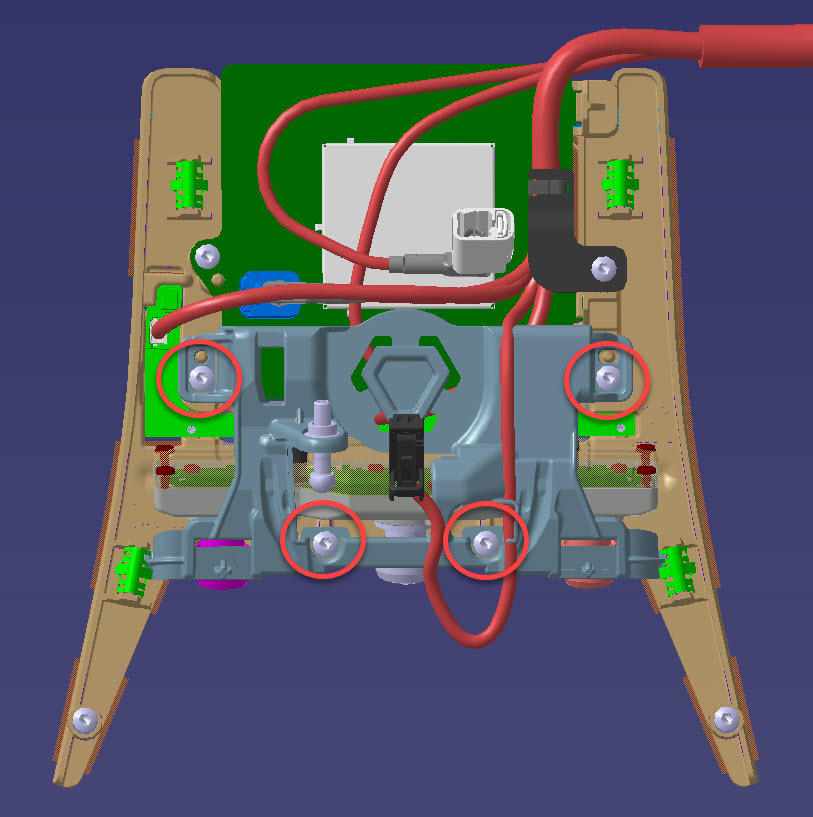 Courtesy of TESLA, INC. Courtesy of TESLA, INC.
|
- Disconnect the electrical connector from the humidity and temperature sensor.
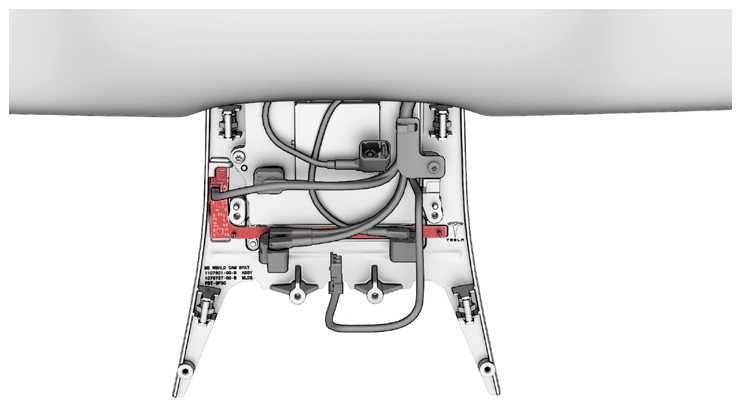 Courtesy of TESLA, INC. Courtesy of TESLA, INC.
|
- Use a PH00 (Phillips #00) screwdriver to remove the screws (x2) that attach the humidity and temperature sensor to the windshield bracket.
NOTE:
Use the correct screwdriver to remove the screws, otherwise it might strip the screw heads.
NOTE:
The screws are tiny, make sure not to misplace them.
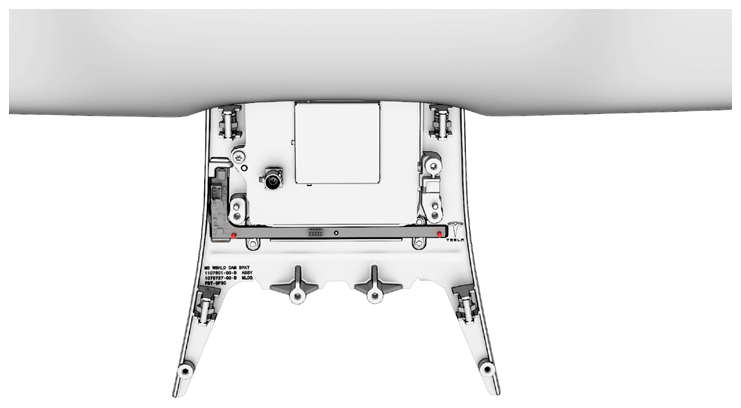 Courtesy of TESLA, INC. Courtesy of TESLA, INC.
|
- Remove the relative humidity and temperature sensor from the windshield bracket.
NOTE:
Angle the sensor circuit board up and over the plastic alignment pin, and then move the sensor circuit board upwards to clear the pin.
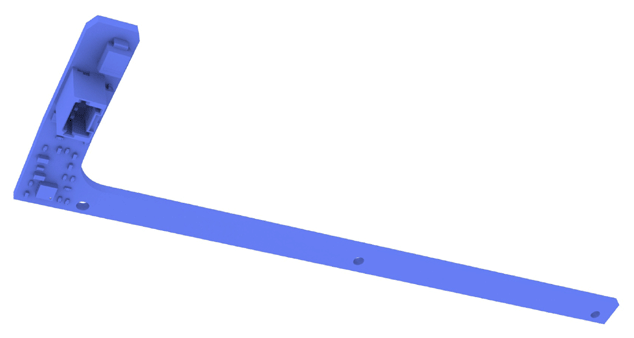 Courtesy of TESLA, INC. Courtesy of TESLA, INC.
|