- Remove the parking distance sensor from the fascia. See:
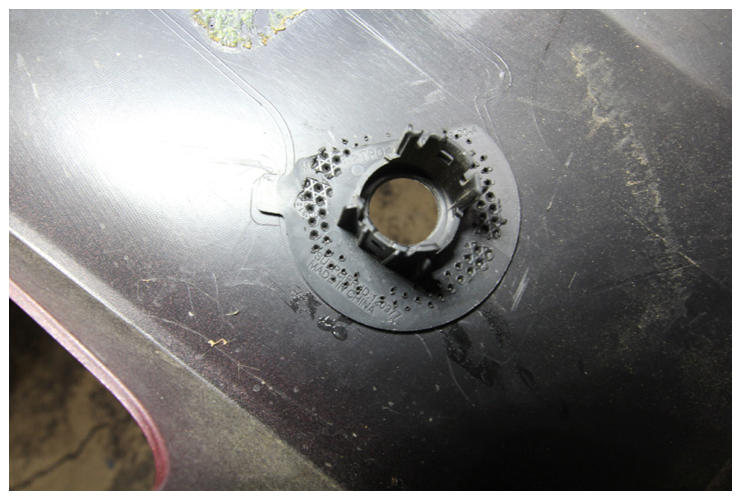
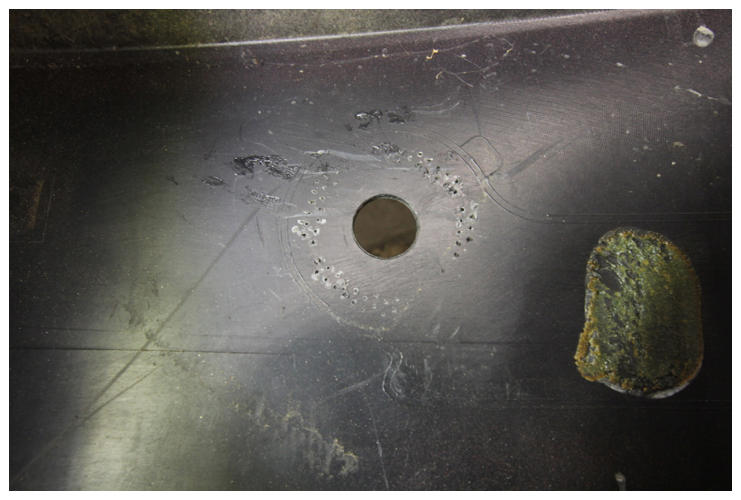
- Remove the parking distance sensor retainer.
NOTE:
Take note of the original installation position of the retainer. Mark with a paint pen, if necessary.
NOTE:
The shape of the parking distance sensor retainer will vary slightly depending on location.
NOTE:
Use of the following tools is recommended:
- Flathead screwdriver
- Needle nose pliers
- Portable stand
 Courtesy of TESLA, INC. Courtesy of TESLA, INC.
|
 Courtesy of TESLA, INC. Courtesy of TESLA, INC.
|
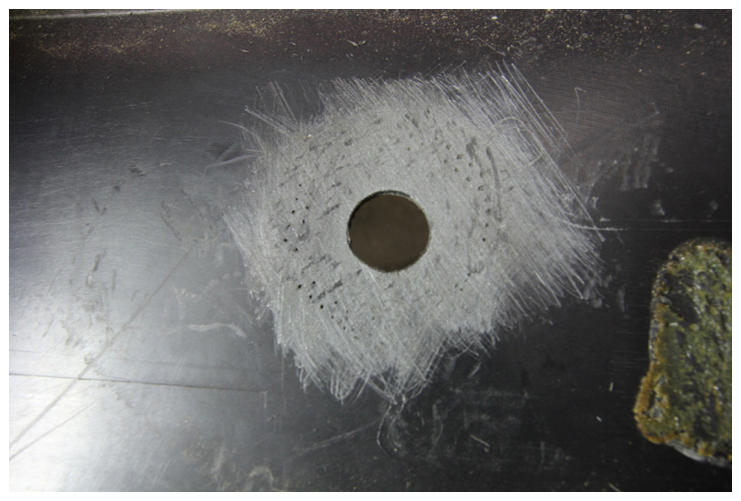
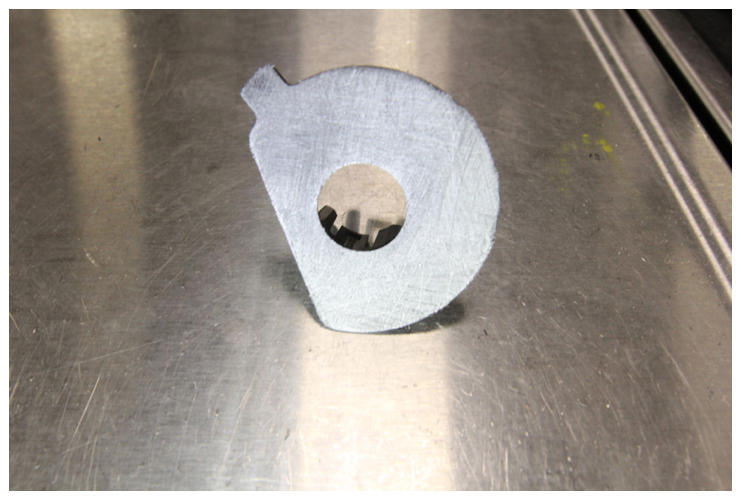
- Sand down the areas of installation on the fascia and the new retainer.
 Courtesy of TESLA, INC. Courtesy of TESLA, INC.
|
 Courtesy of TESLA, INC. Courtesy of TESLA, INC.
|
- Test fit the new retainer with the parking distance sensor installed. Mark the position to aid with the installation.
NOTE:
Position the retainer so that the parking distance sensor is centered to the fascia. If the retainer is installed incorrectly, the sensor will not fit.
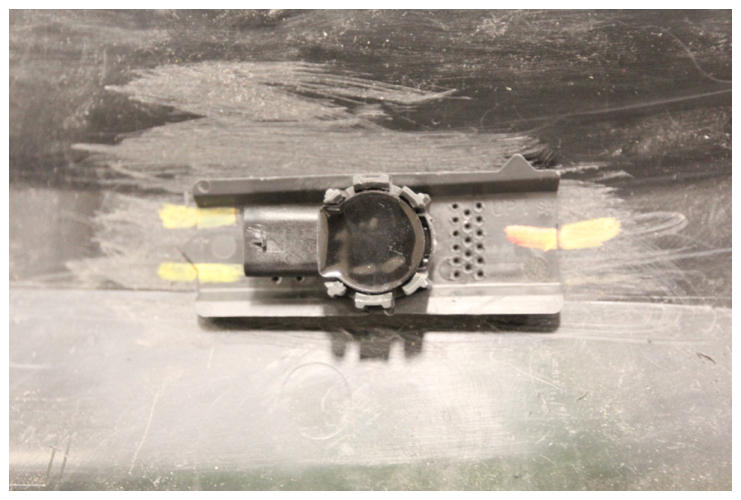 Courtesy of TESLA, INC. Courtesy of TESLA, INC.
|
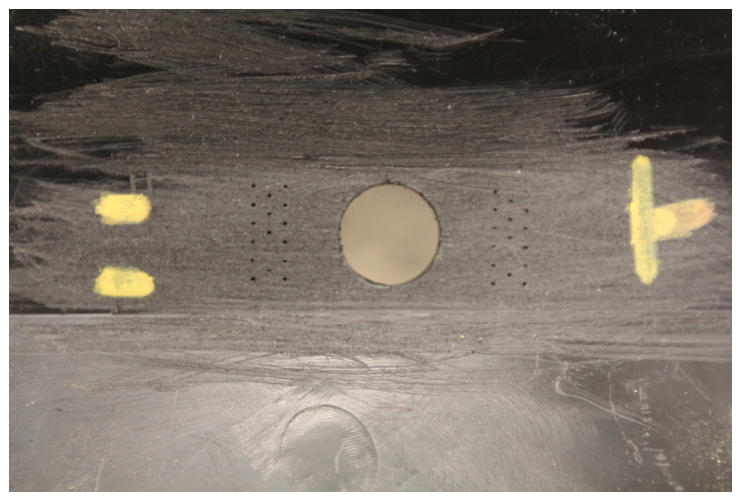 Courtesy of TESLA, INC. Courtesy of TESLA, INC.
|
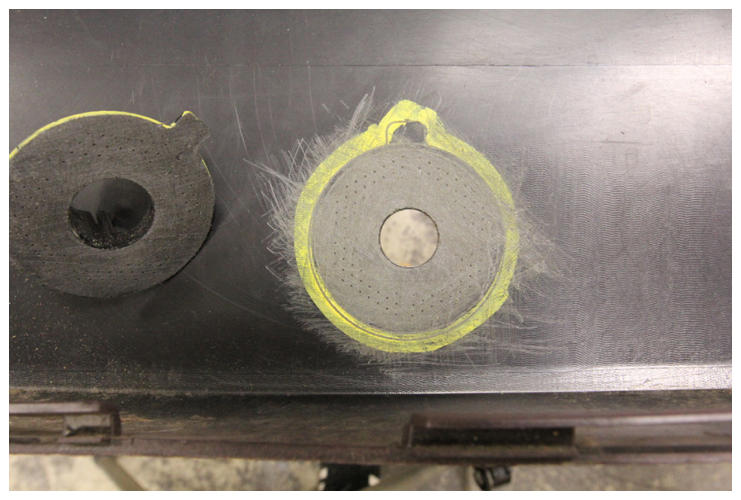 Courtesy of TESLA, INC. Courtesy of TESLA, INC.
|
- Clean the installation areas of the fascia and retainer with an Isopropyl Alcohol (IPA) wipe.
NOTE:
Allow 1 minute for surfaces to dry before continuing.
- Prepare and mix the 3M 810 Acrylic adhesive/Scotch weld applicator (1458055-00-A).
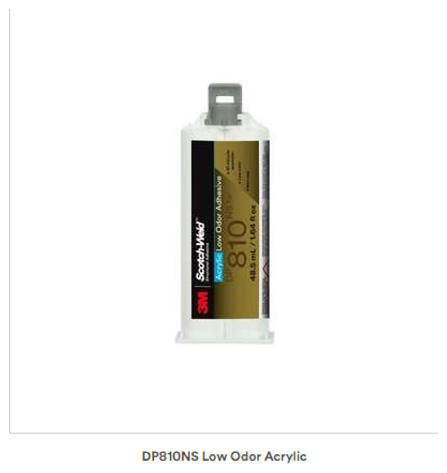 Courtesy of TESLA, INC. Courtesy of TESLA, INC.
|
- Apply the 3M 810 Acrylic adhesive to the installation area.
CAUTION:
Avoid putting excess adhesive.
CAUTION:
Apply carefully and do not allow the adhesive to seep into the center of the retainer where the sensor will seat.
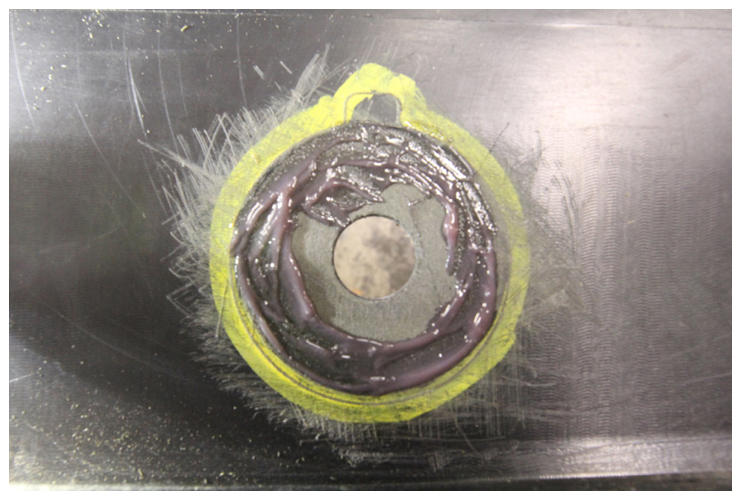 Courtesy of TESLA, INC. Courtesy of TESLA, INC.
|
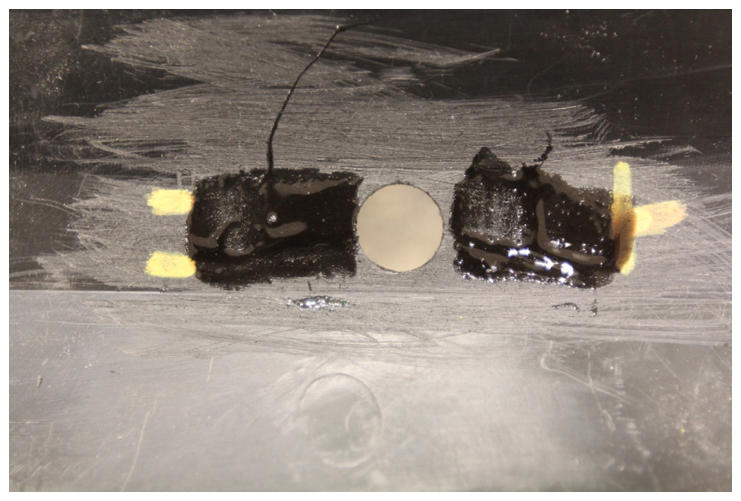 Courtesy of TESLA, INC. Courtesy of TESLA, INC.
|
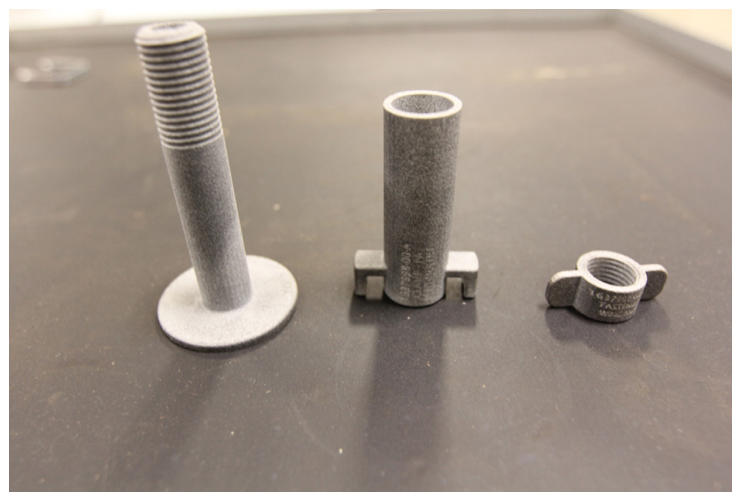
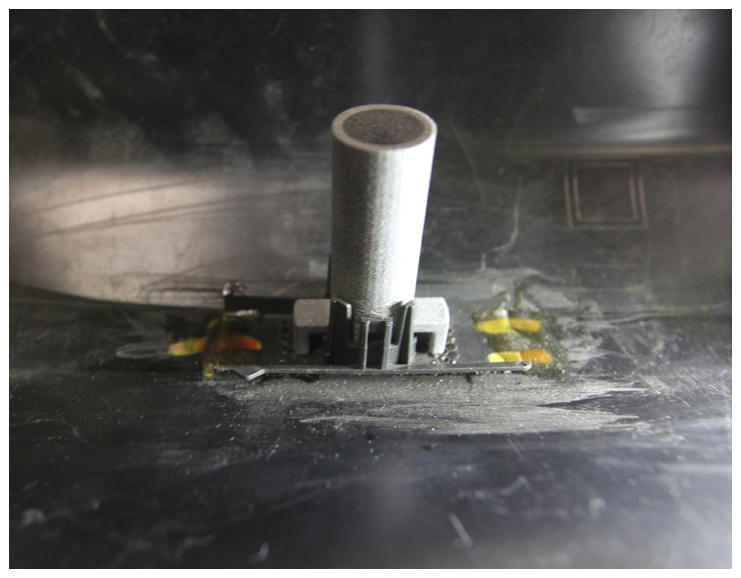
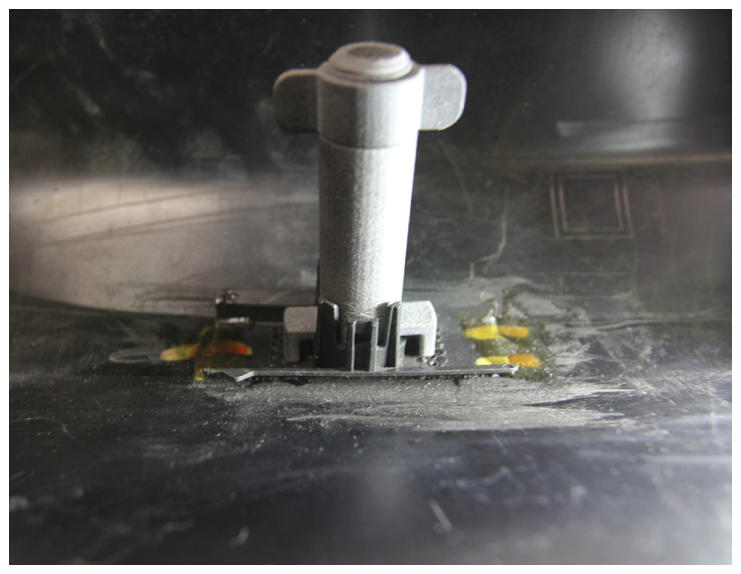
- Install the retainer and secure the fixture tool (Parking Sensor Retainer Kit 1638000-00-A).
CAUTION:
Prevent adhesive from entering the center hole of the retainer.
CAUTION:
Clean off any residue that may enter with an IPA wipe. Otherwise, the parking distance sensor will not seat properly.
NOTE:
Install the fixture tool to secure the retainer while adhesive cures.
NOTE:
The fixture tool is self centering.
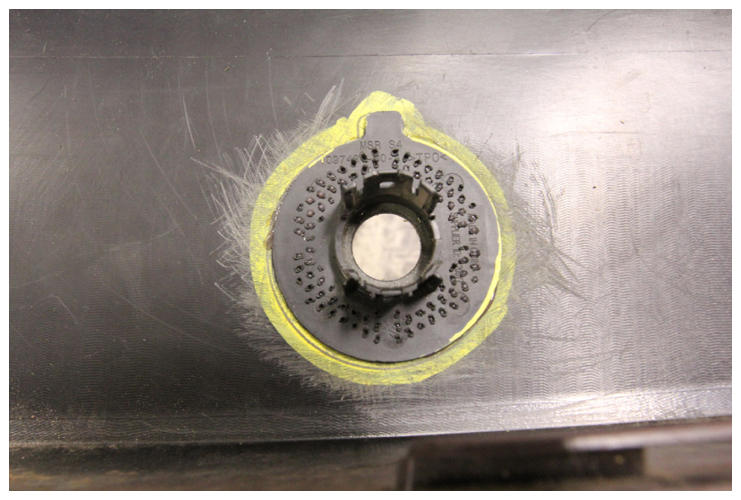 Courtesy of TESLA, INC. Courtesy of TESLA, INC.
|
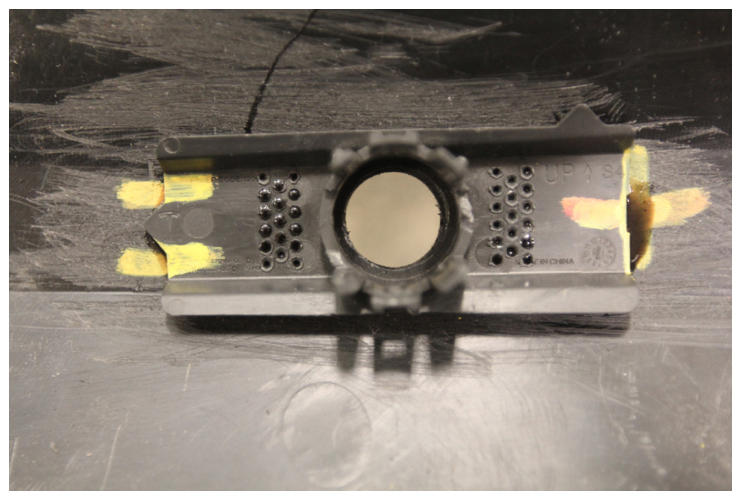 Courtesy of TESLA, INC. Courtesy of TESLA, INC.
|
 Courtesy of TESLA, INC. Courtesy of TESLA, INC.
|
 Courtesy of TESLA, INC. Courtesy of TESLA, INC.
|
 Courtesy of TESLA, INC. Courtesy of TESLA, INC.
|
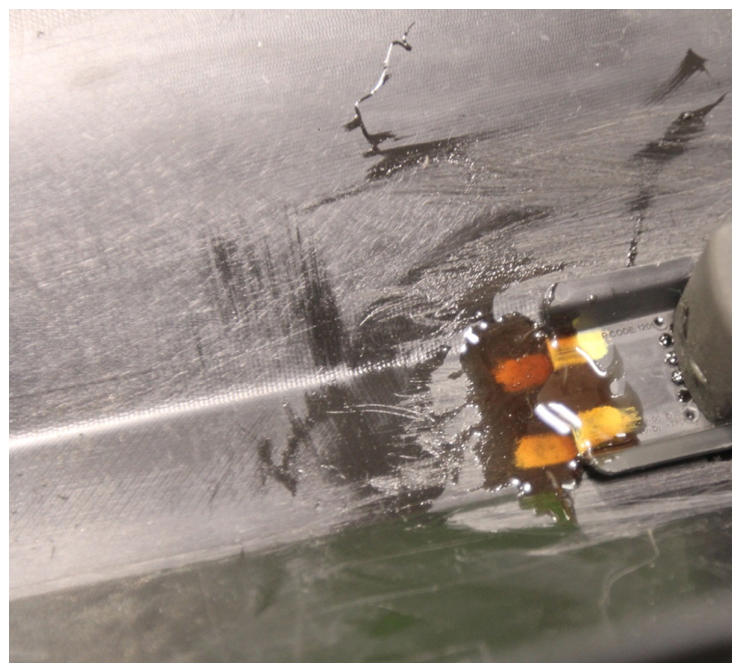
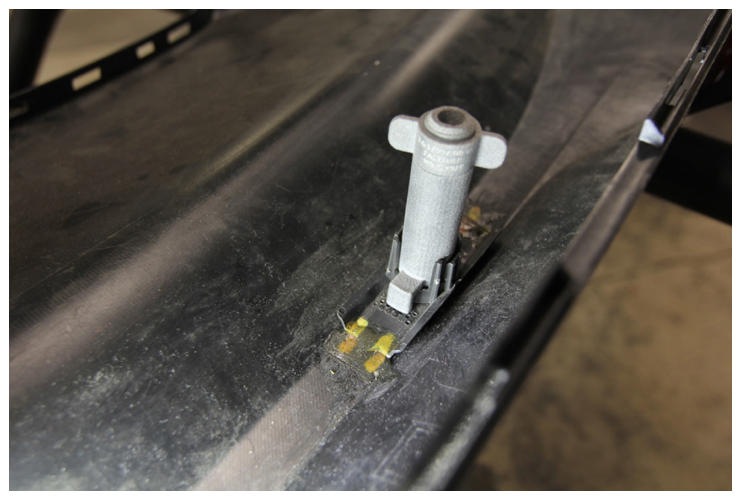
- Apply additional adhesive to the outer edge of the retainer.
 Courtesy of TESLA, INC. Courtesy of TESLA, INC.
|
 Courtesy of TESLA, INC. Courtesy of TESLA, INC.
|
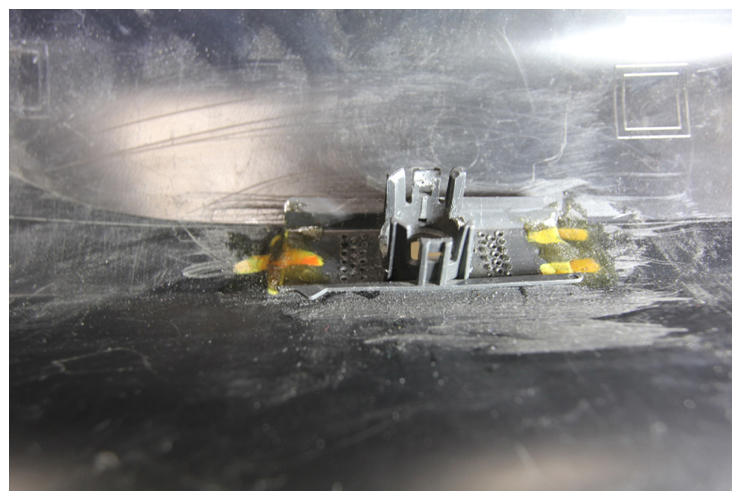
- Allow 20 minutes for adhesive to reach handling strength.
- Remove the retainer fixture tool.
 Courtesy of TESLA, INC. Courtesy of TESLA, INC.
|
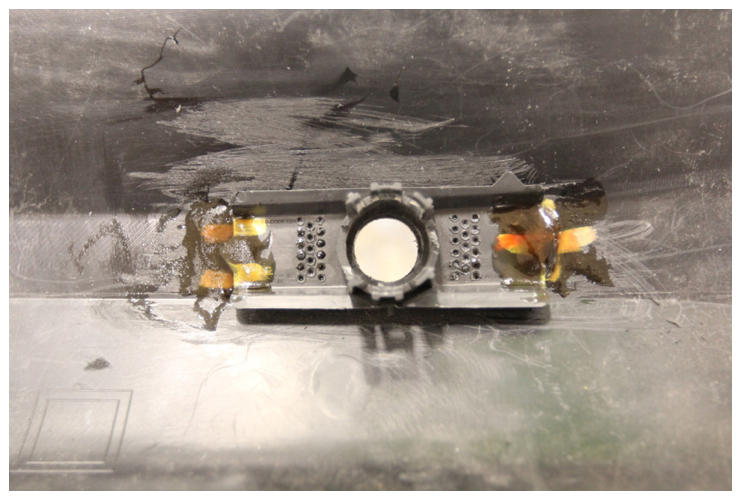
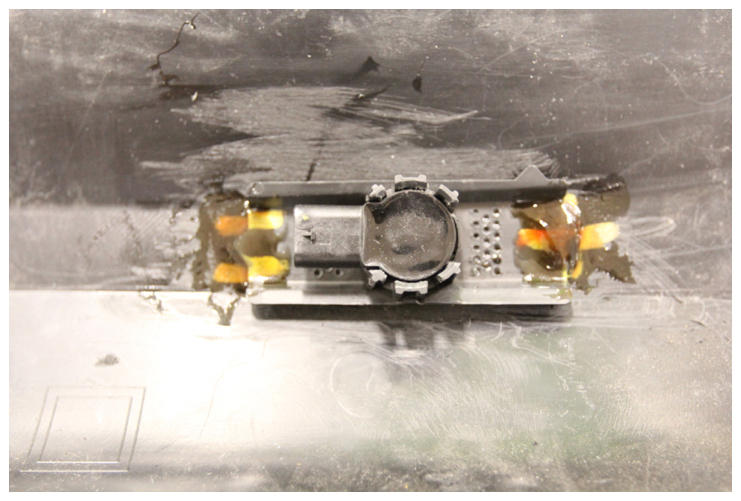
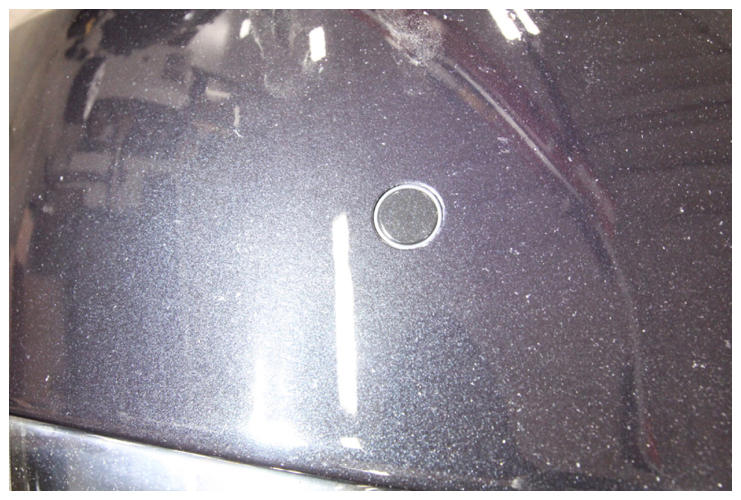
- Install the parking distance sensor from the fascia. See:
 Courtesy of TESLA, INC. Courtesy of TESLA, INC.
|
 Courtesy of TESLA, INC. Courtesy of TESLA, INC.
|
 Courtesy of TESLA, INC. Courtesy of TESLA, INC.
|