- Use IPA wipes to clean the LH rear door secondary seal installation path.
NOTE:
Allow 1 minute of dry time.
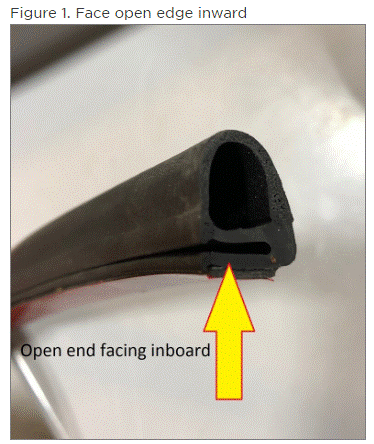
- Peel a short section of seal backing and insert the end of the seal into the rear of the inner belt seal.
NOTE:
Do not stretch the seal as it is applied to the door.
 Courtesy of TESLA, INC. Courtesy of TESLA, INC.
|
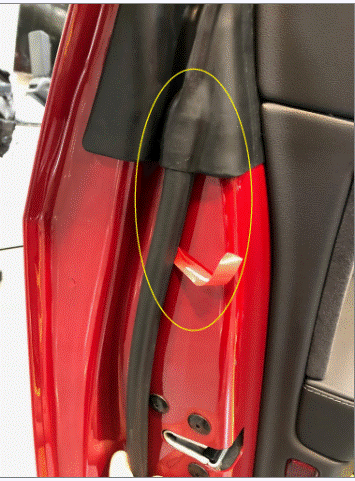
- Peel the seal backing and carefully position the edge of the seal to the edge of the marking tape while working around the rear door.
- Insert the end of the seal into the front of the inner belt seal.
NOTE:
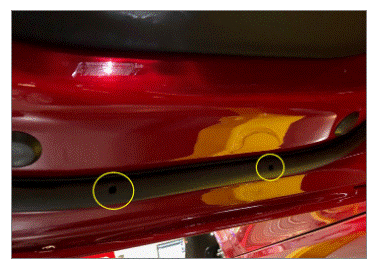
Make sure the drain holes on the seal are at the bottom of the door.
 Courtesy of TESLA, INC. Courtesy of TESLA, INC.
|
 Courtesy of TESLA, INC. Courtesy of TESLA, INC.
|
- Use a seam roller to attach the seal to the rear door.
- Remove the marking tape from the rear door.
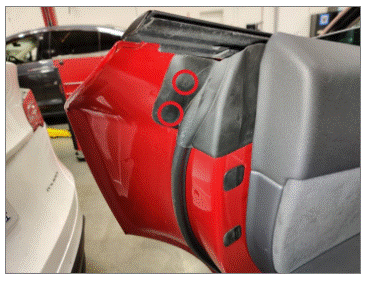
- Install the LH rear glass run seal clips (x4) to fully access the LH rear door secondary seal.
 Courtesy of TESLA, INC. Courtesy of TESLA, INC.
|
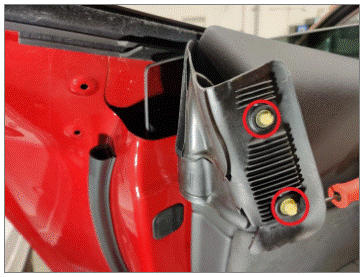 Courtesy of TESLA, INC. Courtesy of TESLA, INC.
|
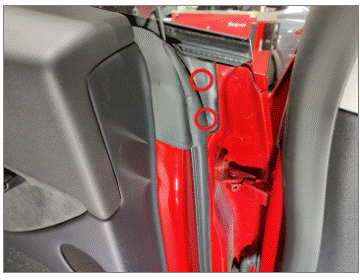 Courtesy of TESLA, INC. Courtesy of TESLA, INC.
|
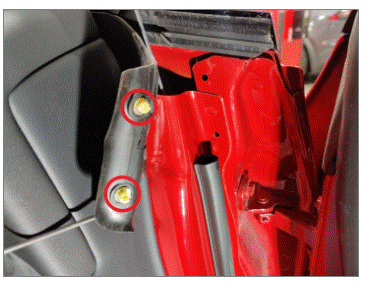 Courtesy of TESLA, INC. Courtesy of TESLA, INC.
|