Trailer Hitch - Rear Energy Absorber - Retrofit: Install
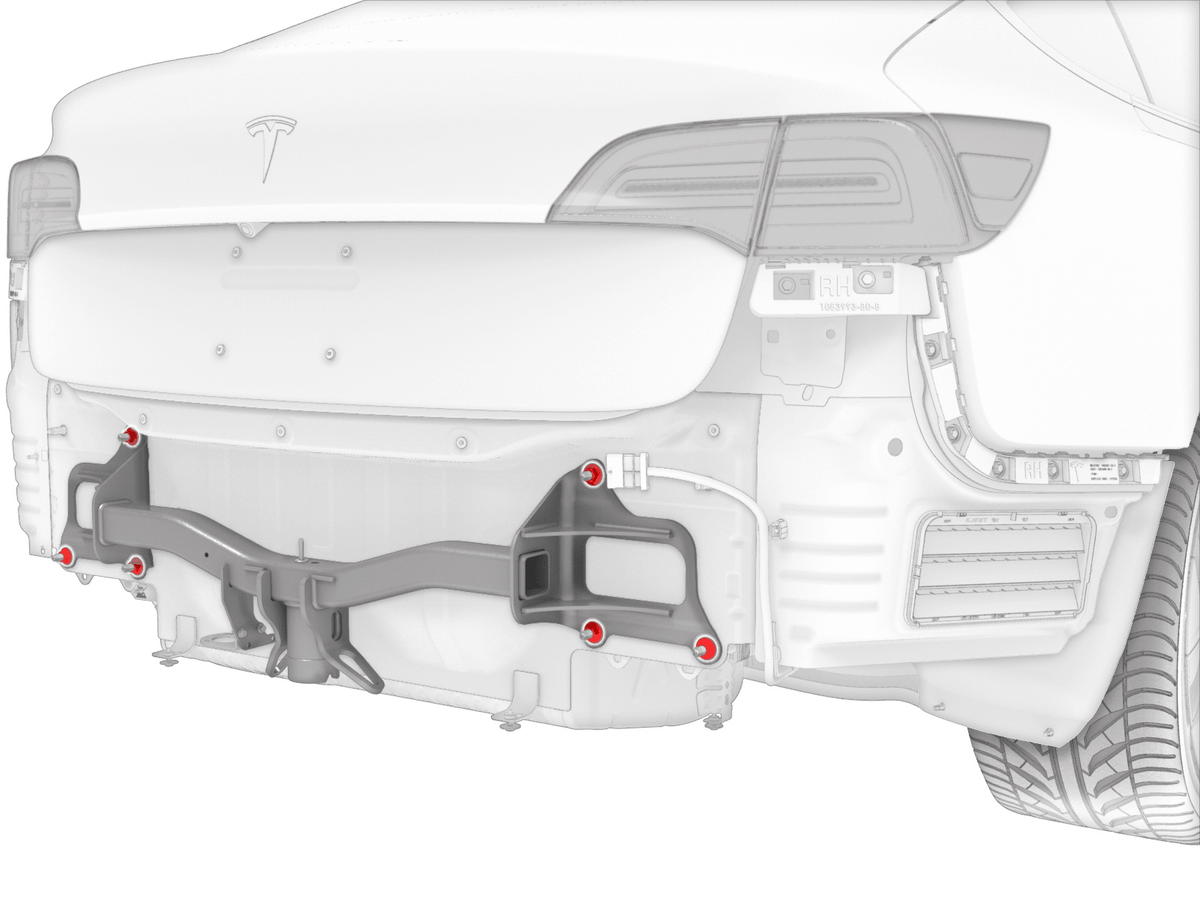
- Install the trailer hitch onto the vehicle and secure the LH and RH fasteners.
 Courtesy of TESLA, INC. Courtesy of TESLA, INC.
|
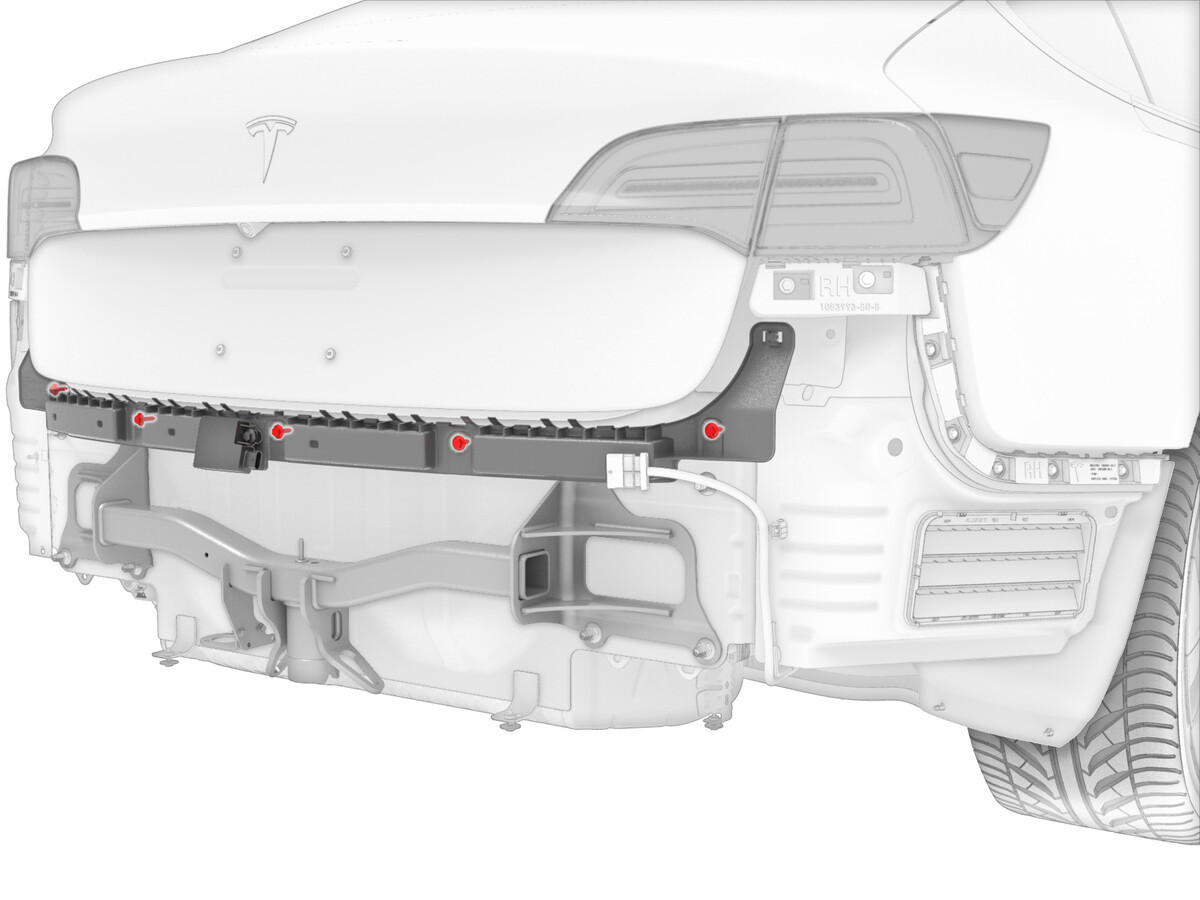
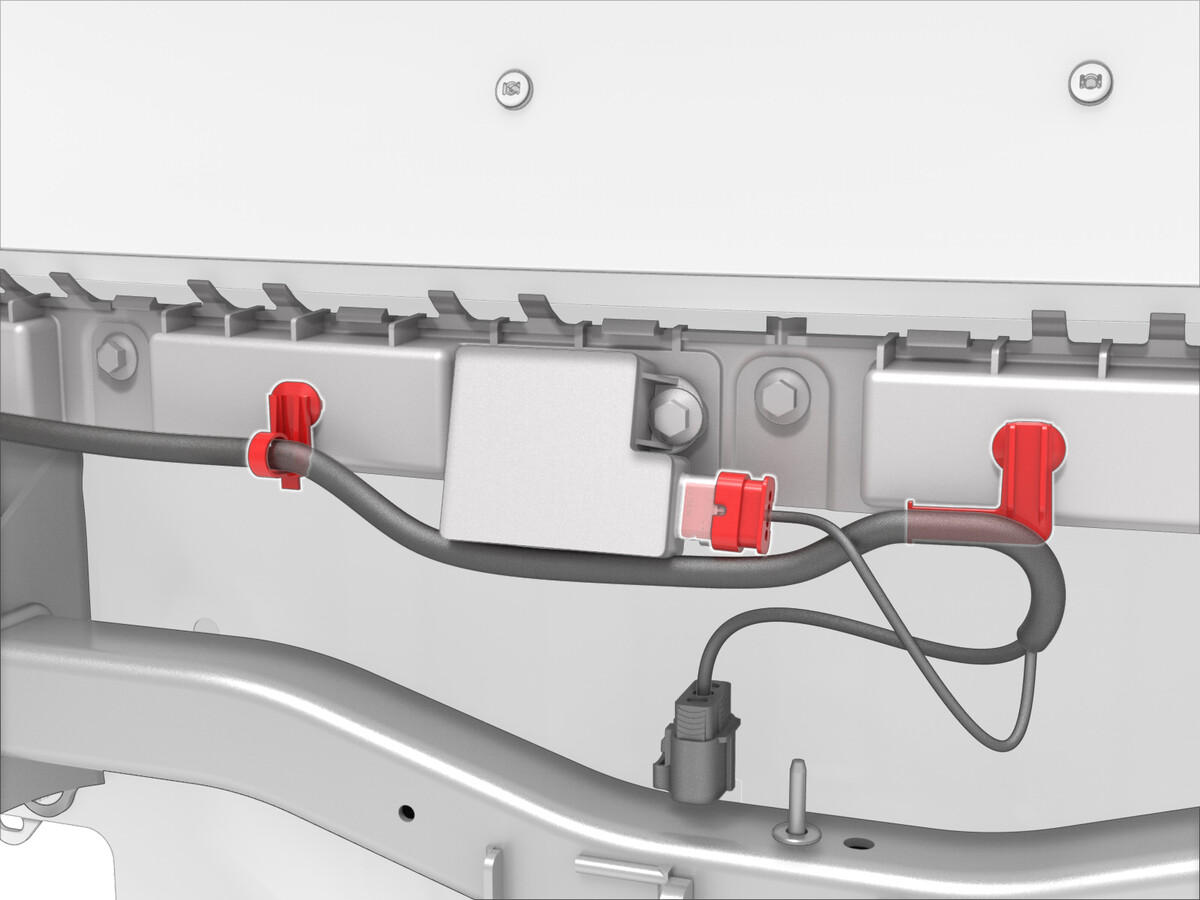
- Install the rear center bracket assembly, connect the rear BLE and fasten the rear center bracket harness clips.
 Courtesy of TESLA, INC. Courtesy of TESLA, INC.
|
 Courtesy of TESLA, INC. Courtesy of TESLA, INC.
|
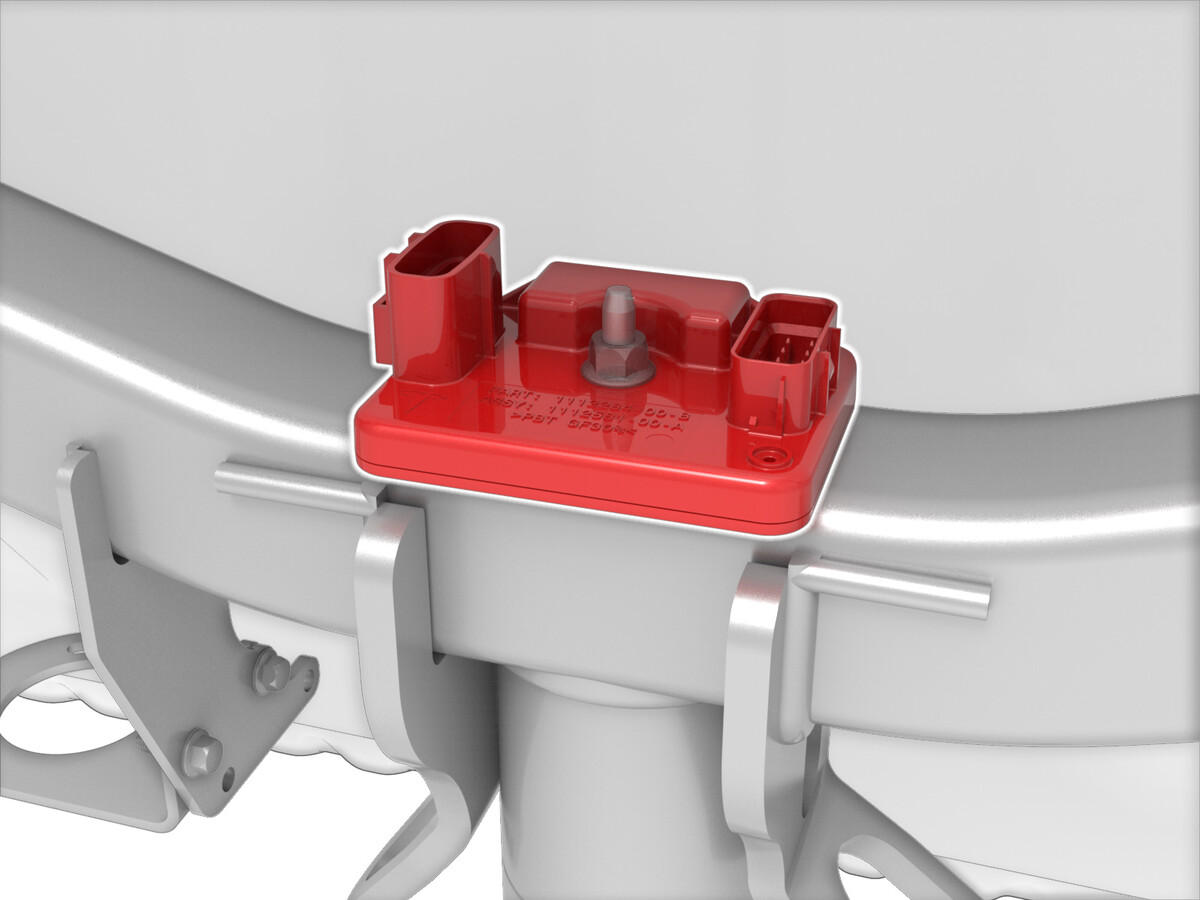
- Install the trailer hitch ECU.
 Courtesy of TESLA, INC. Courtesy of TESLA, INC.
|
- Connect trailer hitch ECU to vehicle.
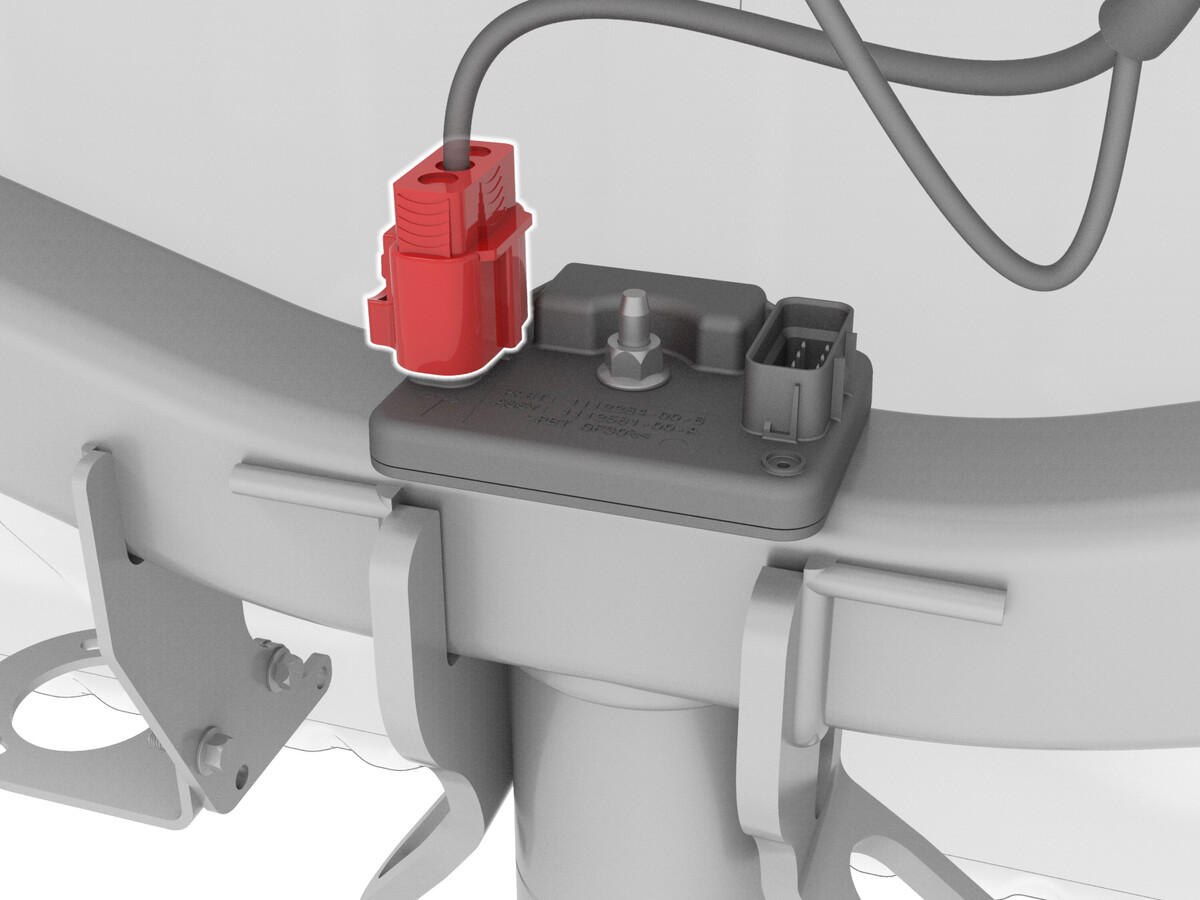 Courtesy of TESLA, INC. Courtesy of TESLA, INC.
|
- Feed trailer jumper harness through bracket and connect to trailer hitch ECU.
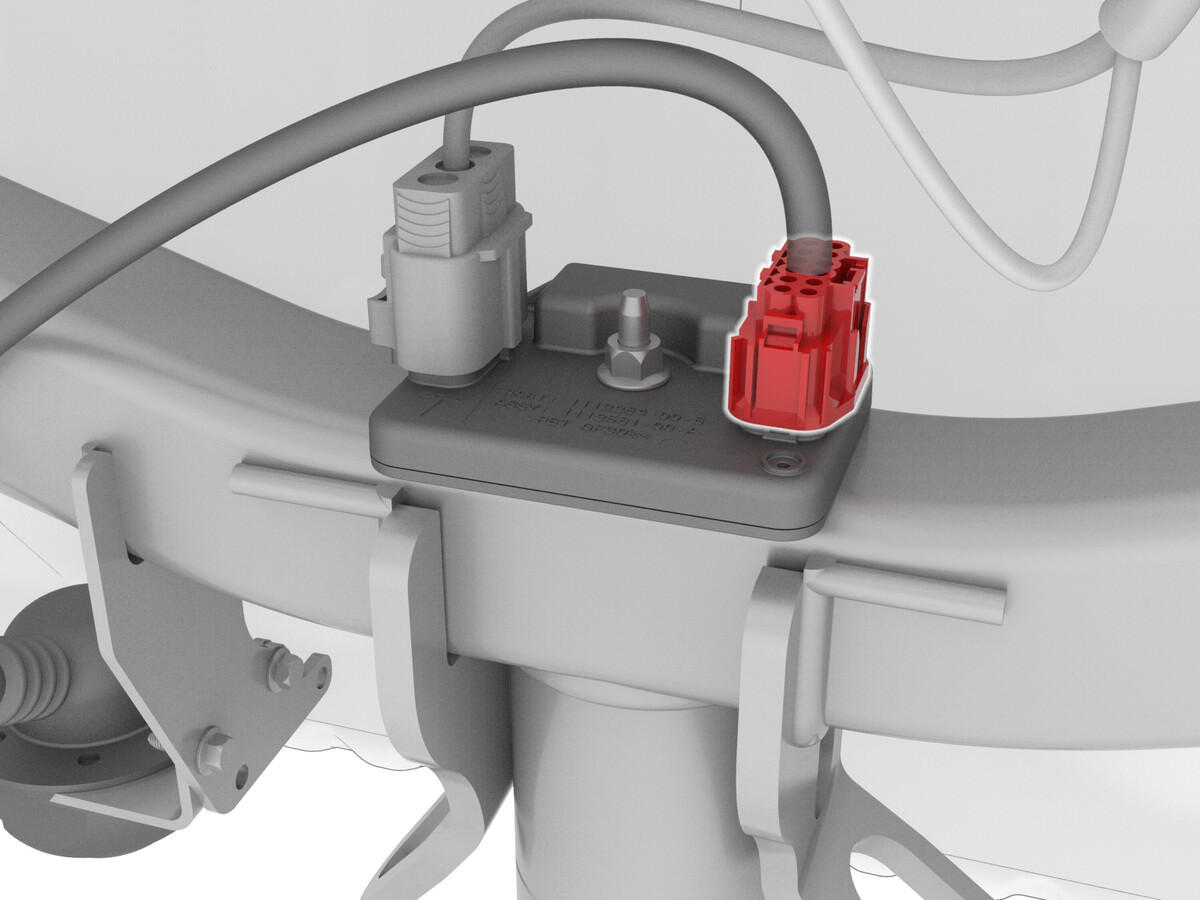 Courtesy of TESLA, INC. Courtesy of TESLA, INC.
|
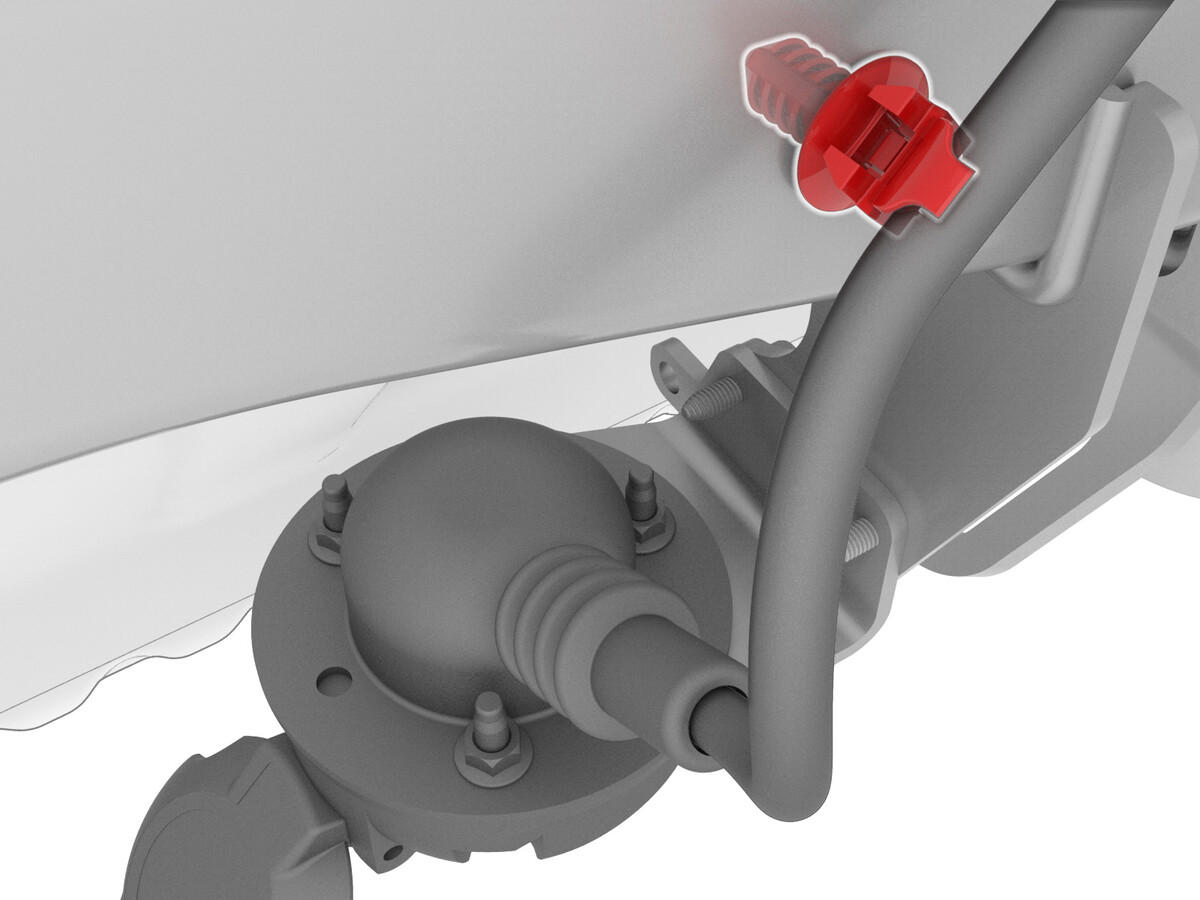
- Secure trailer jumper harness clip to trailer hitch.
 Courtesy of TESLA, INC. Courtesy of TESLA, INC.
|
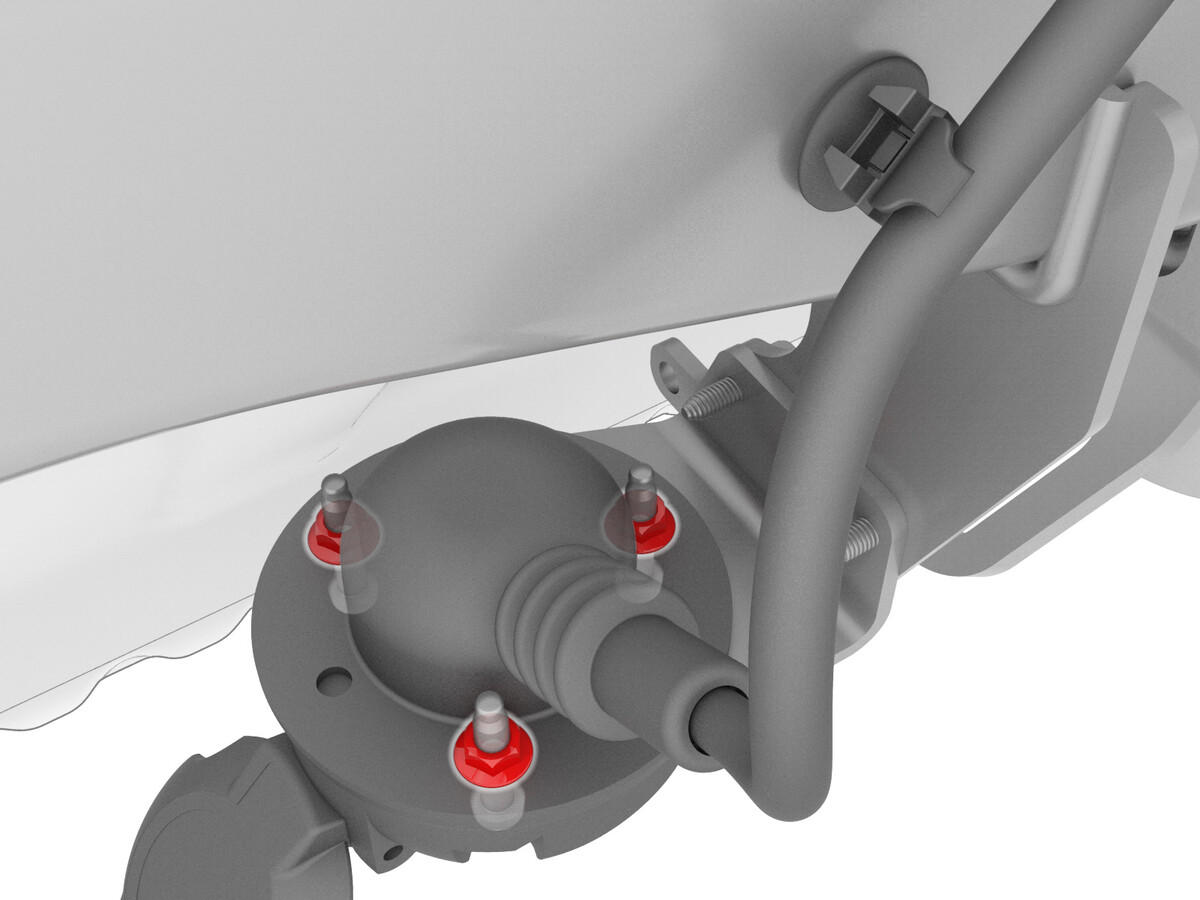
- Secure trailer jumper harness to trailer hitch.
 Courtesy of TESLA, INC. Courtesy of TESLA, INC.
|
- Install the rear fascia. See FASCIA - REAR (REMOVE AND INSTALL) .
- Connect a laptop with Toolbox 3 to the vehicle. See TOOLBOX 3 - CONNECT AND DISCONNECT
.
- Select the Dashboards
tab, and then select the Infotainment Dashboard
and Vehicle Configuration
.
- Select Read Config
, and then click RUN
to load the configuration values.
- Scroll down to "towPackage" and select "Tesla Rev 1" from the drop-down menu.
- Select Apply Changes
, and then click RUN
to save the updated configuration.
- Disconnect the laptop from the vehicle. See TOOLBOX 3 - CONNECT AND DISCONNECT
.