- Loosely install the rear LH primary body seal to the body.
- If the vehicle has markings on the B-pillar, skip the next step and proceed with alignment and installation.
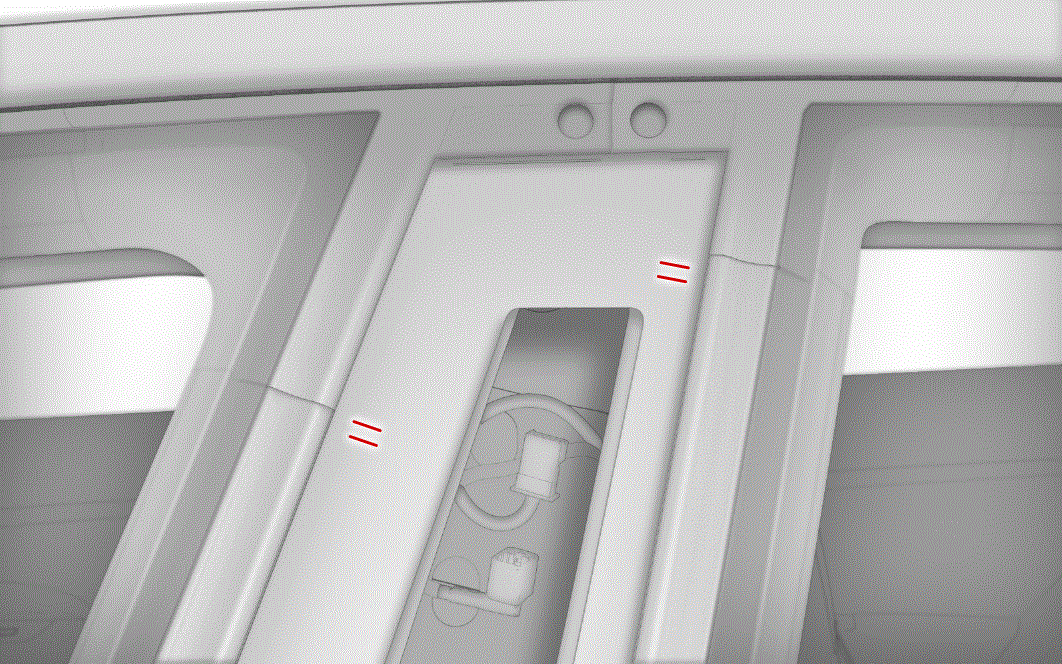 Courtesy of TESLA, INC. Courtesy of TESLA, INC.
|
- Apply tape on the B-pillar and mark a line on the tape 8 mm (0.3 in) above and parallel to the B-pillar body opening.
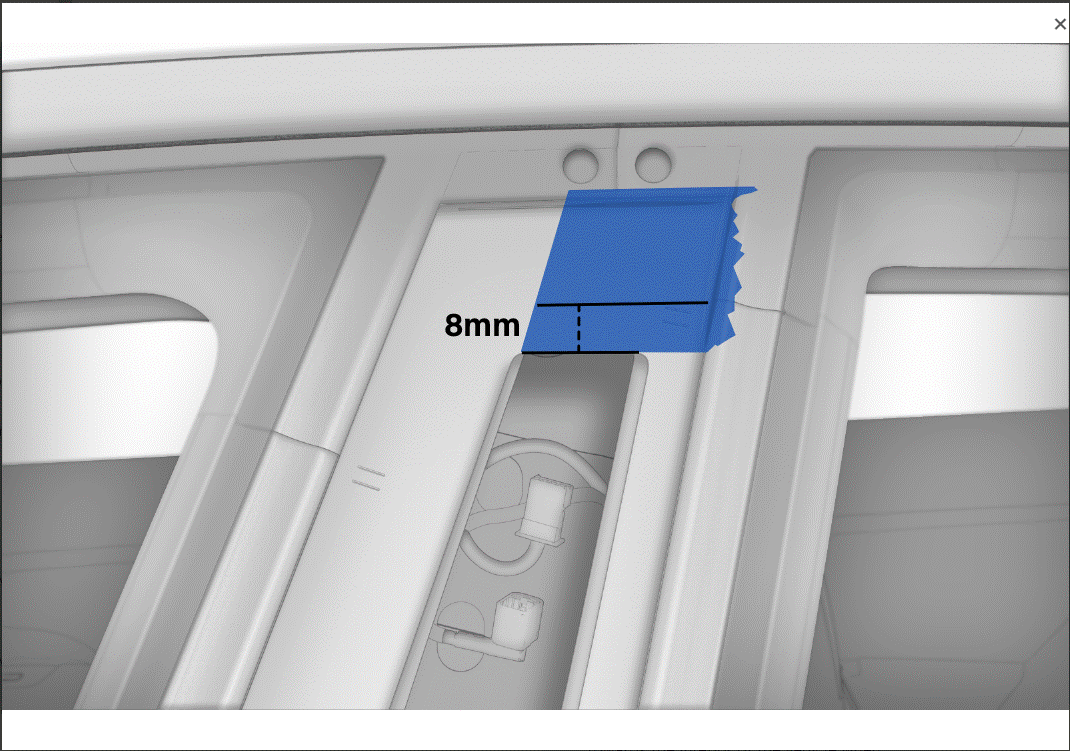 Courtesy of TESLA, INC. Courtesy of TESLA, INC.
|
- Align the rear LH primary seal joint line to the marking on the B-pillar.
NOTE:
Make sure the seal strings are positioned towards the interior of the vehicle when aligning the primary seal.
- Fasten the clips (x3) that attach the rear LH primary body seal to the mid C-pillar, the upper B-pillar, and the mid B-pillar.
NOTE:
For some Model 3 vehicles, there is no space to fasten the clip that attaches the rear LH primary body seal to the mid C-pillar. Cut this clip and use double-sided tape instead.
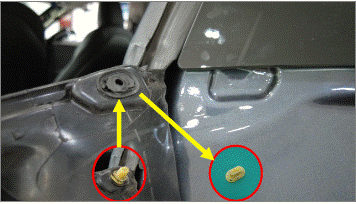 Courtesy of TESLA, INC. Courtesy of TESLA, INC.
|
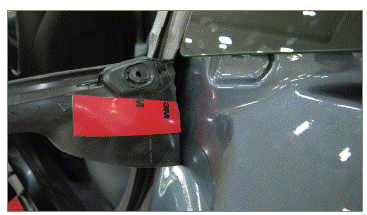 Courtesy of TESLA, INC. Courtesy of TESLA, INC.
|
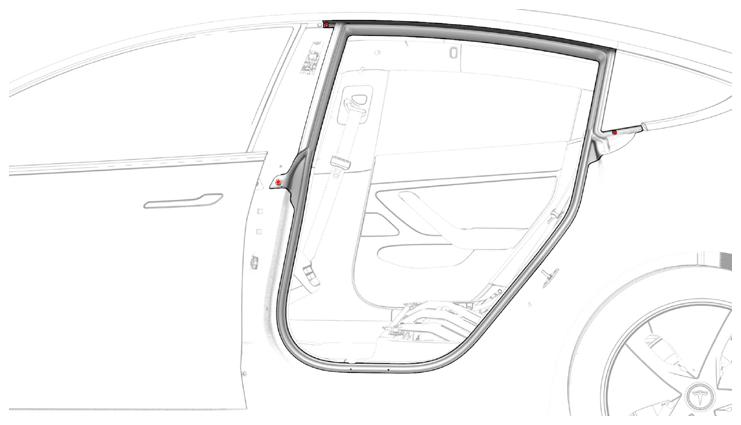 Courtesy of TESLA, INC. Courtesy of TESLA, INC.
|
- Pull the seal strings from the new seal.
- Tuck the seal into the bright molding, and make sure that it fits properly to the trim panels and the headliner.
- Press the seal into the lower corners, and then install the rest of the seal to the body.
NOTE:
Stretch and tuck the seal so that it is evenly distributed around the perimeter.
- Install the LH B-pillar applique. See APPLIQUE - B-PILLAR - LH (REMOVE AND REPLACE)
.
- Calibrate the windows. See Window Regulator - Recalibrate
- Confirm that the window operates correctly and without any abnormal noise.