Removal & Installation (Vitara)
- Disconnect fluid level switch lead wire at wire harness connector. Clean around master cylinder reservoir cap. Using a syringe, remove brake fluid from reservoir.
- On models without ABS, remove and cap brake lines from master cylinder and plug master cylinder ports. On models with ABS, remove and cap brake lines from master cylinder and proportioning valve. Remove proportioning valve mounting bolt, and remove proportioning valve from master cylinder. See Fig 1. On all models, remove mounting nuts attaching master cylinder to brake booster, and remove master cylinder.
- To install, reverse removal procedure. Adjust clearance between brake booster piston rod and master cylinder piston. See BRAKE BOOSTER PISTON ROD under ADJUSTMENTS. Fill master cylinder reservoir and bleed brake system. See BLEEDING BRAKE SYSTEM . Check brake pedal for play. See BRAKE PEDAL CLEARANCE under ADJUSTMENTS.
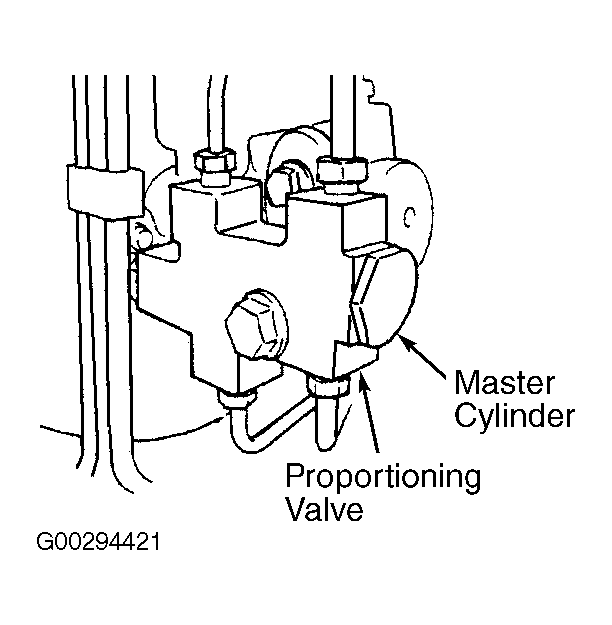 Courtesy of SUZUKI OF AMERICA CORP.