RH Side
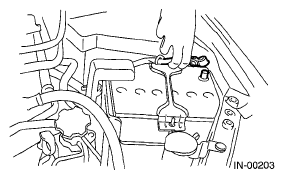
- Disconnect the ground cable from the battery.
 Courtesy of SUBARU OF AMERICA, INC.
- Remove the air intake chamber. Refer to
REMOVAL
, Air Intake Chamber.
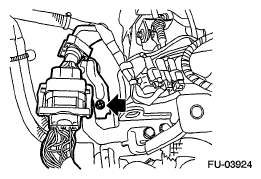
- Remove the bolt, and disconnect the engine harness connector from the bulk head harness connector and rear engine hanger.
 Courtesy of SUBARU OF AMERICA, INC.
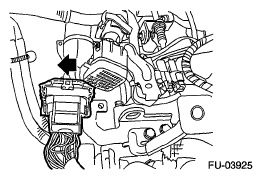
- Slide the bulkhead harness connector in the direction of the arrow and remove the rear engine hanger.
 Courtesy of SUBARU OF AMERICA, INC.
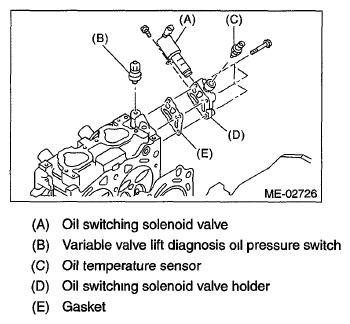
- Disconnect the connector from the oil switching solenoid valve.
- Remove the oil switching solenoid valve.
- Remove the variable valve lift diagnosis oil pressure switch. Refer to
REMOVAL
, Variable Valve Lift Diagnosis Oil Pressure Switch.
- Remove the oil temperature sensor. Refer to
REMOVAL
, Oil Temperature Sensor.
- Remove the oil switching solenoid valve holder from the cylinder head.
 Courtesy of SUBARU OF AMERICA, INC.