Clutch Master Cylinder: Service and Repair
Clutch Master Cylinder Replacement
Removal Procedure
1. Clean the clutch fluid reservoir cap and area around the cap.
2. Remove the clutch fluid reservoir cap and remove enough brake fluid to clear a passage to the clutch master cylinder.
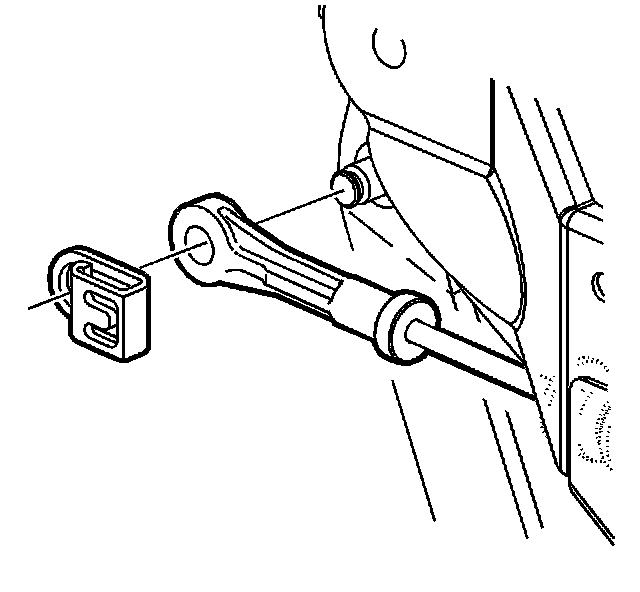
3. Remove the clutch pedal retainer.
4. Remove the clutch master cylinder pushrod from the clutch pedal assembly, 1st design.
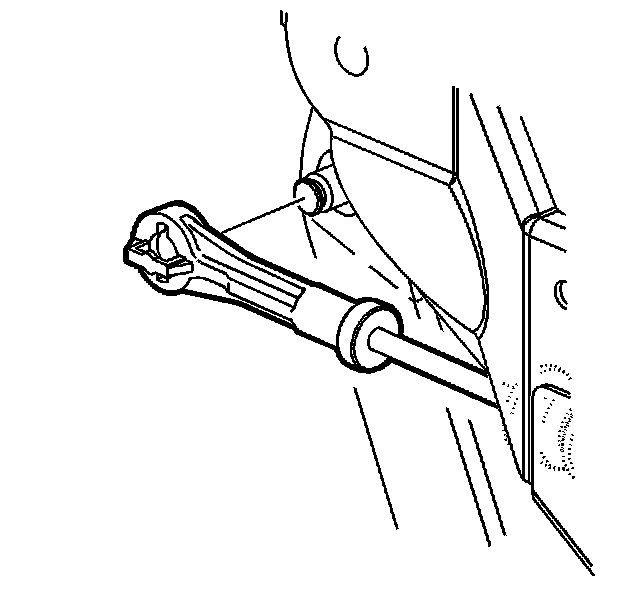
5. Remove the clutch master cylinder pushrod from the clutch pedal assembly, 2nd design.
Notice: Refer to Brake Fluid Effects on Paint and Electrical Components Notice in Service Precautions.
6. Place a shop towel under the clutch master cylinder in order to catch any fluid loss.
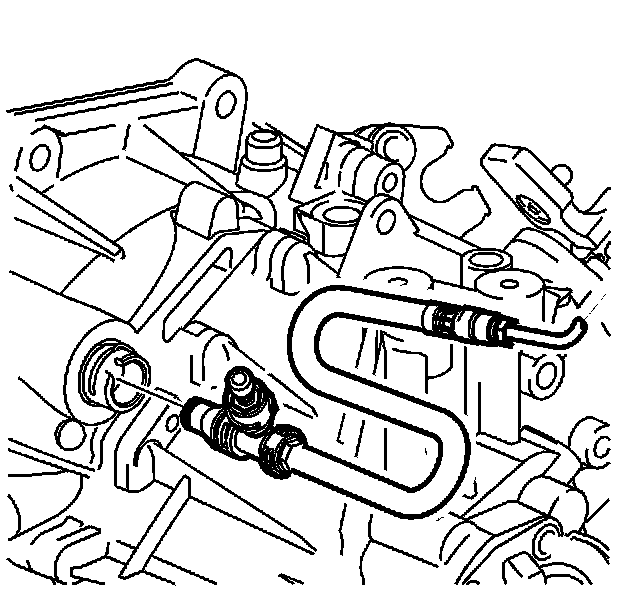
7. Using a pick tool on the strut tower side, disconnect the clutch line from clutch master cylinder.
8. Cap the reservoir and hydraulic lines in order to prevent fluid loss and contamination.
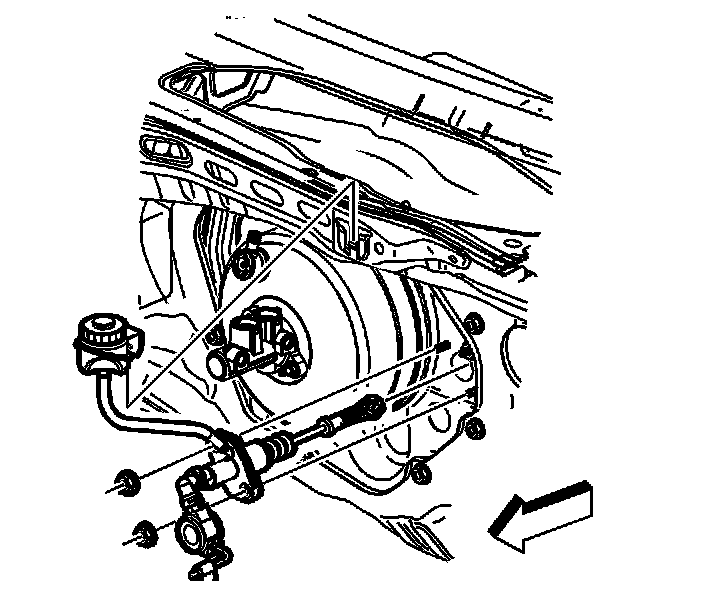
Important: Do not damage the pushrod boot when sliding it through the front of the dash.
9. Remove the clutch master cylinder mounting nuts and slide the clutch fluid reservoir up and out.
Installation Procedure
Important: Do not damage the pushrod boot when sliding it through the front of the dash.
1. Uncap the fluid reservoir and hydraulic lines.
Notice: Refer to Fastener Notice in Service Precautions.
2. Slide the clutch fluid reservoir into the mounting slot and install the clutch master cylinder mounting nuts.
^ Tighten the nuts to 23 Nm (17 ft. lbs.).
3. Install the clutch master cylinder pushrod to the clutch pedal assembly, 1st design.
4. Install the clutch pedal retainer.
5. Install the clutch master cylinder pushrod to the clutch pedal assembly, 2nd design.
6. Remove the shop towel and discard into a suitable container.
7. Connect the clutch line to the clutch master cylinder.
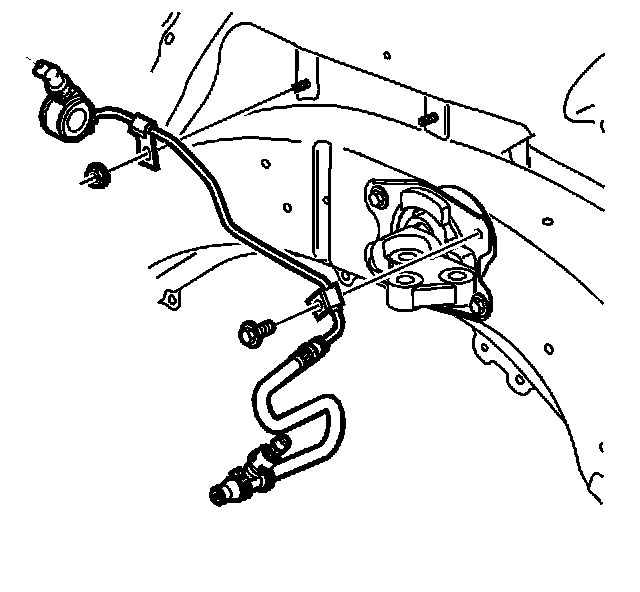
8. Connect the clutch master cylinder pushrod to the clutch pedal.
9. Install the clutch pedal retainer, nuts and bolts.
10. Bleed the clutch hydraulic system.