Installation Procedure
 Courtesy of GENERAL MOTORS CORP.
- On the SL2/SC2/SW2, reinstall the seat back pad to the seat back panel, if previously removed.
- On the SC2, transfer the listing wires to the new cover.
- Slide the seat back cover onto the top of the seat back foam pad.
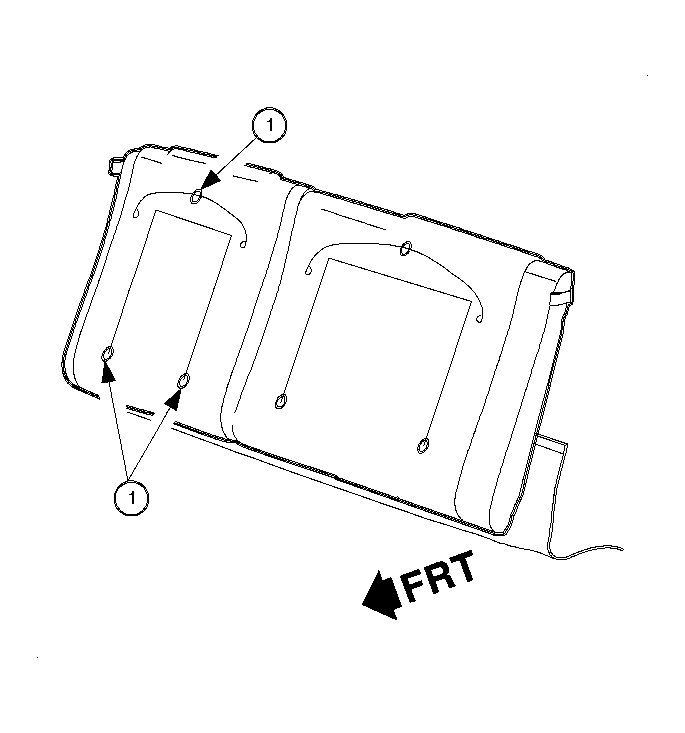
- On the SC2, install hog rings (1) to attach the listing wire at the top of the cover to the wire in the seat back pad.
- Pull the seat back latch strap through the hole in the side of the cover, except L/S wagon.
- On the SC2, position the wire loop attached to the seat back panel through the seat back pad holes.
- Continue to pull the seat cover down until it is completely over the seat back panel.
- On the SC2, install the listing wires in the listing wire pockets.
- On the SC2, ensure that the ends of the listing wires are placed through the wire loop previously placed through the holes in the seat back pad.
- On the SC2, install hog rings to secure the listing wires and the seat back cover to the seat back pad.
- On the SL2/SW2, ensure the hook-and-loop fastener attachment points are aligned. Press the hook-and-loop fastener together to secure the seat cover to the seat pad.
 Courtesy of GENERAL MOTORS CORP.
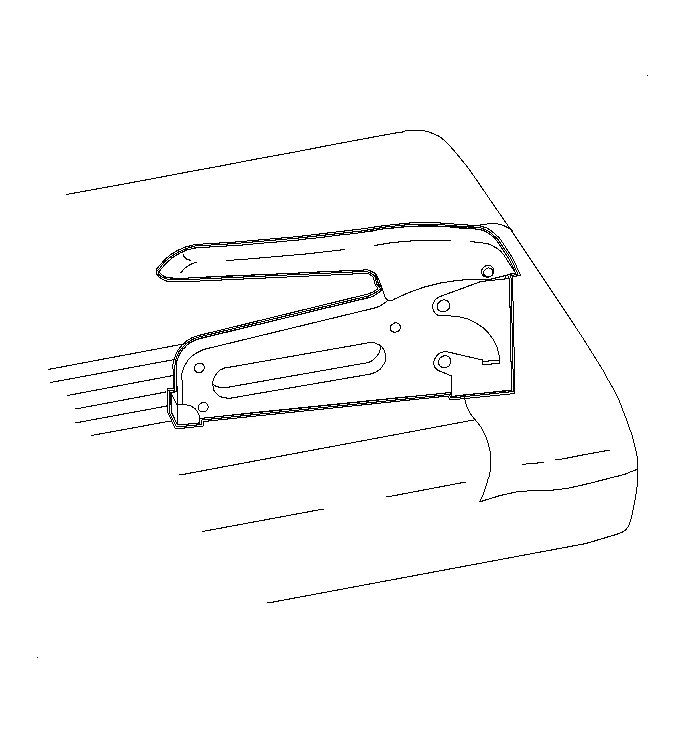
- Staple the lower flaps to the seat back.
- Engage the double J-strip at the bottom of the seat cover.
 Courtesy of GENERAL MOTORS CORP.
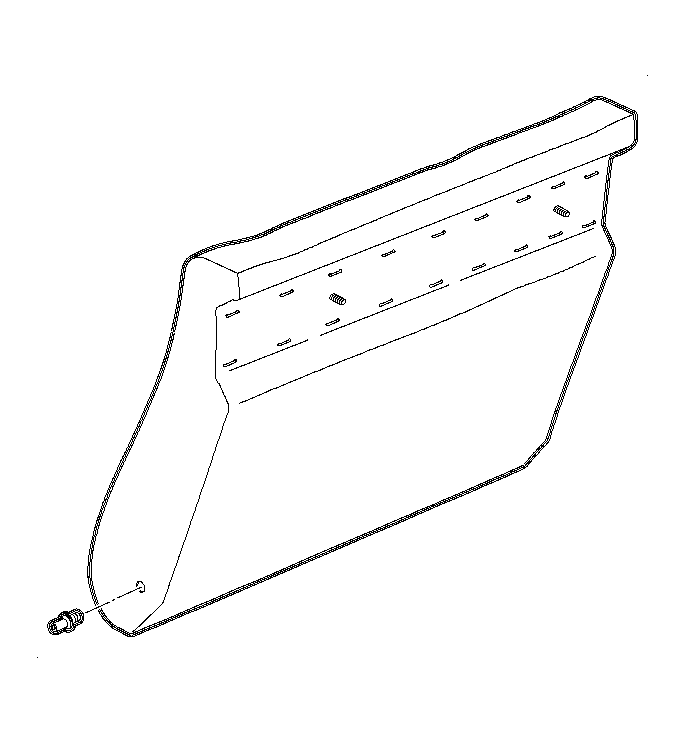
- On the SW1/SW2, staple the seat back cover to the seat back frame at the seat back latch beam location.
Courtesy of GENERAL MOTORS CORP.
- Staple the cover lower flaps to the seat back frame.
- Engage the double J-strips at the bottom of the seat cover.
 Courtesy of GENERAL MOTORS CORP.
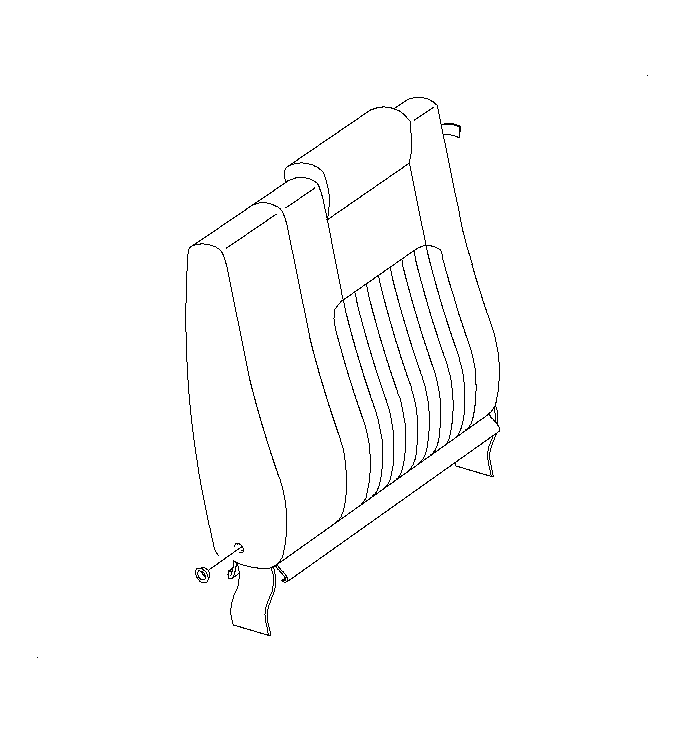
- Install the inboard pivot pin bushing.
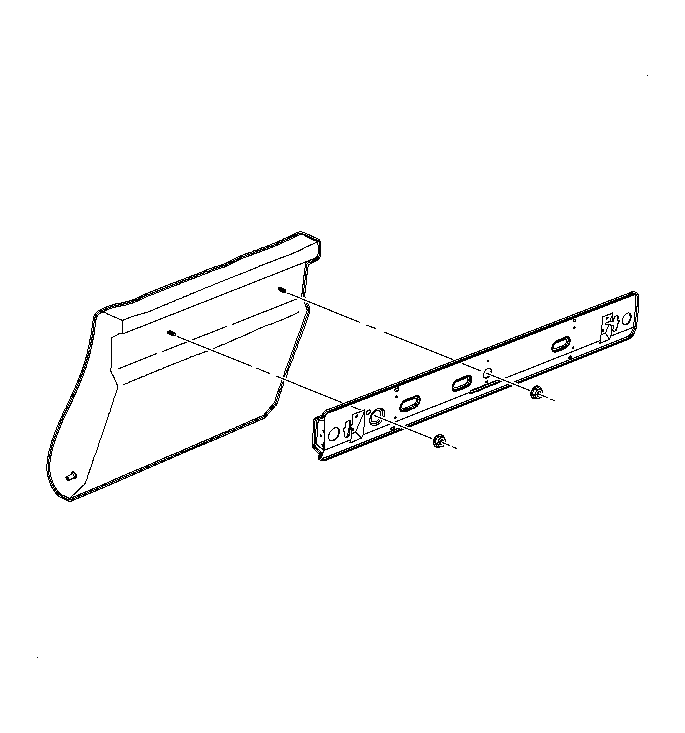 Courtesy of GENERAL MOTORS CORP.
- On the SW1/SW2, left side, install the rear seat back latch beam assembly. Refer toSeat Back Latch Beam Replacement - Rear (Wagon)
Courtesy of GENERAL MOTORS CORP.
- On the SL/SL1/SC1, starting at the top, pull down on the seat back pad unit.
- Staple the lower flaps to the seat back.
- Engage the double J-strip at the bottom of the seat cover.
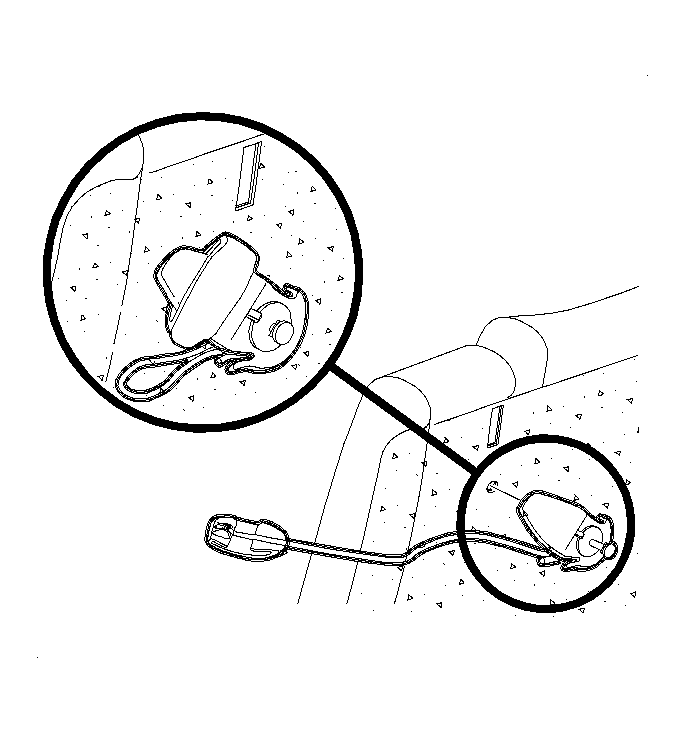 Courtesy of GENERAL MOTORS CORP.
- On the SL/SC seatbacks, position the child comfort guide over the hole in the seat back. Install the push pin rivet.
- Install the rear seat back assembly. Refer to Rear Split Folding Seat Back Replacement .