Removal Procedure
 Courtesy of GENERAL MOTORS CORP.
- Remove the rear seat back assembly. Refer to Rear Split Folding Seat Back Replacement .
- Place the seat back assembly on a clean work area.
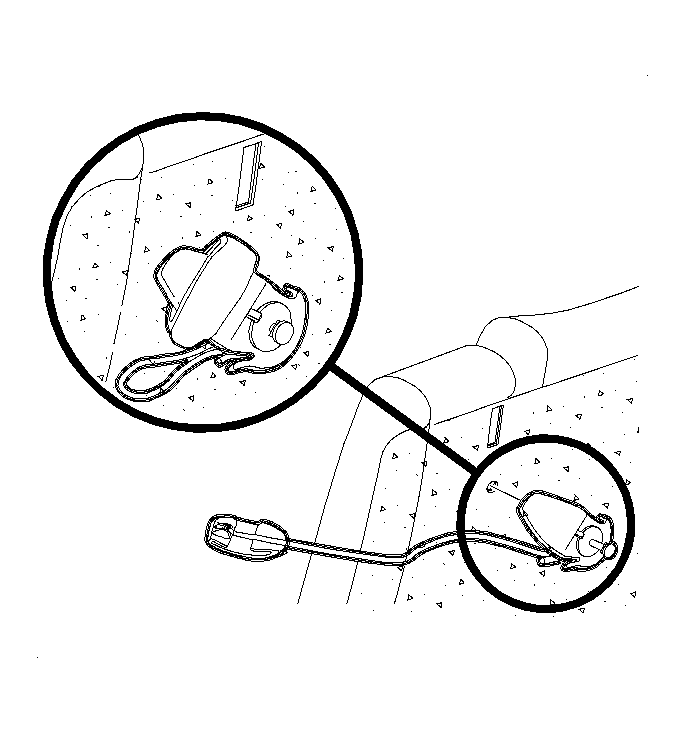
- On the SL/SC seatbacks, pull the push pin rivet attaching the child comfort guide out. Remove the child comfort guide.
 Courtesy of GENERAL MOTORS CORP.
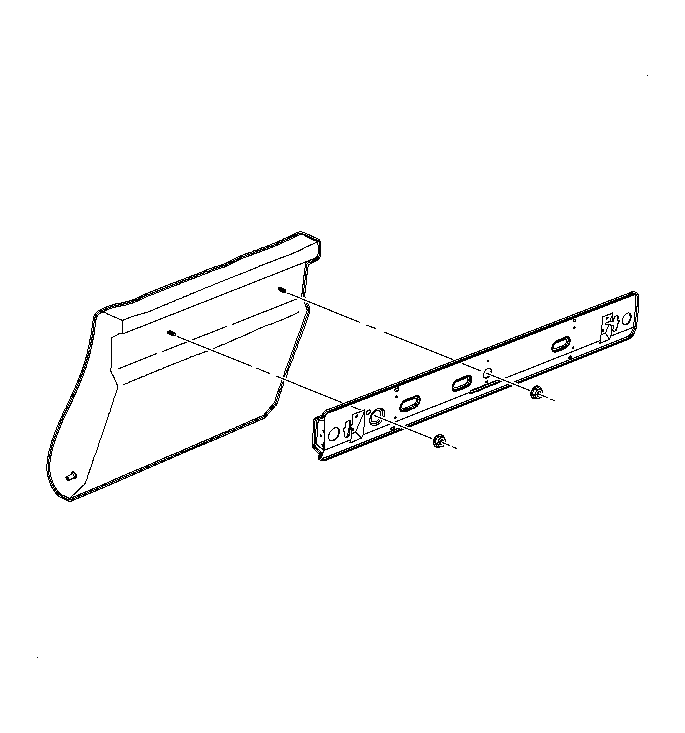
- On the SW1/SW2 left side seat back, remove the rear seat back latch beam assembly. Refer to Seat Back Latch Beam Replacement - Rear (Wagon) .
 Courtesy of GENERAL MOTORS CORP.
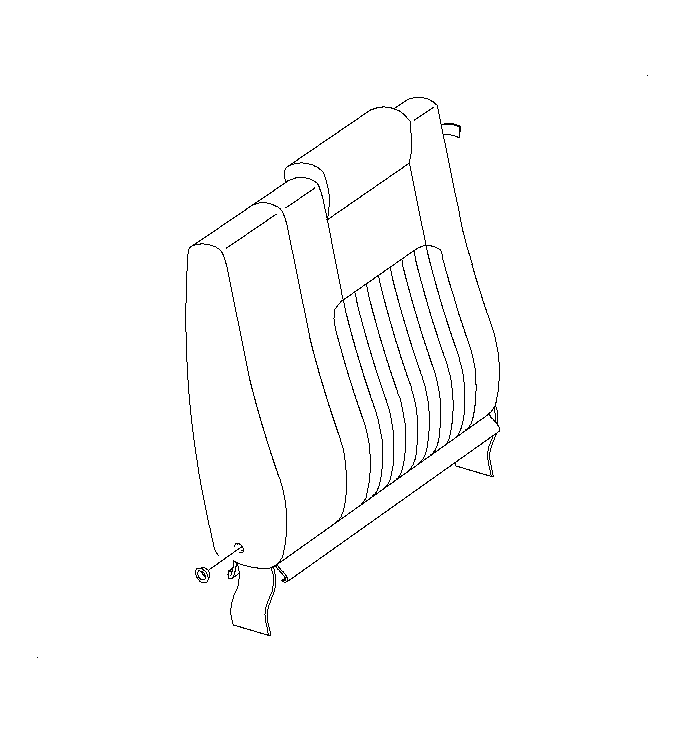
- Disengage the double J-strip from the bottom of the seat back cover.
- Remove the staples attaching the cover flaps to the lower seat back frame.
- Remove the inboard pivot pin bushing.
- On the SL/SL1/SC1, starting at the bottom, pull up on the seat back pad/cover unit to remove the pad/cover unit from the seat back frame.
 Courtesy of GENERAL MOTORS CORP.
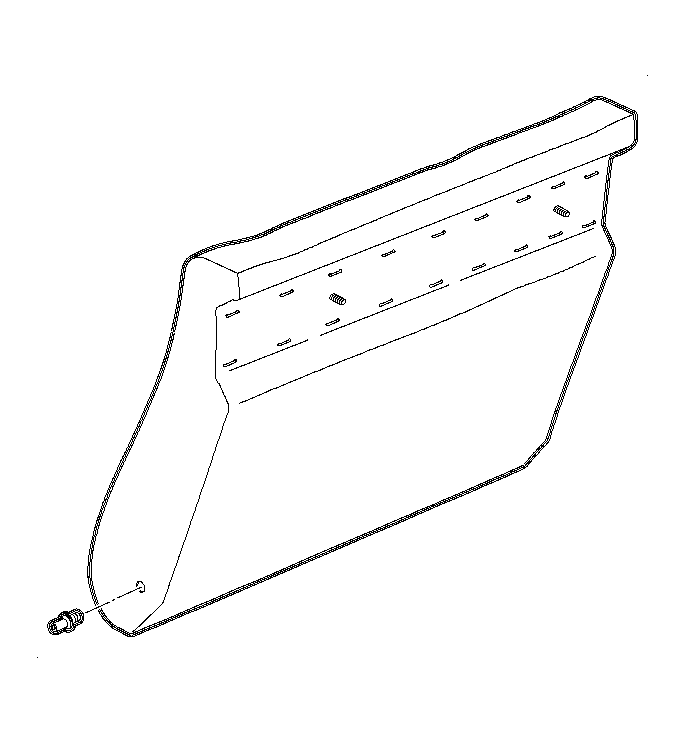
- On the SW1, remove the staples from the rear of the pad/cover unit at the rear beam location. Starting at the bottom, pull up on the seat back pad/cover unit to remove it from the seat back frame.
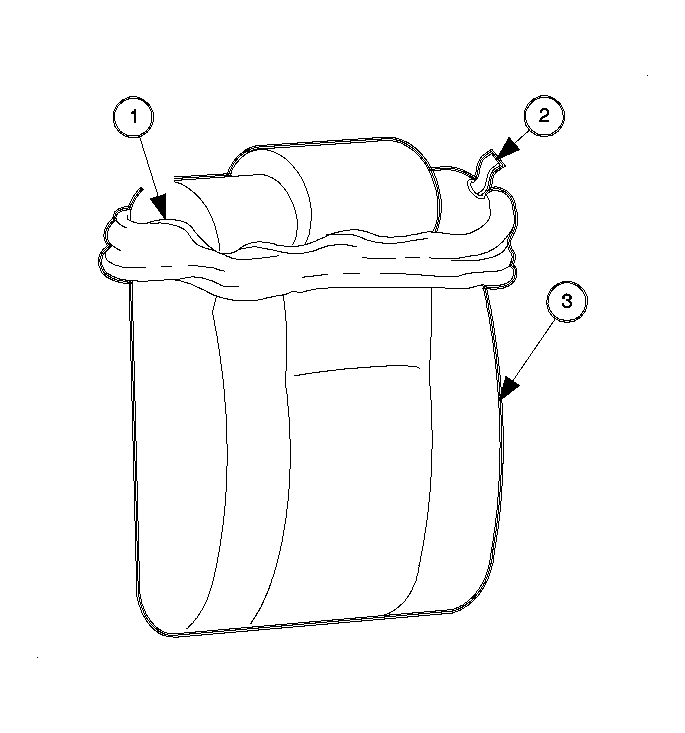 Courtesy of GENERAL MOTORS CORP.
- On the SL2/SC2, starting at the bottom, pull up on the seat back pad to expose the hook-and-loop fastener and/or listing wire attachments of the cover to the pad. Gently separate the hook-and-loop fastener attachments and remove the cover from the seat back pad and frame. Cut hog rings at listing wire locations. Remove the pad if the pad needs to be replaced. If the pad is to be removed, cut the pad to the frame hog rings and remove the pad assembly.
- On the SW2, remove the staples from the rear of the cover at the rear beam location. Starting at the bottom, pull up on the seat back cover to expose the hook-and-loop fastener attachments of the cover to the pad. Gently separate the hook-and-loop fastener attachments and remove the cover from the seat back pad and frame. Remove the pad if the pad needs to be replaced. Refer to the following:
- Seat Cover (1)
- Latch Strap (2)
- Seat Back Foam Pad (3)